Rafters vs. Trusses: What’s The Difference?

When you’re building a house, there are many decisions to make. Which material should you use for the roof? How much will it cost? Will this choice affect your resale value later on?

There are two main types of roofs out there, trusses and rafters. Both have their pros and cons. So let’s compare them side-by-side so that you can decide which is best for your project.

What Is A Rafter?

A rafter is a triangular structure made of wood and built to hold up the weight of your roof. They are installed as triangle-webbing structures that support the roof, helping to keep it held up.

Rafters cost more than trusses as their installation process is labor-intensive. They can be manufactured at the worksite or purchased in prefabricated bundles from lumber dealers.

What Is A Truss?

Trusses are pre-fabricated structures used for building roofs. They have several components including two main beams, cross members to connect them, and other small connecting pieces that provide structural strength.

Trusses contain less material than rafters which makes them cheaper but they require greater engineering and planning before they can be installed.

Trusses have a longer lead time than rafters as they require careful planning, drawing, and engineering. The final truss design must be approved by a building inspector before you start construction on your roof.

Main Differences Between Rafters and Trusses

The differences between a truss and a rafter roof are quite distinct.

While both types of roofs have their own unique benefits, it’s important to know that there is an extensive difference in how each one gets made before you can even start looking at what materials might work best for your project.

The two most important differences between trusses and roof rafting structures lie in their preparation and installation process.

While both roofs are made from many individual pieces that fit together like a puzzle, rafters must be installed manually by hand while the rest of it is constructed off-site using automated machines or human workers as needed.

There are many similarities between rafters and trusses, but there is one functional difference.

Unlike the decking boards of a typical roof that has more width than depth (to allow it to span greater distances), truss membered roofs have narrow dimensional panels with less material in them so they’re stronger overall for their size category.

The advantage this provides comes at a trade-off; since these thin pieces need special care during installation because if cracked or damaged even slightly then water will seep through from underneath into your house’s living space.

As the most cost-effective option, trusses are being preferred over rafters. Trussed roofs can be installed with ease using pre-existing materials and offer more support than their counterpart made of two main beams which makes them sturdy enough for your home’s needs. 

Advantages of Rafters

The main advantages of rafters are their faster installation process and lower cost to manufacture. Since they are constructed on-site, the extra labor required for their fabrication isn’t necessary unlike with trusses.

More head height in the attic

This is possible because of the structure’s shorter design. The manufacturer can cut down on material waste because they’re built with the latest plans to the exact specifications needed.

Can be used anywhere

Rafters can be manufactured almost anywhere as the plans don’t have to meet stringent standards like those for trusses.

Reduced lead time

The construction lead time for roofing is negligible because they can be built on-site or at mills.

Sturdy structure

Rafters have a shorter span than trusses which means their design has to use more material and wood per square foot, making them sturdier against the elements and able to better withstand damage from wind and storms.

Disadvantages of Rafters

The main disadvantage of rafters is related to safety concerns as low-grade lumber material might be used in their construction which makes them more susceptible to rot or being smashed by heavy objects. However, this can be avoided by using high-quality wood materials when creating your roofing structure.

 Time-consuming design

The design of a truss roof requires extra planning and engineering before it can be manufactured. Trusses require much time to manufacture as the materials used are carefully prepared and analyzed before work can begin on-site.

Increased Total Construction Cost

Since they must be built by hand, rafters offer about the same cost as other heavy structures like foundations or walls (if not more). Trussed roofs, on the other hand, only require paneling and insulation which makes them cheaper than their counterpart at approximately $5/sqft.

Difficult Installation Process

Rafters aren’t dangerous if installed properly but there is no margin for error; any mistake in the installation will lead to leakage and water damage could force you to rebuild your roof. Trussed roofs are installed with automated machines or by hand which makes them much easier to set up without having to worry about safety issues.

Also, the installation process can be complicated if you’re not experienced in construction work. More labor means more possible injuries and accidents on site which is why some companies prefer hiring professionals for better results. Safety precautions are important when working on your roof so that your house doesn’t suffer any damages while being constructed.

Advantages Of Trusses

As mentioned, all other materials needed for a roof are pre-manufactured and stored until needed. This makes it perfect for large projects where a building needs a roof replacement or roof repairs are done quickly and efficiently.

You’ll never need a permit

Since trussed roofs require less time from architects and engineers, you never have to worry about getting your project approved by your city’s local authority. You save money on permitting fees too.

Greater strength overall

The whole structure holds more weight than just two beams which can each carry up to 5 tons individually before they break under pressure. This means buildings and homes can be built with trussed roofs without worrying about the structure not being capable of bearing the weight of a roof and its contents.

Less expensive

Since all other materials needed for construction are prefabricated, the cost to produce those individual parts is much less than producing each beam separately as well as putting them together into one cohesive whole using metal connectors. The combined savings makes this the preferred option over rafters for any project that requires professional installation.

It doesn’t matter if you’re replacing your roof or doing repairs, make sure you get in touch with an expert roofing contractor who has experience working on both types of roofs before making a final decision on the type of structure that will best suit your needs.

Allows structural depth

As opposed to rafters which give you less space in your living space since they typically measure between 18-inches up to 30-inch wide boards, trussed roofs you more depth as they typically measure in the range of 48-inches to 60-inch beams. When it comes to roofing, you get more headroom and floor space inside your structure with trusses.

Disadvantages Of Trusses

Given that better quality materials are used, they cost more than roofing rafts. There is also a scheduling complication as they require manual planning and drawing for approval before construction can begin.

Limitations in ceiling design

Roof trusses are typically made with flat surfaces on top so that they can hold more weight. This means you have less design capability when it comes to the aesthetic of your roof’s ceiling section. Your choices for ceiling panels are limited which could be a drawback if you’re looking for creativity in this part of your home/building.

High noise levels

Trussed roofs are very noisy especially during windy conditions because of all the space between members so depending on where your home is situated, this might not be something you want to deal with every day. Recently, companies have developed products that help reduce noise so people living near airports now have better options when it comes to their homes’ and buildings’ exteriors and interiors (floors).

Time-consuming installation

Since roofs are usually more complicated than single slope layouts, putting them up just takes longer. Expect delays when you’re planning to have a roof installed on your building or home. Another negative is that while some materials can be prefabricated for quick assembly, some parts still have to be manually put together so the roofing process is anything but fast.

Other disadvantages include noise complaints, difficulty in insulation due to lack of depth between trusses and beams, wasted space under the roof’s ceiling, and potential leaks during heavy rains because of large gaps between trusses where water can seep through.

What Type Of Material Is Used For Roof Trusses and Rafters?

As you can probably guess, lumber is the main material used for both rafters and trusses.

However, there are some differences between these two types of roofing structures depending on how they’re made that might require additional materials.

Rafter roofs are constructed during the initial stages of an ongoing building project while trussed roofs are installed after most of the rest of the house’s structure has already been built which means it requires more support to hold itself up. Because of this, steel or iron beams are needed along with wood to make them sturdy enough to stand by themselves; resulting in considerable higher costs when compared with just using wood alone.

The Different Ways To Install Trusses vs Rafters

While somewhat similar in their design, there are some differences between how they can be installed.

Trusses require special equipment to help construct them which means all of the pieces must be built on-site before installation. Once they’re put together, trussed roofs must be lifted into place for installation. Given that most roofing structures take up a large amount of space, this puts certain limitations on where these types of roofs can go which makes them better used in smaller homes.

Rafters are mostly installed using two methods; either by hand or with an electric screwdriver. While it’s more suited on larger homes with larger flat surfaces available on their roofs; rafters provide better protection against the elements if installed correctly because it is tightly sealed against any gaps like on trussed roofs.

Trusses vs Rafters: Which Is Better?

Trussed roofs are far more preferable than rafters mainly because they offer better physical support despite having higher steepness angles given that two main beams hold them up instead of just one like with rafters. The best part about trussed roofs is their better fire resistance; providing additional protection to your home in case of an emergency.

How Much Weight Can a Tension Rod Hold?

You want to hang a heavy mirror or another item on your wall, but you’re not sure if the tension rod in your closet will hold it up. 

If you don’t know exactly how much weight a tension rod can hold, then you might be one of the many people who have had their expensive items fall off their walls and break into pieces. This is especially true when using long hanging rods that extend from floor to ceiling.

We did some research and found out that a typical tension rod can hold 20 pounds of weight. Sturdier tension rods can hold up to 30 pounds.

What’s a Tension Rod?

A tension rod is a spring-loaded cylindrical rod that expands and contracts.

Tension rods are typically made of metal but can also be found in plastic, wood, or even stainless steel.

While curtain rods are mounted into brackets along the wall or ceiling, tension rods are attached to one wall with their springs expanded to the opposite wall.

The weight of the object being hung will compress one side of the cylinder so it’s under pressure to expand again once an item is removed from it. It essentially locks itself in place so nothing can move unless you press down on its center which releases this pressure.

Tension Rod Pros

A tension rod is the least expensive way to hang something on your wall. It can hold up anything from small jewelry boxes and picture frames to heavy tools and rolled-up posters.

A tension rod is a great way to hang curtains without putting holes in your walls. With this simple but effective solution, you can easily install it and then use any shower curtain or bath accessory that suits the occasion. It’s also easy for renters because they won’t have to worry about damaging anything when using their own items as decoration at home.

A tension rod (or water hook) has been an affordable & practical option since its invention centuries ago – now there are even command strips that make hanging from above much easier than before.

Tension Rod Cons

However, there are some problems that come with using a tension rod as your hanging mechanism:

1) You need two supports (sides of the wall).  This isn’t always possible if you’re dealing with irregular walls or plaster/sheetrock lining them instead of studs. If one side of the wall is disturbed in any way, such as having a window or light switch installed, then it might not be able to support the necessary weight for tension rods.

2) The distance between both sides must be exact – too far apart and the rod will lose tension. Too close together and the rod won’t be able to tighten enough to hold anything in place.

3) You can’t use it for hard-to-hang items, such as pots or planters, since they require screwing into studs.

4) It can only hold light to medium weight items. If you’re attaching something heavy like a television set then you’ll need a sturdier form of support.

How Much Weight Can a Tension Rod Hold?

Tension rods can hold a variety of weight depending on their size and how strong they are. A typical tension rod will hold up to 20 pounds with a little extra for the spring pressure.

And if you want to hang curtains, the short ones that cover just a window or door work best. Longer rods can be hard to maneuver around corners and may not fit in smaller spaces so look for one that is at least 9 inches wide.

In most cases, you should have no problems hanging your curtains with a tension rod unless it is too heavy then it’s possible that is might break when you release it from its lock position.

What Are the Uses of a Tension Rod?

Tension rods are made of sturdy metal springs that are easy to install.

This style of rod is typically used for hanging drapes, but it can be put to other uses, too. Here are some examples of what you can hang on a tension rod.

Bedroom Curtains

Tension rods work well as window treatments in a child’s room or even as a closet organizer.

Kitchen Utensils

Hang pots and pans from the oven door with a tension rod to free up floor space in your cupboards. It also makes it easier to grab one when removing items from the oven because you don’t have to open the cabinet doors first.

Shower Curtain

You can save space by installing a tension rod inside your shower stall instead of putting up a traditional rod and hanging it over the glass doors. This also works for small bathrooms where space is limited.

Bathroom Items

You can install one between walls in your bathroom to hang up towels, loofahs, washcloths, etc. It’s very handy since there’s no need to buy towel bars for every wall.

Gardening Tools

A tension rod makes an excellent holder for your garden tools when you’re working in the yard or doing other outdoor chores. Since you’ll be moving them around often, this is especially convenient with the lightweight plastic holders that are available now.

How To Install Tension Rods

Measure twice before installing your curtain rods because once they are installed they cannot be removed without leaving behind holes.

Put in two screws at the top and two hooks at the bottom of the rod so it hangs evenly between them when you put something on it.

Then slide your curtains onto this rod. You can purchase a second rod if needed to ensure the drapes don’t fall off as they are being hung up.

How To Remove a Tension Rod

To remove a tension rod, first release the spring by pressing down on its center gently. Then unhook one side from whatever is holding it in place and slowly let go of the pressure as you lift that end up and away from the back wall.

The entire mechanism should retract into itself once there is no more downward force on it. It’s now safe to walk away and reach in to unhook the other side. Now your curtains can be slid off of it or you can pull them down if they are on hooks at the ceiling instead of the rod itself.

Once you’re ready to put tension rods back up, just follow these same steps in reverse.

Where to Buy Tension Rods

The easiest way to find one is at your local home improvement store.

You can also order them online from retailers like Amazon, Walmart, Target, Lowes, etc.

Alternatives to Tension Rods

If you’re having trouble finding a tension rod that will fit in your space then there are other options available. Here are some examples:

Corner Brackets and Wall Mounted Holders

These offer a more permanent option that blends into the wall instead of standing out like the traditional rods do. They come with either single or double brackets depending on how wide your window is and which style best fits your decorating taste. The only drawback here would be if you need easy access to where they are, such as if you live in an apartment or condo building.

Double Rods

These are most commonly used in the kitchen for hanging pots and pans. They do not leave any spaces open so they work well if you need to close doors behind them, but they’re more difficult to install than a tension rod is. Also, since they are mounted higher up on the wall they tend to be less versatile in what kinds of curtains you can use with them.

Utility Hooks

For smaller jobs that don’t require much strength, there are lightweight plastic utility hooks that screw into the wall then lift out when needed for storage. Since they are all one piece, this type of hook won’t fall off when your curtain weight is released like a tension rod tends to. Instead, it uses the same fastening process as a traditional curtain rod does, which is much safer for your curtains.

How to Paint Furniture: Metallic Silver Paint Looks – The Home Simple

When it comes to glam, few finishes make a statement like silver metallic furniture. If you have tired, painted furniture and want to give your room that wow factor adding that shimmer of silver metallic creates a statement.

We show you how to paint furniture silver metallic and talk you through the different techniques to help you transform your furniture from glum to glam.

Cheap Silver Paint vs. Expensive Metallic Silver Paint

The first thing to say is you always get what you pay for. Most cheap silver paint retails at around $10 per gallon, whereas expensive paint starts at between $20 and $30.

So, what is the difference, we hear you ask? It all comes down to what’s in the tin. All paint has resins, pigments, and solvents. The more expensive paints have finer pigments, which means they give better coverage.

A cheaper paint has larger pigments, so you get worse coverage. It’s often the reason why you need to apply two coats of cheap paint for every one coat of expensive paint.

Resins hold the pigments together, so the more expensive the paint, the higher the quality of the resin. It makes the paint keep its color for longer and makes the paint more resilient. If you hate decorating, the expensive option means fewer recoats to freshen the color.

Cheaper paints contain lower quality resins, which means that while the paint looks good initially, it will fade faster and need a fresh coat a lot sooner.

And we come to the third element: solvents. Solvent is the vehicle that carries the pigment and resins. Cheaper paints have a lower concentration of solvents, which means that the paint covers less well. It’s the reason why you need two coats instead of one.

Don’t be fooled by the brand name either. Even the most respected brands have an expensive and budget range of paints. So, while you may think you’ve bagged a bargain, you’ve probably only got a cheap paint inside a can with well-known branding.

Oil-Based vs. Water-Based Paints

There are essentially two types of paint: oil and water-based paints. But what makes them so different, and which is better?

Oil-Based

Oil-based paints contain oil or solvents that help the paint adhere, drying with a robust outer layer. They also ensure the paint carries better from the brush or roller. The upside is that oil products are harder wearing, and you are less likely to need to recoat.

The downside is that oil-based paints are damaging to the environment because they contain VOCs (volatile organic compounds), which emit low-level ozone as the paint dries and the solvent evaporates.

You also need mineral spirits or other chemicals like thinners to perform a clean-up, which is also trickier to do compared to water-based products and equally bad for the environment.

Water-Based

Water-based metallic paints are easy to use and wash clean with soap and water, so you don’t need nasty chemicals that pollute the environment.

Water-based products cover easily, and you get a good spread; however, they aren’t as robust as oil varieties, and you are more likely to need to touch up the paintwork sooner, especially in high-traffic areas.

The advantage of having a water-based formula is it is low in VOCs, which is better for the environment, and low in odors, so it is safe to use indoors with limited ventilation.

How to Paint Furniture Silver Metallic

Okay, so we’ve explained the difference between cheap and expensive paint, and now it’s time to run through the best technique. Before we do, we need to gather the right tools.

Materials Needed

Cling On Paintbrush

Cling on paint brushes are designed to stay wet to produce a flawless finish, and the paint doesn’t dry on the bristles. Many paint brushes are treated as use-once disposable items, whereas a cling-on brush is designed to be used repeatedly.

Furniture Tri Wheelies

Having the ability to maneuver your furniture as you paint it is invaluable. It means you can get an even coat without having to battle with your chest of drawers or cabinets.

Sandpaper

When it comes to furniture, it’s best to use fine-grit sandpaper because lower grade sandpaper gouges rather than smooths. Something between 180 and 240-grit should be suitable.

Wet and dry paper is also useful if you want to work on smaller sections of the furniture. However, dry sanding provides faster results.

Shop-Vac

A shop-vac is the ideal tool for keeping your work area as dust-free as possible. This is important for two reasons: the first is for health. Breathing in sawdust can harm your lungs because it contains pollutants that irritate certain conditions like asthma.

Sawdust is a carcinogen, which causes inflammation of the eyes, nose, and throat, and with long-term exposure it could cause more serious health problems.

The second reason is when you are painting furniture, you want the smoothest possible finish, and even the smallest grains of sawdust will ruin that look.

If you use a sander, attaching a dust collection bag removes about 90 percent of the pollutant from the atmosphere, and if you can attach a hose that sucks the debris to a central container, even better.

Lint Free Cloth

A lint-free cloth is the best to use because it doesn’t leave any fluff on the surface of your furniture. It also reduces static charge, especially when wiping electrical items like televisions.

A great tip is to run some masking or decorators tape over the cloth to remove any excess loose fluff. That way, you don’t risk getting debris on your smoothly painted surfaces.

Other Supplies You Will Need

  • Dixie Belle Paint
  • Slick Stick Primer
  • Manatee Gray Paint
  • Metallic Silver Base Coat
  • Metallic Silver Top Coat
  • Silver Gilding Wax

What About Safety?

Whenever you undertake DIY tasks, you should keep personal safety at the forefront of your mind. If you are sanding furniture, wear safety goggles to stop dangerous sawdust from getting in your eyes.

It also reduces the chances of flying debris from lodging in your eyes and causing further damage.

You should also wear a face mask to protect your nose and throat from carcinogens like wood dust. Breathing it in is a bad idea, given the health risks it poses.

Step by Step

So, let’s get straight into how to paint furniture silver metallic with our easy-to-follow guide. For this exercise, we will be painting a small bedside nightstand.

  1. Increase Maneuverability

Place the nightstand on the tri-wheelies so that you can easily maneuver the furniture to get an even finish without missing bits. These wheels are not essential, and you can still complete the task, but it makes life so much easier.

You can pick them up relatively cheaply from most hardware and DIY stores as well as well-known online sites.

The other advantage of mounting the furniture on tri-wheelies is it makes it easier to get drop cloths down and reduces the chances of getting paint on the floor. 

  1. Time To Sand

As with every furniture-painting exercise, you always start with fine-grade sandpaper to remove as much of the original topcoat as possible. If there are any oil-based layers of paint, they need to be removed.

If you are working on a larger piece, a sander might be the best option, but for now, hand-sanding will suffice. Remember that you are trying to create a surface for the paint to adhere to as well as smooth out any blemishes.

  1. Time To Prime

Depending on the type of material your nightstand is made from, you may need to go that little bit further by adding a layer of Slick Stick. It helps paint to adhere to laminated MDF and other non-stick surfaces.

This might seem like overkill to those who think adding the furniture paint is sufficient, but more time spent prepping means less time repainting when the topcoat starts to chip. Cutting corners only means more work further down the line.

This is especially important if the furniture is located in high-traffic areas.

Apply two coats of the Slick Stick using the flat cling on paintbrush, allowing it to dry between coats thoroughly.

  1. Add The Manatee Gray

Because silver metallic paint is a platinum color, adding Manatee Gray paint gives it a more solid feel to the coating to enhance the silver look. It isn’t necessary to do this, but it really makes a difference if you want the best finish possible.

You only need one coat of this gray chalk paint, and it calms the bright white of the Slick Stick.

  1. Time for The Base Coat

Now it’s time to lay down a layer of base coat. When you paint it on, it appears pearlescent white, but don’t panic because it is all part of creating that silvery shimmer. Apply two coats over the entire nightstand and leave to cure fully.

  1. Time for The Topcoat

Once the two base coats have dried, it’s time to lay down the topcoat. Using your flat cling on paintbrush, cover the entire surface of the nightstand. When the paint first goes down, it looks bright white, but as the first coat dries, you start to see the shimmer of the metallic pigments shine through.

Apply a second coat, and the difference is stark between the wet paint and the dry paint, but as the second coat dries, it turns the same platinum silver color with a delicate shimmer.

  1. Apply The Gilding Wax

You can enhance the silver finish by applying silver gilding wax. Use it to pick out highlights on the surface and to embellish the corners. A little bit of gilding wax works wonders on the drawer fronts and the furniture hardware like drawer handles.

It also helps you create that shabby-chic look, where the paint looks distressed.

  1. Paint The Hardware

The easiest way to paint the furniture hardware to match the color of the nightstand is to follow the same steps as you did when painting the furniture. Then add accents with the silver gilding wax.

Tips and Tricks for Using Silver Metallic Paint

What are the best ways to use metallic paint? Let’s find out.

Use Metallic Paint As An Accent Color

You don’t have to completely recoat your furniture with silvery paint. It is possible to revamp old pieces using metallic paint as an accent. Use it on chair legs, edging, or even the top while the rest is coated in standard paint.

What you are trying to do is lift the furniture and make it stand out, and sometimes a little less shimmer goes a long way.

Use The Correct Base Coat

For the best results, use the base coat that corresponds with the make of the topcoat. The two are designed to work together, and you benefit by getting the best finish possible. Why make life difficult trying to mix and match different products?

Get Different Effects

While you are cheering up old furniture, remember that the purpose is to create a sense of fun. Why not extend it to using different brushes and rollers to create different textures and finishes.

Try two-tone effects, textured surfaces, and metal effects with the right paintbrush.

Paint In One Direction

Because metallic paint contains mica pigments to create that shimmer, the direction you lay down the paint makes a difference to a uniformed shine. Try and paint it on so that the brush strokes go in the same direction.

Imagine running your hand across a velvet cover, and the way the cloth moves creates a different effect. It’s the same for metallic paint.

Consider Spraying

One of the easiest ways to apply silver metallic paint is to spray it on. This technique is faster, and you get a super-smooth finish. Sometimes, when you brush paint on, it can be difficult to get a finish that is free of brush marks.

Spraying silver metallic paint eliminates that issue. The only downside with this method is it can be extremely messy to execute, and you waste a lot of paint through overspray. It can also be difficult to control where the paint goes.

That said, if you are in a hurry and want immediate impact, spraying is definitely worth considering.

Work With The Grain

Ask any seasoned decorator, and they will tell you that the only way to paint wood is to work with the grain. If you work against the grain, the paint is harder to lay down, and the brush marks are a lot more noticeable.

You get a smoother coverage working with the wood grain, and the paint goes further. This technique is crucial if you are painting a tabletop, where every blemish or scratch will show through.

How to Paint Furniture Silver Metallic FAQ

What is the best metallic paint for furniture?

The best paint is a matter of opinion, but there are some names that appear in the top 10 lists time and again. Look for Dixie Belle, Rust-Oleum, Modern Masters, and Shabby Chic. All of these brands are popular and feature in homes across the country.

The other way to determine which is the best metallic paint is to read the reviews on sites like Amazon. There is no substitute for honest feedback from people with nothing to gain other than to recommend or warn you about their experiences with the product.

Is Spray Painting Furniture Best?

It isn’t necessarily best, but it is quicker, and you do get super-smooth results. It is also more convenient from a clean-up and storage point of view. However, spray paint is relatively inaccurate, and you get a lot of overspray, making it a messy way to paint.

Having said all this, the preparation work for spray paint is equally as in-depth, and more detailed in some cases. Remember that brushing the paint on means it applies in thicker layers, so you might get away with hiding some minor surface blemishes.

You don’t get that luxury with spray paint. Every mark, dent, scratch, and uneven layer will show through. Plus, if you lay on too much spray paint, you risk getting drips and runs.

What is Latex Metallic Silver Paint?

Latex metallic silver paint is a water-based product that contains resins, metallic pigments, and solvents. It is easier to clean-up because you only need soap and water, and it wipes clean.

Latex paints still contain resins and solvents to help carry the paint from the tin to the brush and the wall, but they are far less harmful to the environment compared to oil-based products.

How Do You Get an Aged Metallic Silver Paint Look?

One effective way is to go for the distressed look. Use fine-grade sandpaper and remove selected areas of paint, so it looks faded. The other way is to use silver gilding wax to add accents to the surface of the furniture.

From Glum To Glam

Metallic furniture is both retro and modern; it fits the smartest designs, and yet is equally at home in that shabby-chic look. It rejuvenates tired furniture, transforming it in ways that make it completely unrecognizable.

If you are feeling brave and want to create a statement piece of furniture, consider painting it metallic silver.

What Are The Typical Fireplace Dimensions?

There are a lot of different sizes of fireplaces, but it’s hard to find the right size for your fireplace. 

The best way to figure out what size you need is by measuring your fireplace dimensions and then comparing them to our list here. If you’re not sure where or how to measure it, don’t worry. We’ve got instructions on that too.

Our guide has all the information you’ll need in order to buy the correct sized logs for your fireplace. You can also use this guide when determining which log splitter would be best suited for your needs as well.

Typical Fireplace Dimensions

Typical fireplace dimensions depend on much space you want them to take up. The standard fireplace opening is between 24 and 36 inches wide, 24 and 29 inches high, and 16 inches deep. The distance from the hearth to the fireplace damper is about 37 inches. The rear of the firebox should be between 11 and 19 inches wide and 14 inches high.

What Parts of a Fireplace Can Be Measured?

The measurements of the fireplace dimensions depend on how well you want your fireplace to fit into the surrounding space. The following parts can be measured:

Fireplace Opening

If you have a fireplace, then the opening of your firebox is where it all begins. The frontmost part contains either an intricately designed mantel or cabinet originally meant as a smoke hood for directing away from any room within earshot – nowadays this includes also framing around firesides themselves if there’s no exterior chimney attached. While these decorative features can be included in total measurements on drawings/sketches when planning out homes (since they’ll become visible), don’t forget about their placement relative to other elements such as hearths and flues depending upon what kind of installation best suits our needs: whether less formal or more ornate, or whether it’s an insert or freestanding fireplace.

The Firebox

This is the part of our fire that the log (fuel) sits on while the interior burnable structures (kindling and fuel loading, typically oak split in American English; kindling like newspaper pages if not seasoned more) are arranged to form a “pyramid” within this surrounding structure which creates even heat distribution during ignition – unlike open-air fires. This arrangement is called layering (adding layer upon layer at carefully stacked/arranged angles), an element of efficient burning along with choking openings that can be adjusted up to stop airflow too quickly for optimum draft – at least until we’ve got experience with these principles.

Fireplace Damper

Fireplace dampers are considered the ductors of the flue to regulate airflow in and out of this part of our chimney/chimney structure. Without them working properly, air goes where it shouldn’t – into the house. When closed, they prevent drafts from passing through your fireplace flue to keep you warm when not burning fuel/logs. They also make great practice repairs for our upcoming chimneys article.

Hearth

The hearth is typically only measured as a lengthwise number which includes any non-combustible surface beneath/behind the firebox itself within your home’s design unless it’s an insert. We may have designed our fireplaces with one or more layers of slate, stone, ceramic tile, or concrete. Most hearths are about 18 to 24 inches deep and 24 to 36 inches wide (front-to-back).

For freestanding fireplaces, you can gain distance between the floor and bottom of your fireplace by adding a base to the structure which goes out from it. This is best accomplished in small spaces where we want our fireplaces closer to us for better warmth transfer than when they’re against two walls – such as in corners. Better yet, add an airtight wood stove insert if we’ll be using our fireplace mostly for ambiance.

Preferred Hearth Heights

Since there’s typically less heat radiating directly downwards into lower levels/surfaces within any room, the standard height preference for fireboxes is about 16 inches from the floor surface to the top of our firebox.

If your fireplace isn’t built along with this standard height, consider adding a shorter hearth behind it if you’re not going for a more modern look with your architecture/home design – which has less heat radiating downwards into these lower levels within any room. This is why many prefer higher hearths when they’ll be working around the fireplace often in their homes – especially when entertaining guests.

What Affects The Size Of A Fireplace?

There are four main factors that affect size:

1) Size of the Room

2) Style

3) Materials

4) Location

Size Of The Room

You want to ensure that it fits through doorways and that it works within the space you have allotted for your fireplace. If this requires a temporary wall to be removed during construction, keep in mind that this will involve redoing any electrical and insulation (and perhaps even HVAC work) as well as drywall repair/replacement which can become expensive.

Style

Decide what style of fireplace you want: Mantel or Freestanding? Modern or Traditional? This style should also match your home’s architecture such as Victorian-style.

Materials

Whether brick, stone, concrete, tile, metal, glass or other material – each one has its own advantages and disadvantages which we won’t cover here. Many talk about how handsome their flint mantels look especially when lit from within.

Location

You’ll want to consider where the fireplace is located in relation to your HVAC system and furnace/hot water heater – as well as the location of doors, windows and other home designs. This way you don’t let it interfere with daily living or block a major source of natural light from entering into this space.

How Do You Measure The Size Of A Fireplace?

Width

Measure the width of your fireplace opening at its widest point with a tape measure (or use an arm genuine measuring tape). If there are any obstructions inside such as a mantel, measure between those marks both ways with the measurements added together for around the outside edges around your fireplace opening itself. It’s best to round up to the closest inch or two.

Height

Measure from the floor upward to where you’d like your mantel/overall height for a freestanding fireplace. This is not as important if it’s a built-in fireplace insert since this should be taller than the surrounding wall surface itself. If there are any obstructions inside between the floor and top of your firebox, measure at points both up from these lower measurements toward room center dividing them in half – then add together for an average number which you’ll round up.

As you can see from the average fireplace measurements above, you’ll want to ensure that it works well with your home’s architecture. If these measurements don’t work for you – then either reduce the width or height of your firebox by a few inches (not too much or else it looks out of proportion), or increase the overall size/width and height by around 4-8 inches on each side. 

Remember that these are just guidelines to follow which many designers feel is also just enough space behind the hearth for good air exchange between inside/outside so if this doesn’t work for your specific fireplace measurements, you may want to leave additional room behind the firebox too.

What Is The Standard Size Of A Fireplace Opening?

Fireplaces come in all shapes and sizes. But a standard fireplace is generally around 2-3 feet wide, 24-29 inches high with measurements varying by style or design idea you may have for your home as well as where it’s located within the room itself.

Should A Fireplace Mantel Be Wider Than The Fireplace?

Mantels are a focal point of a fireplace area – as is the firebox where it’s located. The mantel should be wider than your firebox by at least 36 inches minimum on both sides extending outward to give it that appearance of grandeur and attention-grabbing appeal. This will ensure that it doesn’t look too busy and out of proportion to its surroundings.

The measurements above may not fit every design style and space – but they can be used as guidelines for many traditional home designs especially those built within the last few decades or so. There aren’t any hard fast rules that everyone must follow, just some basic ones based upon common sense such as properly venting the fireplace itself combined with how much heat you’ll need throughout the room or whatever you have in mind for your particular situation. 

If you’re building a country-style home with large rooms, then perhaps it’s okay to build one of these traditional frameless masonry fireplaces that are considered smaller by code standards depending on the size of the house. This is just another reason why consulting with local authorities first makes sense prior to any construction work being started.

Conclusion

To conclude, the measurements that were given are still just basic ones that you can use as rough guidelines. You may want to experiment with these based on your needs and how it matches the style of the room surrounding this area. As long as you’re within minimum code requirements, there’s no problem experimenting with these dimensions a little bit to fit your specific cases depending upon what you have in mind. Just remember that everything must be done properly for safety reasons.

83 Different Types of Tools: The Definitive List

There are so many tools out there that it’s hard to know which ones you need for a specific job. 

We’re going to help you sort through the different types of tools and give you some tips on how to choose what’s right for your next project.

In this blog post, we’ll cover all kinds of home improvement projects and explain when each type of tool is most useful.

Types of Power Tools

1. Drill
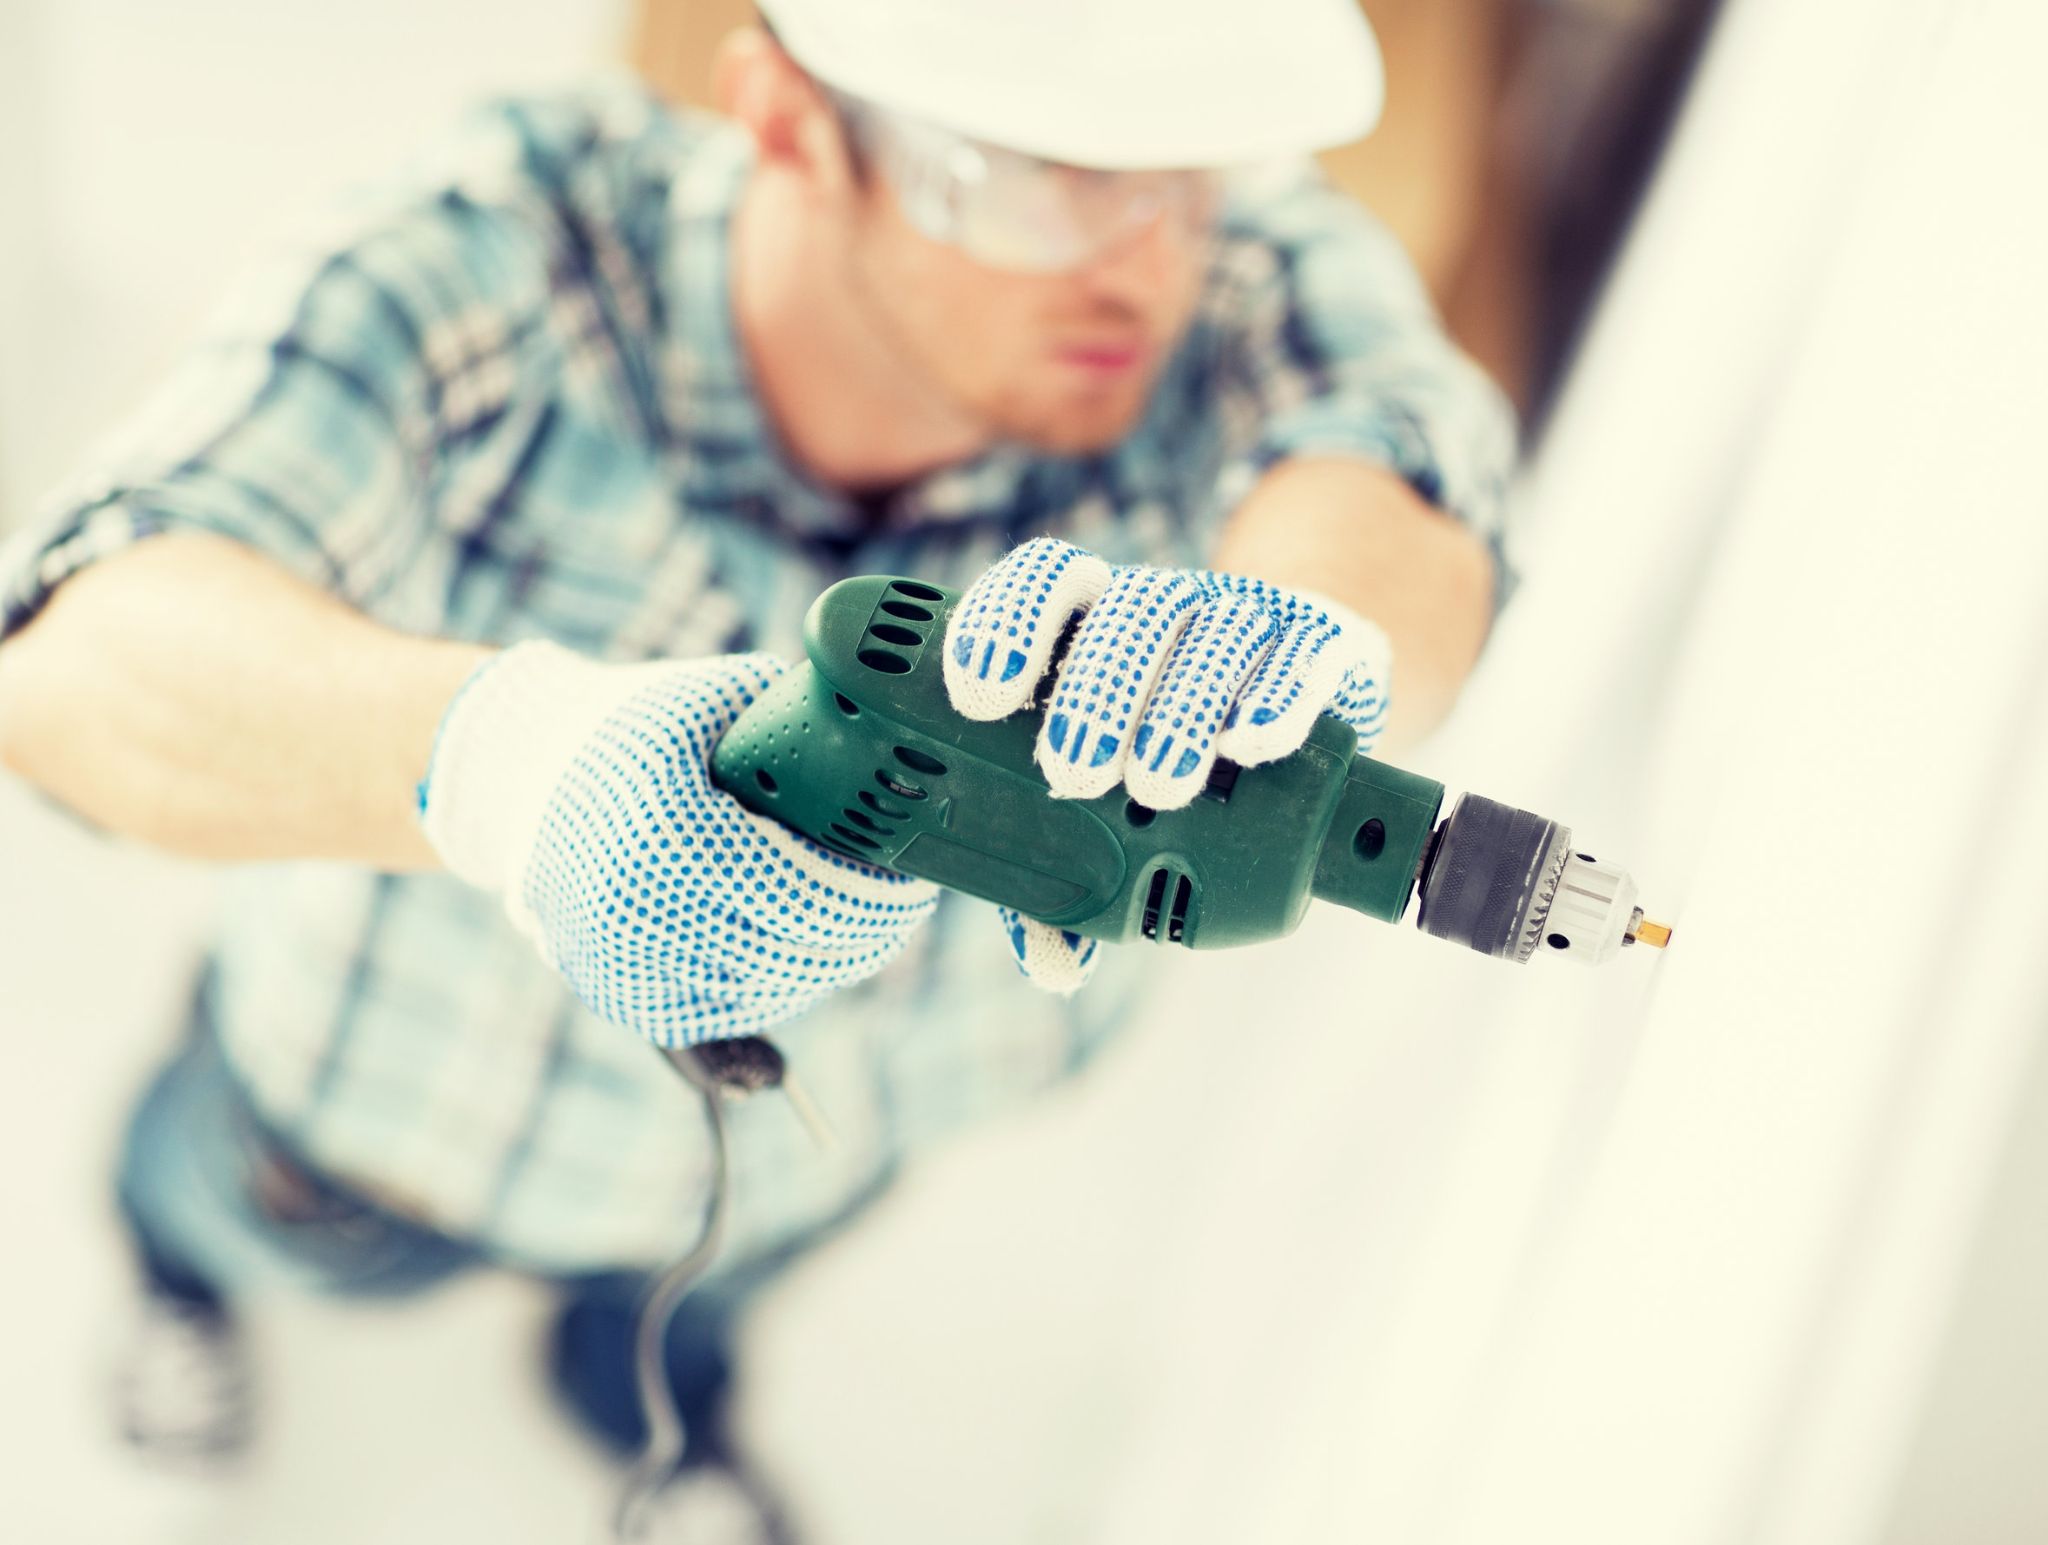
A drill is a machine used to push an object or material into something in order to create an opening or space. Drills are often powered by hand, but can also be powered by electricity and battery power. Battery-powered drills are most common these days because there’s no more fussing with cords that get tangled up during the work process!

There’s an overwhelming number of drills from which you have to choose when shopping for one so it might require some narrowing down before making your final decision. Once you’ve drilled down what purpose(s) will serve best, all that’s left is choosing among three main types: hammer/impact drivers, standard high-speed electric models (which aren’t too powerful), and cordless tools – which provide the most mobility. It’s helpful if you understand the different features among these three types of drills.

2. Screwdriver

A screwdriver is a tool used to drive screws for construction, manufacturing, and home improvement projects. Screwdrivers come in many different types, including flathead screwdrivers, Phillips head screwdrivers, Torx heads, hex heads, and ergonomic handles, just to name a few.

Also known as an impact driver or drill driver, this kind of power tool can accomplish tasks that standard drills alone can’t do – like driving large lag bolts with extreme force within seconds. Why spend hours by hand when you could be spending minutes? Hammer drivers are popular because they make it possible to complete jobs quickly without much effort on your part.

3. Hammer

A hammer is a tool typically used to drive nails into surfaces such as wood or metal. Hammers come in two categories: sledgehammers and hammers. Sledgehammers are large, heavy-duty tools that can be used for demolition work on bigger projects – like tearing out old walls from a house. Hammers are smaller, more typical versions of a hammer and more lightweight than a sledgehammer – but they still pack a punch when it comes to jobs requiring some force.

4. Circular Saw
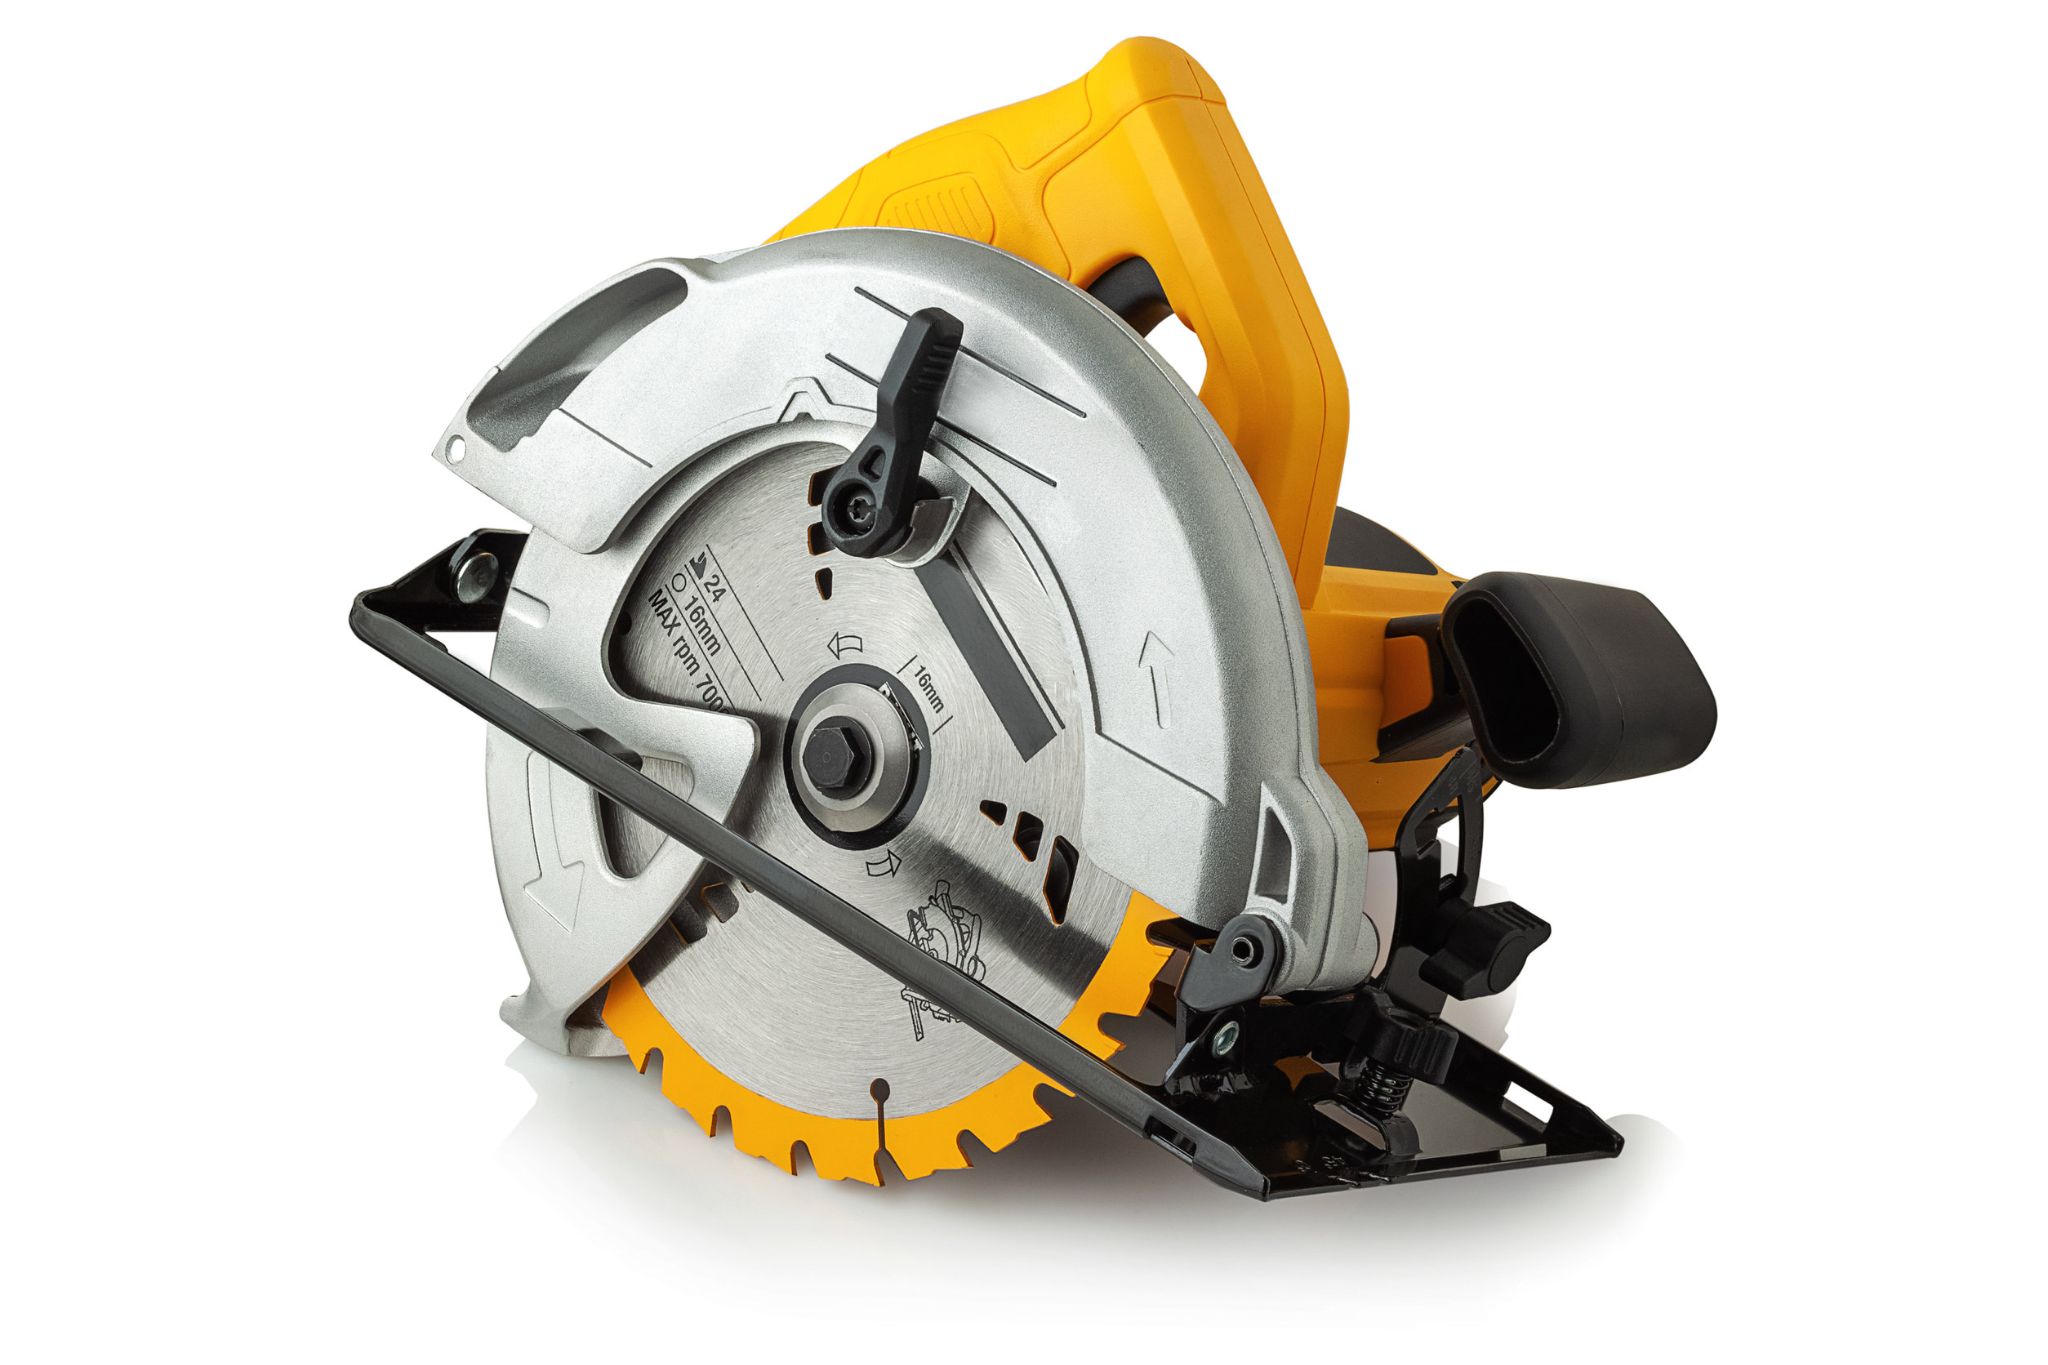
A circular saw is an electric power tool with a round blade that spins horizontally while you guide the saw along the cutting area where it needs to be cut down. If you’ve ever seen someone use one of these, you’ll know that it’s not something you can easily handle on your own. Circular saws are ideal for quick, straight cuts because the blade moves along what you’re cutting at 500 rotations per minute (RPM). You need to be mindful of how quickly you push or pull the saw so as not to damage the material, yourself, or the equipment itself.

5. Saw

A saw is a tool typically used to cut and chop through solid surfaces such as wood and metal. Saws come in two categories: hand saws and power saws. Hand saws can be used for more detailed work that requires finer cuts, but they require more effort than power saws which is why they aren’t ideal for large-scale projects with thick materials. You’ll most likely need both types of tools to get the job done right the first time around.

6. Nail Gun/Staple Gun

A nail gun is a powered tool with a magazine inside that can hold multiple nails. The nail gun is usually held with the user’s hands, but it has some grip handle at the base of the magazine for your other hand to provide additional support and stability while you’re using it. Nail guns offer power, speed, and consistency when working on tasks that require nails.

Nail guns are used in all kinds of home improvement projects including installing plywood or subflooring, attaching boards together to form larger pieces, hanging wallboard (drywall), and much more.

A staple gun is similar to a nail gun except they’re mostly used for tacking thin materials like fabric to wood or metal supports around the home. They come in manual or electric versions.

7. Jigsaw

A jigsaw is a power tool typically used for cutting curves or complicated shapes into wood, plastic, or metal surfaces – often in preparation for sanding and other finishing work. While you could do the same with a hand saw, a jigsaw can make it easier because of its flexibility and maneuverability. The device comes with a variety of blades to accommodate different types of materials so you don’t have to change them out when working on different jobs around the house. Most people start off with corded models before moving onto cordless tools.

8. Router

A router is a power tool typically used to remove large portions of material from a surface while smoothing and shaping it in the process. One of the most popular uses for a router is in woodworking – like when you’re making furniture or cabinetry. You can also use them to add decorative effects to surfaces such as doors, windows, ceilings, and floors. Router bits come in all shapes and sizes depending on what they’re intended for so make sure you know which one you need before taking your project outside or investing in new ones.

9. Drill Press

A drill press is a power tool that lets you make holes in different materials at different depths and angles. They typically come with a table for holding the material steady while it’s being drilled, but this isn’t always the case (especially if you’re using one as part of your workbench). Drill presses are more stable than handheld drills because they come with built-in guide rods that keep everything level during use.

10. Compressor

A compressor is a power tool used to drive pneumatic tools such as nail or staple guns, spray guns, and other devices. One of the main benefits of a compressor is that it provides constant airflow which means you don’t have to worry about air pressure levels when using certain tools. The compressed air produced by a compressor is also more powerful than what you’ll get from a canister or an air tank so you’ll get better performance out of your pneumatic tools when working on home improvement projects with thick surfaces like plywood and metal sheets.

11. Lathe

A lathe is a power tool that’s used for shaping, smoothing, or engraving surfaces. It works by rotating the material around a fixed point (the workpiece) while you guide it to create different shapes and textures. Lathes are typically manually operated but there are some models (like CNC lathes) which come with motorized components instead. A manual lathe can be useful because it gives you more control over the process – especially if you’re using different tools to modify the material’s shape as needed.

12. Power Ratchet Set
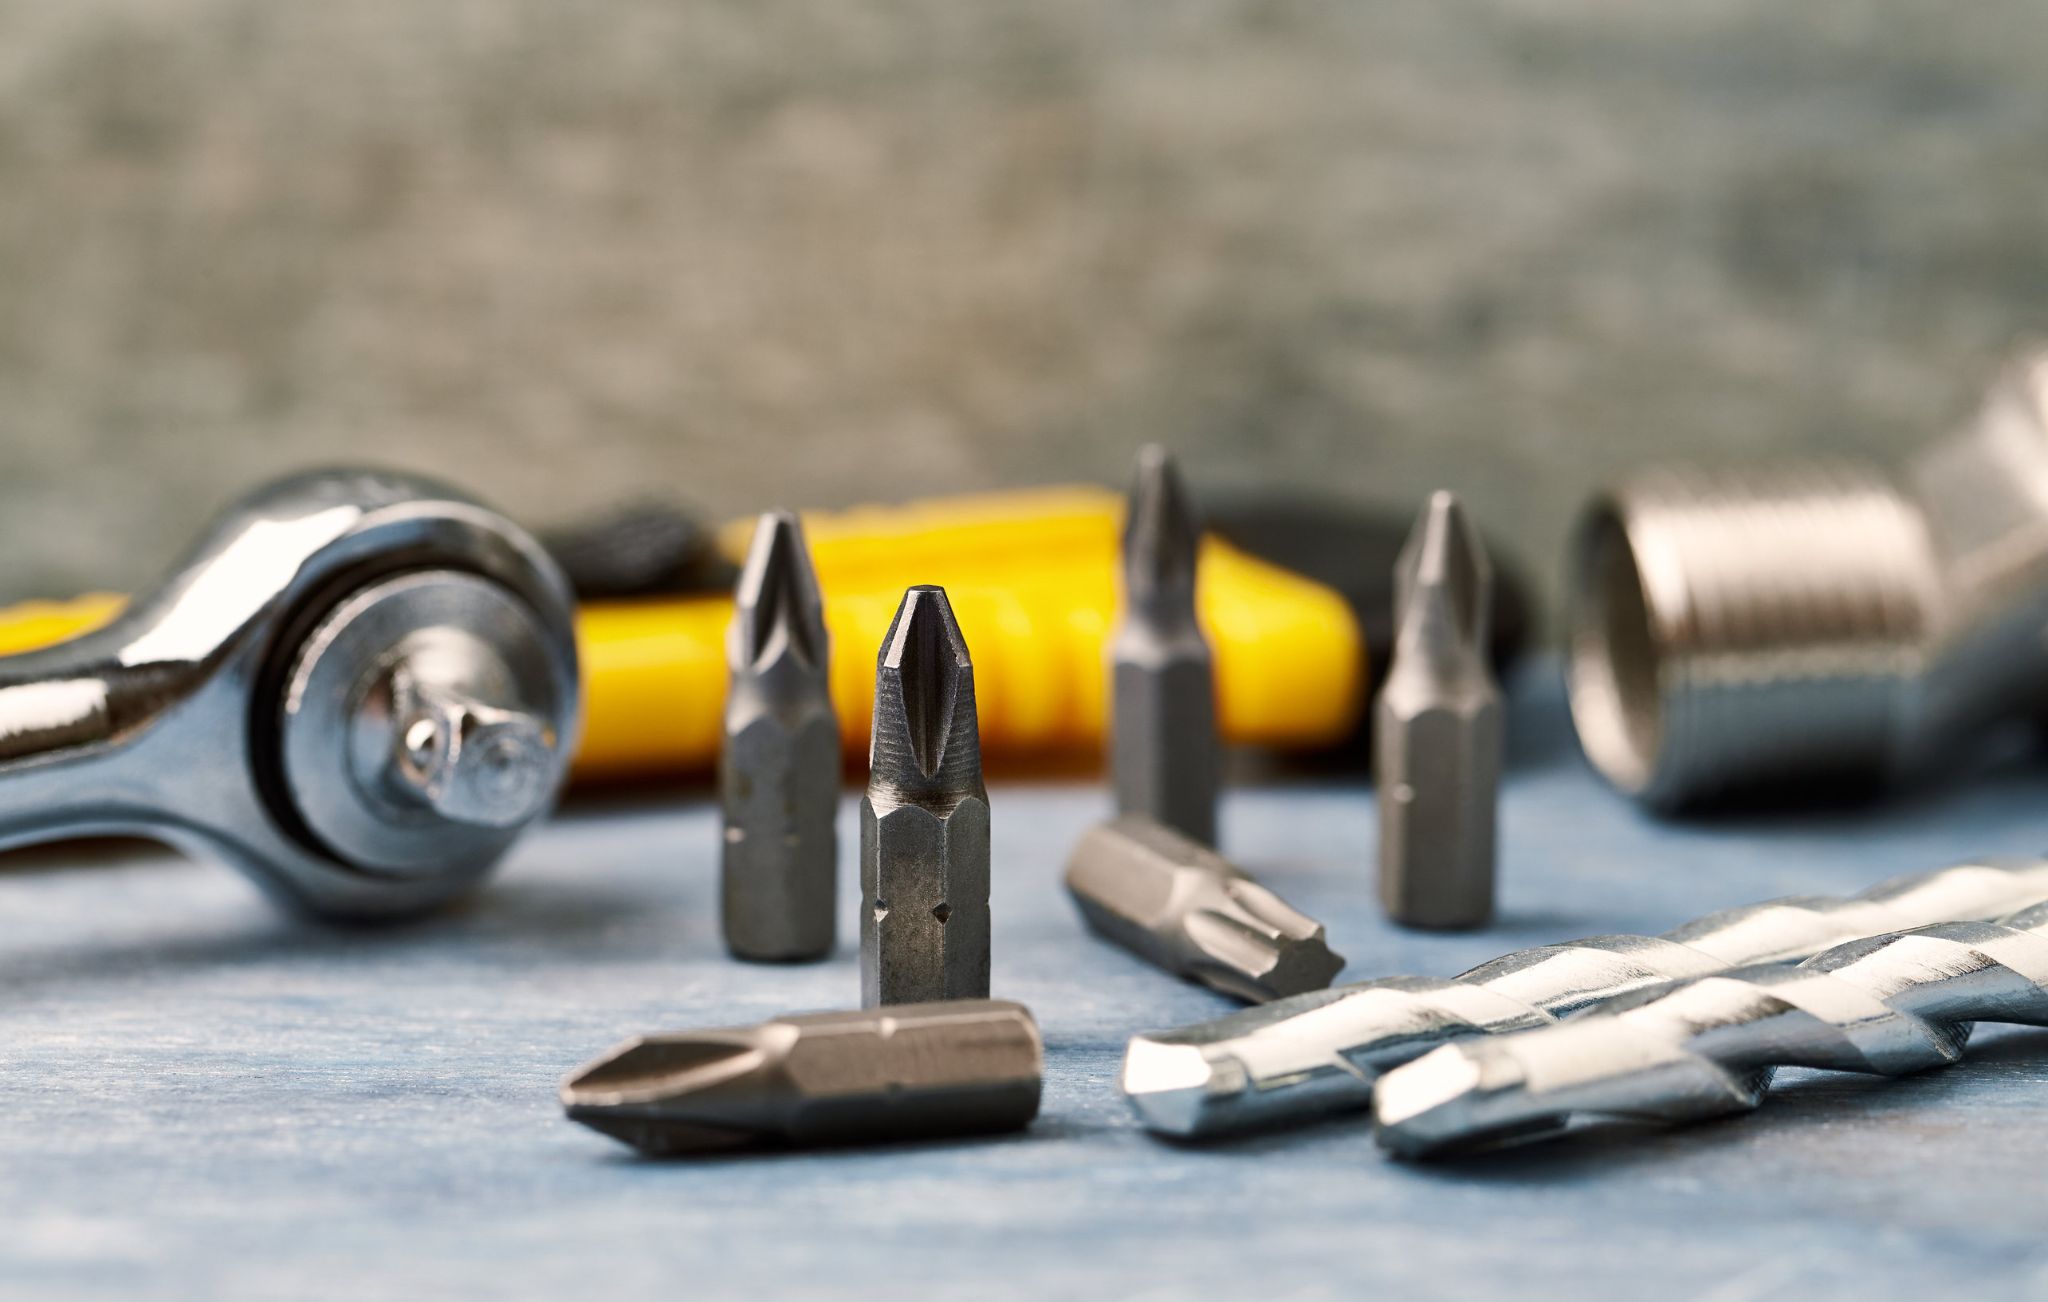
A power ratchet set is a power tool that makes it easier to tighten or loosen nuts, bolts, and other fasteners when assembling furniture, installing appliances around the home, road bike maintenance, and much more. You can use them by hand if you don’t have a socket wrench set but they’re easier to keep track of because everything fits neatly into a storage case – which makes them ideal for DIYers who don’t want to invest in a full-sized socket wrench set.

13. Air Tools

Air tools are similar to pneumatic tools in the sense that they’re powered by compressed air. However, most of them (including nail and staple guns) don’t come with a compressor – which means you need an external power source like a battery pack or an electrical outlet to use them. This can be problematic if you’re trying to work on your home improvement projects outside because it typically requires more setup time and makes the workspace less portable than what you’ll get from cordless models.

Types of Hand Tools

14. Tape Measure

A tape measure is one of the most useful tools for any DIYer to have on hand, and you can use it over and over again over the course of your home improvement projects. It’s common for tape measures to come with a locking mechanism that keeps the blade taut so measurements are more accurate during each use. However, some models don’t have this feature so make sure you know what you’re getting before making an investment.

15. Claw Hammer
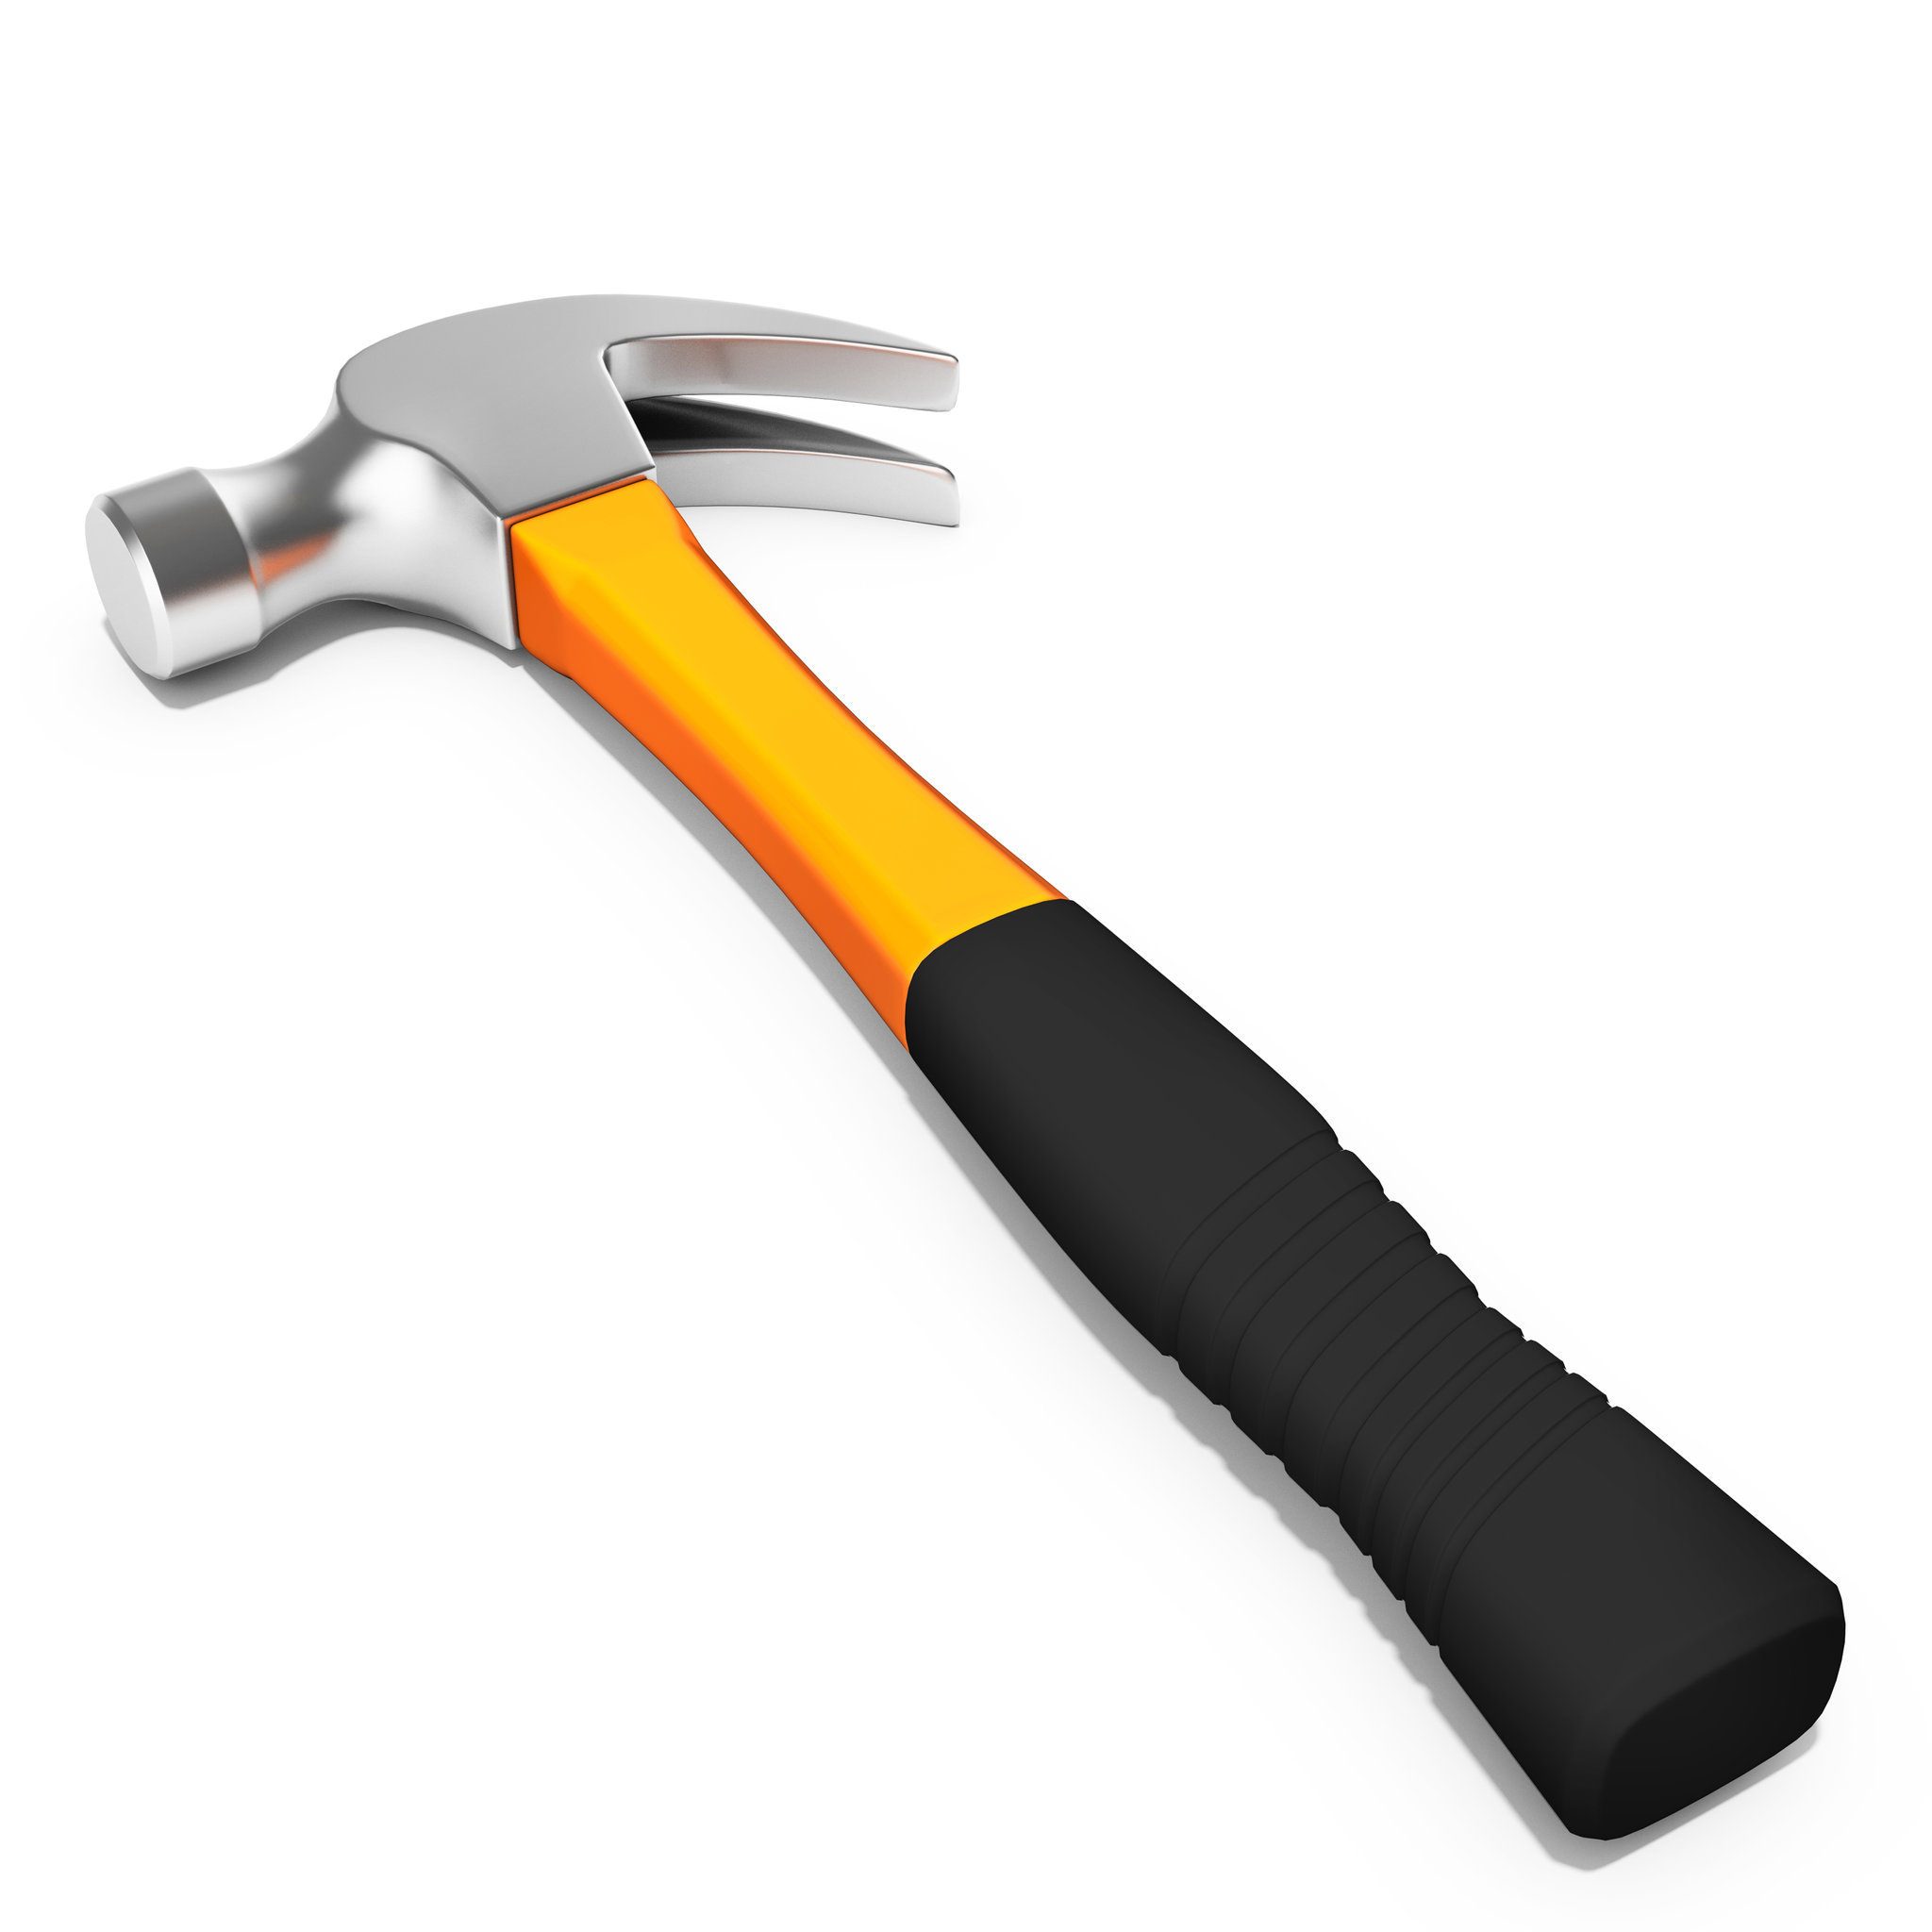
A claw hammer is one of the most valuable hand tools for do-it-yourselfers who need something sturdy enough to drive nails into thick surfaces like plywood or metal sheets without bending or breaking – especially if they’re working alone. The handle should be longer than usual for added leverage which makes it easier for you to strike the nail flush with the board without breaking too much of your strength.

16. Wrench Set

A wrench set is a powerful hand tool that comes in many shapes and sizes, and every DIYer should have at least a few of these on hand during their projects because it can be useful when you need to tighten or loosen nuts, bolts, and other fasteners. Most builders prefer using ratchet wrenches instead of standard ones because they’re more compact and often come with long handles so less strain is put on your back – which makes them ideal for people who want something lightweight but strong enough to do its job efficiently.

17. Pliers

Pliers are helpful tools for any home improvement project, and they’re different from wire cutters – which are only used to cut your wires or cables. You can use pliers to tighten or loosen nuts, bolts, and other fasteners when assembling furniture around the house, add a finishing touch on your home improvement projects, and much more. Some models also have additional features like serrated jaws that can grip materials firmly in place – which makes them perfect for clipping nails without damaging the wood.

18. Level
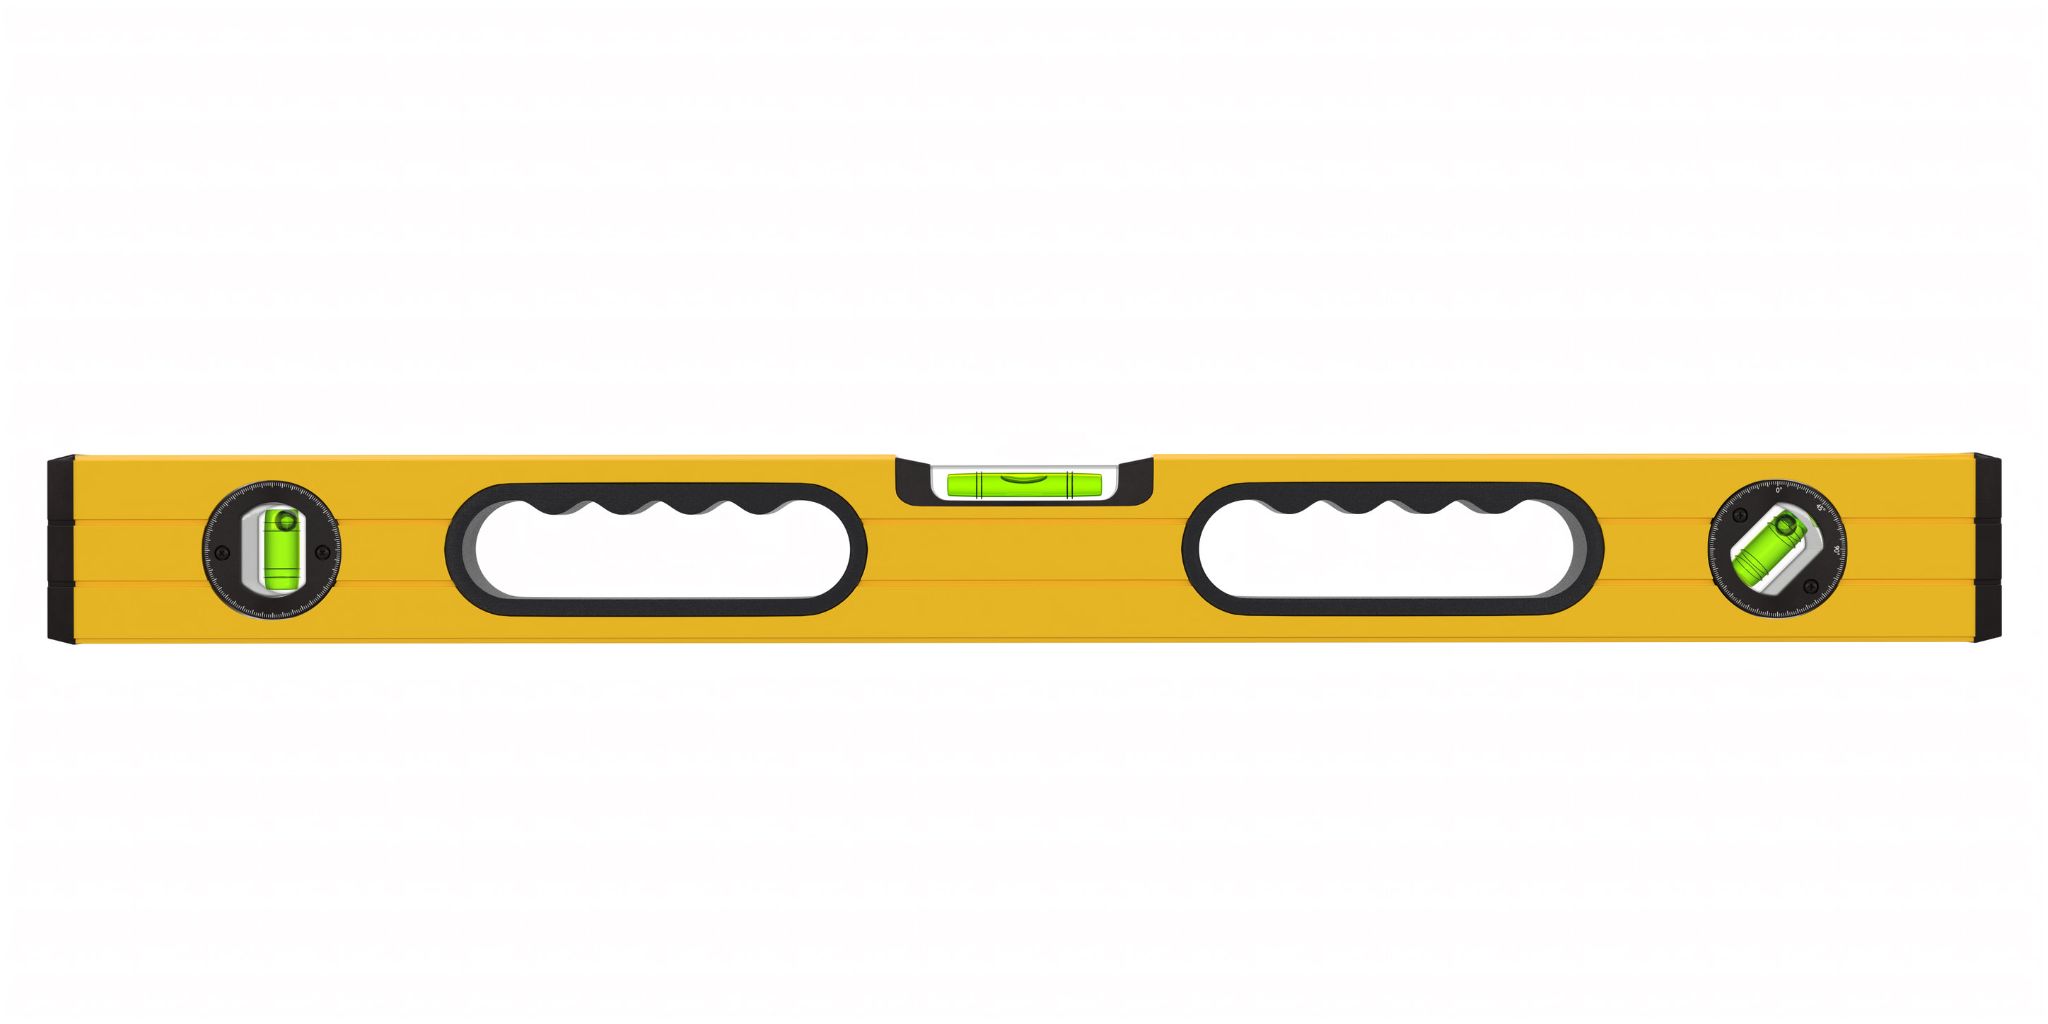
A level is an essential tool for any DIYer who wants to ensure their furniture, appliances, and other projects are up straight. A level is made of several components that let you know when you’re tilting at a certain angle – which makes it easy for you to use the right amount of force without making your work out harder than it needs to be.

19. Wire Strippers

Wire strippers are hand tools with sharp blades designed to cut through electrical wires so they can be stripped properly depending on what you need them for in your home improvement projects. You can find both manual and automatic wire strippers but most builders prefer the latter because they’re more efficient during repeated uses – plus they make less noise while safety around your home in case you’re working with them during the night.

20. Caulk Gun
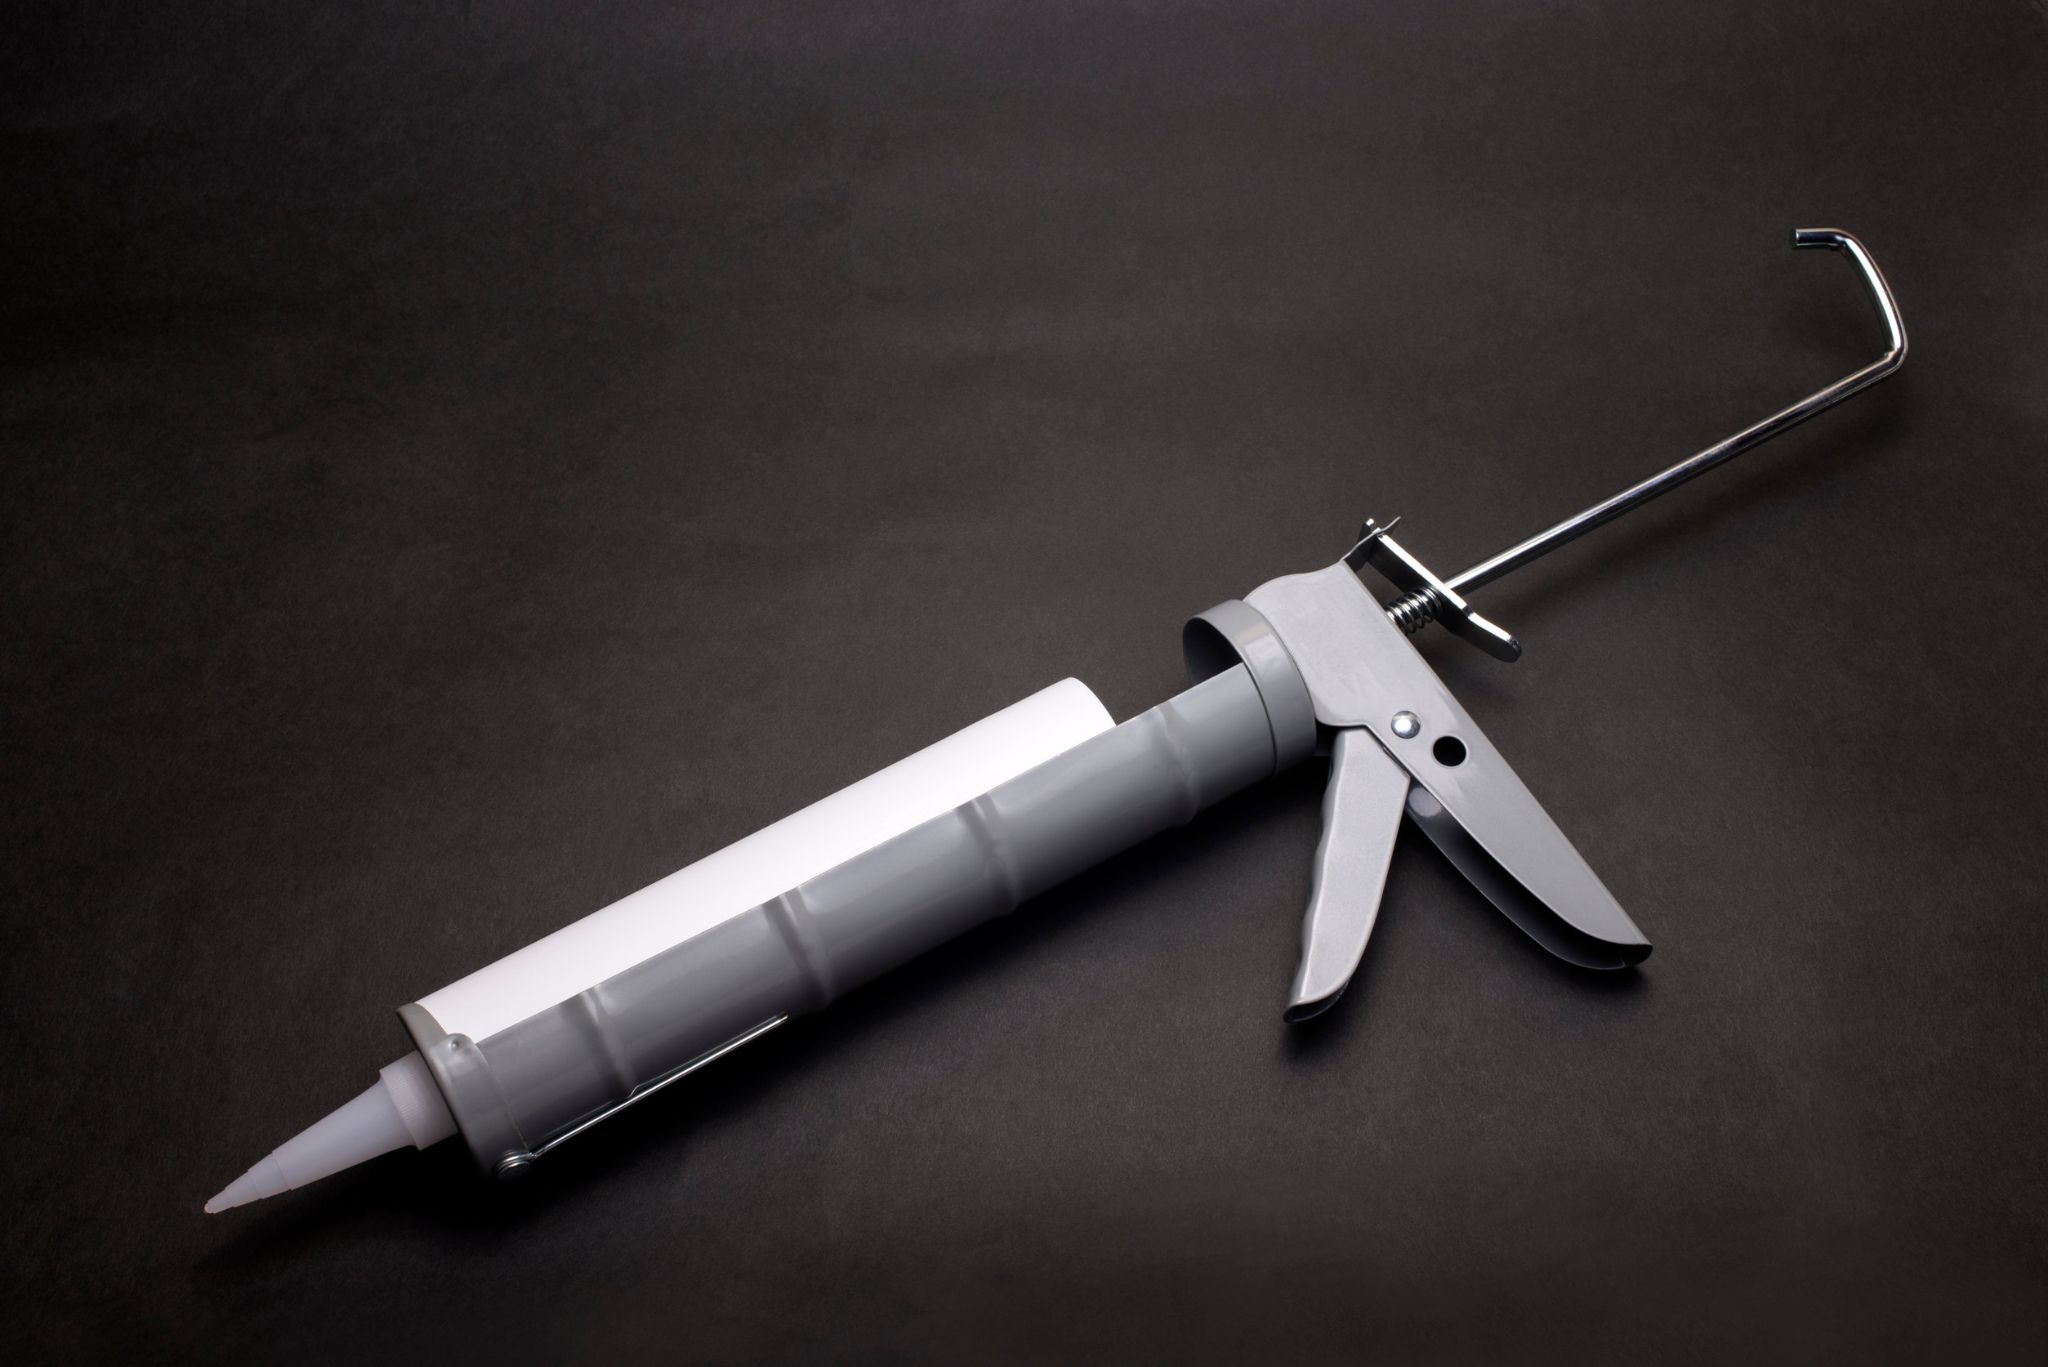
A caulk gun is a hand tool that helps you dispense liquid or semi-liquid sealants in narrow tubes without making a mess when doing DIY projects around your home – just like what you get from silicone or polyurethane caulk. You can use these kinds of sealants for decorative purposes such as painting walls and woodwork, filling small gaps to avoid drafts and much more. However, most people use it on their windows and doors because they’re responsible for keeping heat inside your home during winter and cold weather throughout the rest of the year – which means you need to find out if this kind of sealant will work well with your window frame.

21. Adjustable Wrench

An adjustable wrench is a versatile hand tool that can be adjusted based on the size of the fastener you’re working on. It’s also useful for people who need something they can use more than once because it lets you adjust the opening so this kind of wrench will fit any type of fastener – which makes it perfect for people with limited storage space because it won’t take up too much space in your toolbox or cabinet.

22. Allen Wrench

An Allen wrench is a common hand tool that comes in different shapes and sizes, but it always has a hexagonal-shaped hole at the end. This kind of wrench is very useful for people who like to work on DIY projects around the house because it’s not only easy to use – you can find one no matter what type of fastener your project requires so you won’t have any problems with miscellaneous parts.

23. Chisel

A chisel is a small hand tool with a flat blade attached to its end that’s used for carving wood, plastic or other materials. It’s also useful for cleaning corners and inside grooves, which makes it perfect if you’re repairing a door frame or baseboard.

24. Plunger

A plunger is a simple hand tool that has a rubber suction cup on its bottom so it can grip onto surfaces and provides enough force to unclog your toilet by creating an airtight seal around the hole. Some models also have wooden handles so they don’t give out as much pressure as standard plungers do – plus they look more elegant than the average plunger head.

25. Utility Knife

A utility knife is a common hand tool that consists of a handle with an exposed blade so you can cut through common materials like cardboard, drywall, wood and roofing material easily without putting too much stress on your muscles – although you might need to apply some force depending on the density of the material.

26. Diamond Stone
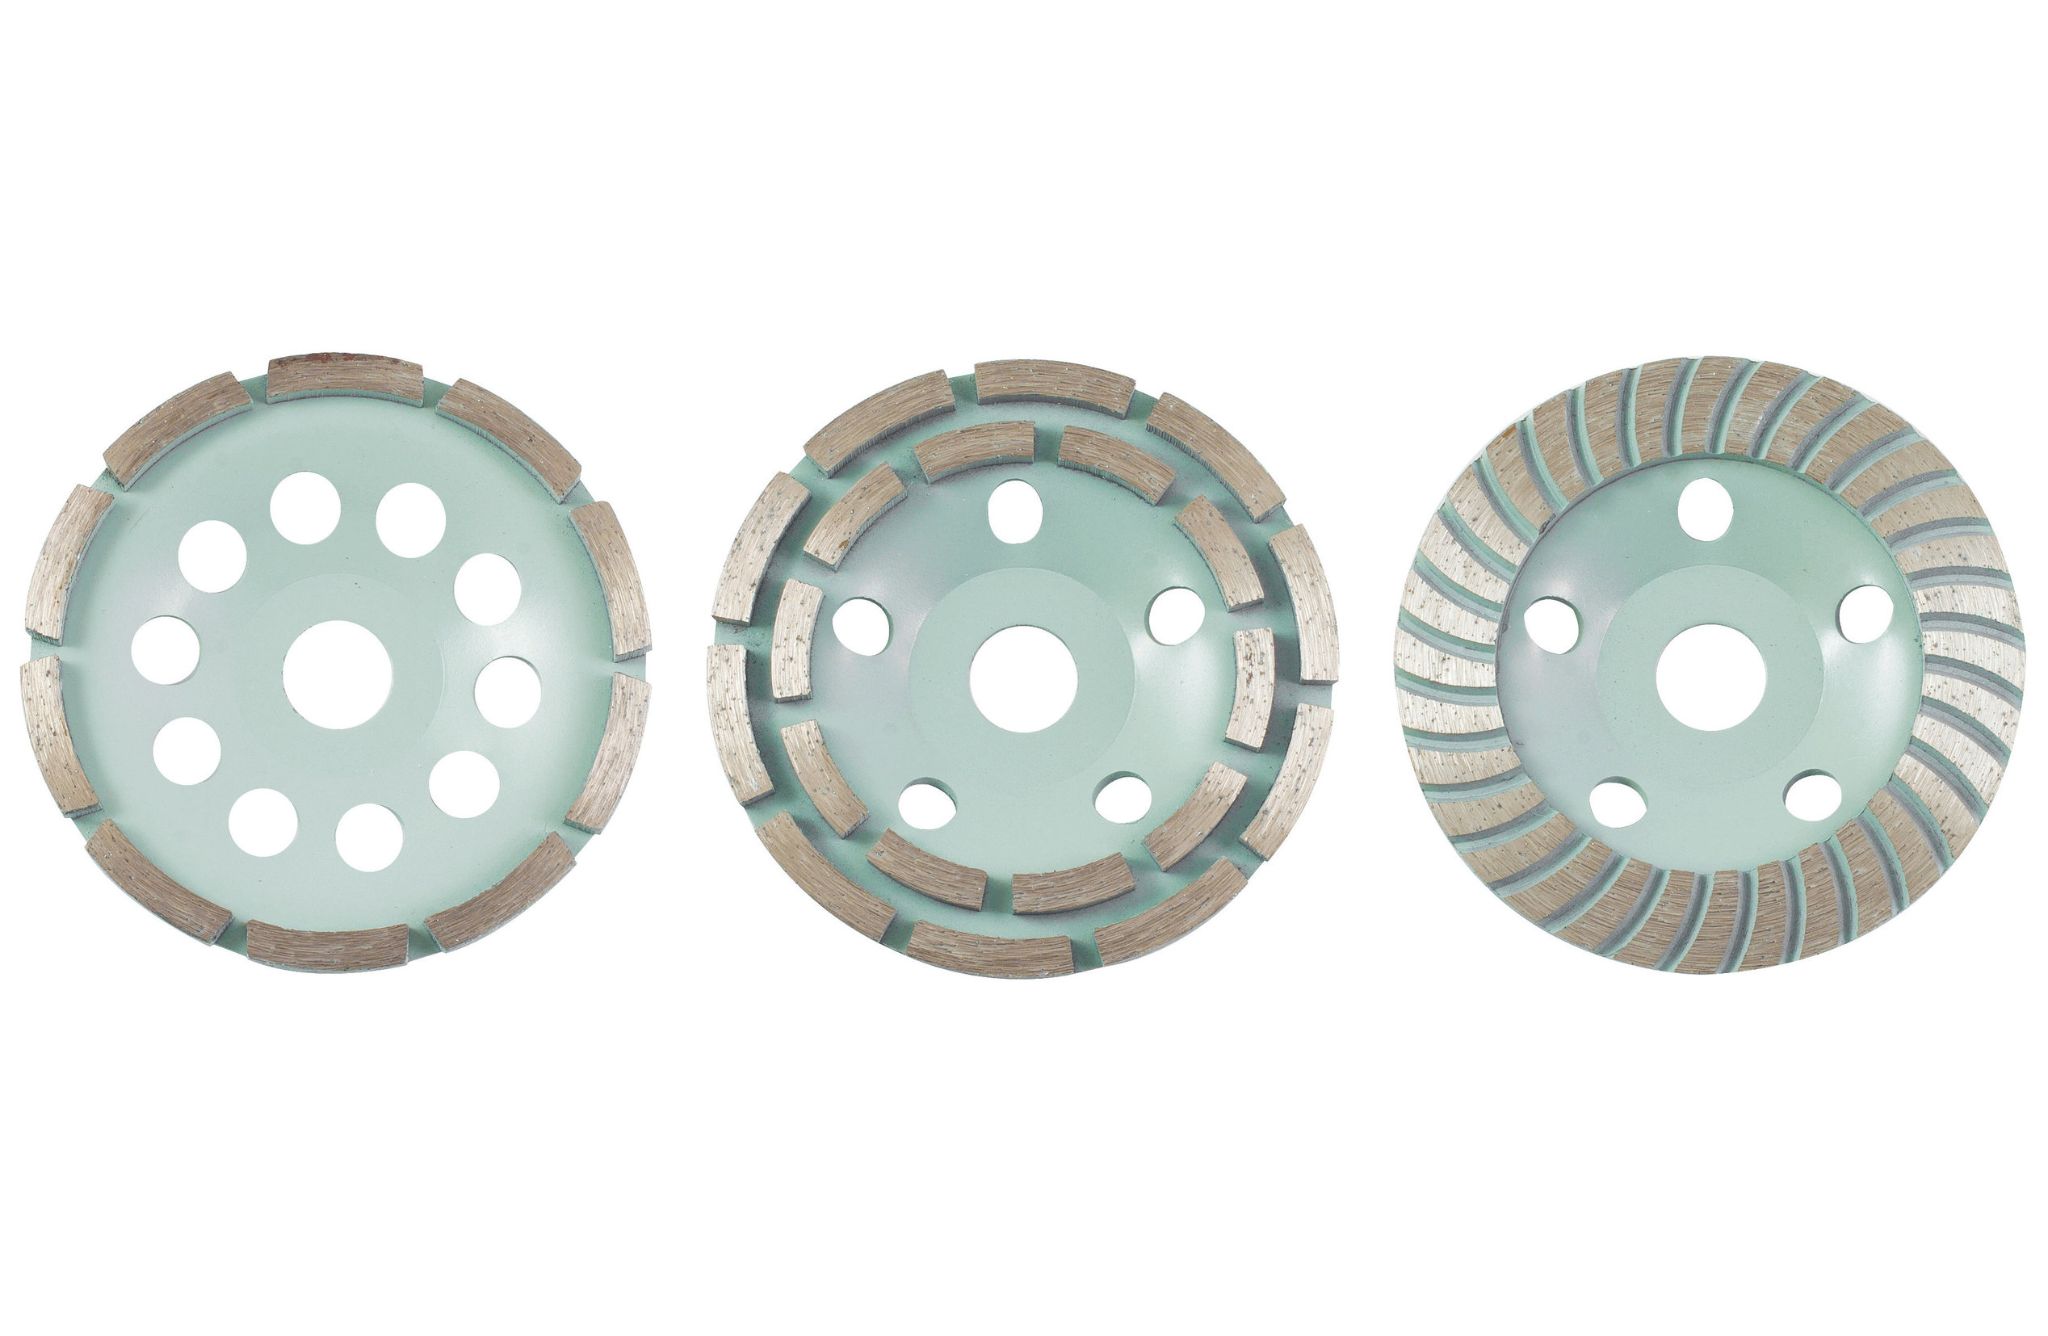
A diamond stone is a small sharpening stone that has a hole in the middle so it can fit onto a metal rod or other tools with a similar size – which lets you sharpen knives, chisels, blades and other cutting utensils without wearing out your arm muscles.

27. Pry Bar

A pry bar is another versatile hand tool that’s best known as a crowbar because of its shape and metal construction. You can use this kind of hand tool to remove nails from wood, old roof shingles and other materials because it creates enough force so you won’t have to put too much pressure on your arms while doing DIY projects around the house. However, make sure it fits properly inside nail slots so you don’t break the material you’re removing the fastener from.

28. Clamp

A clamp is a hand tool that has a metal rod with two small arms on the top and bottom – which lets you hold pieces of wood or other materials in place while you work on fastening them together. However, make sure you find out how high the clamp goes so it won’t damage your project because most clamps can extend from half an inch to several inches depending on the size.

29. Wire Stripper
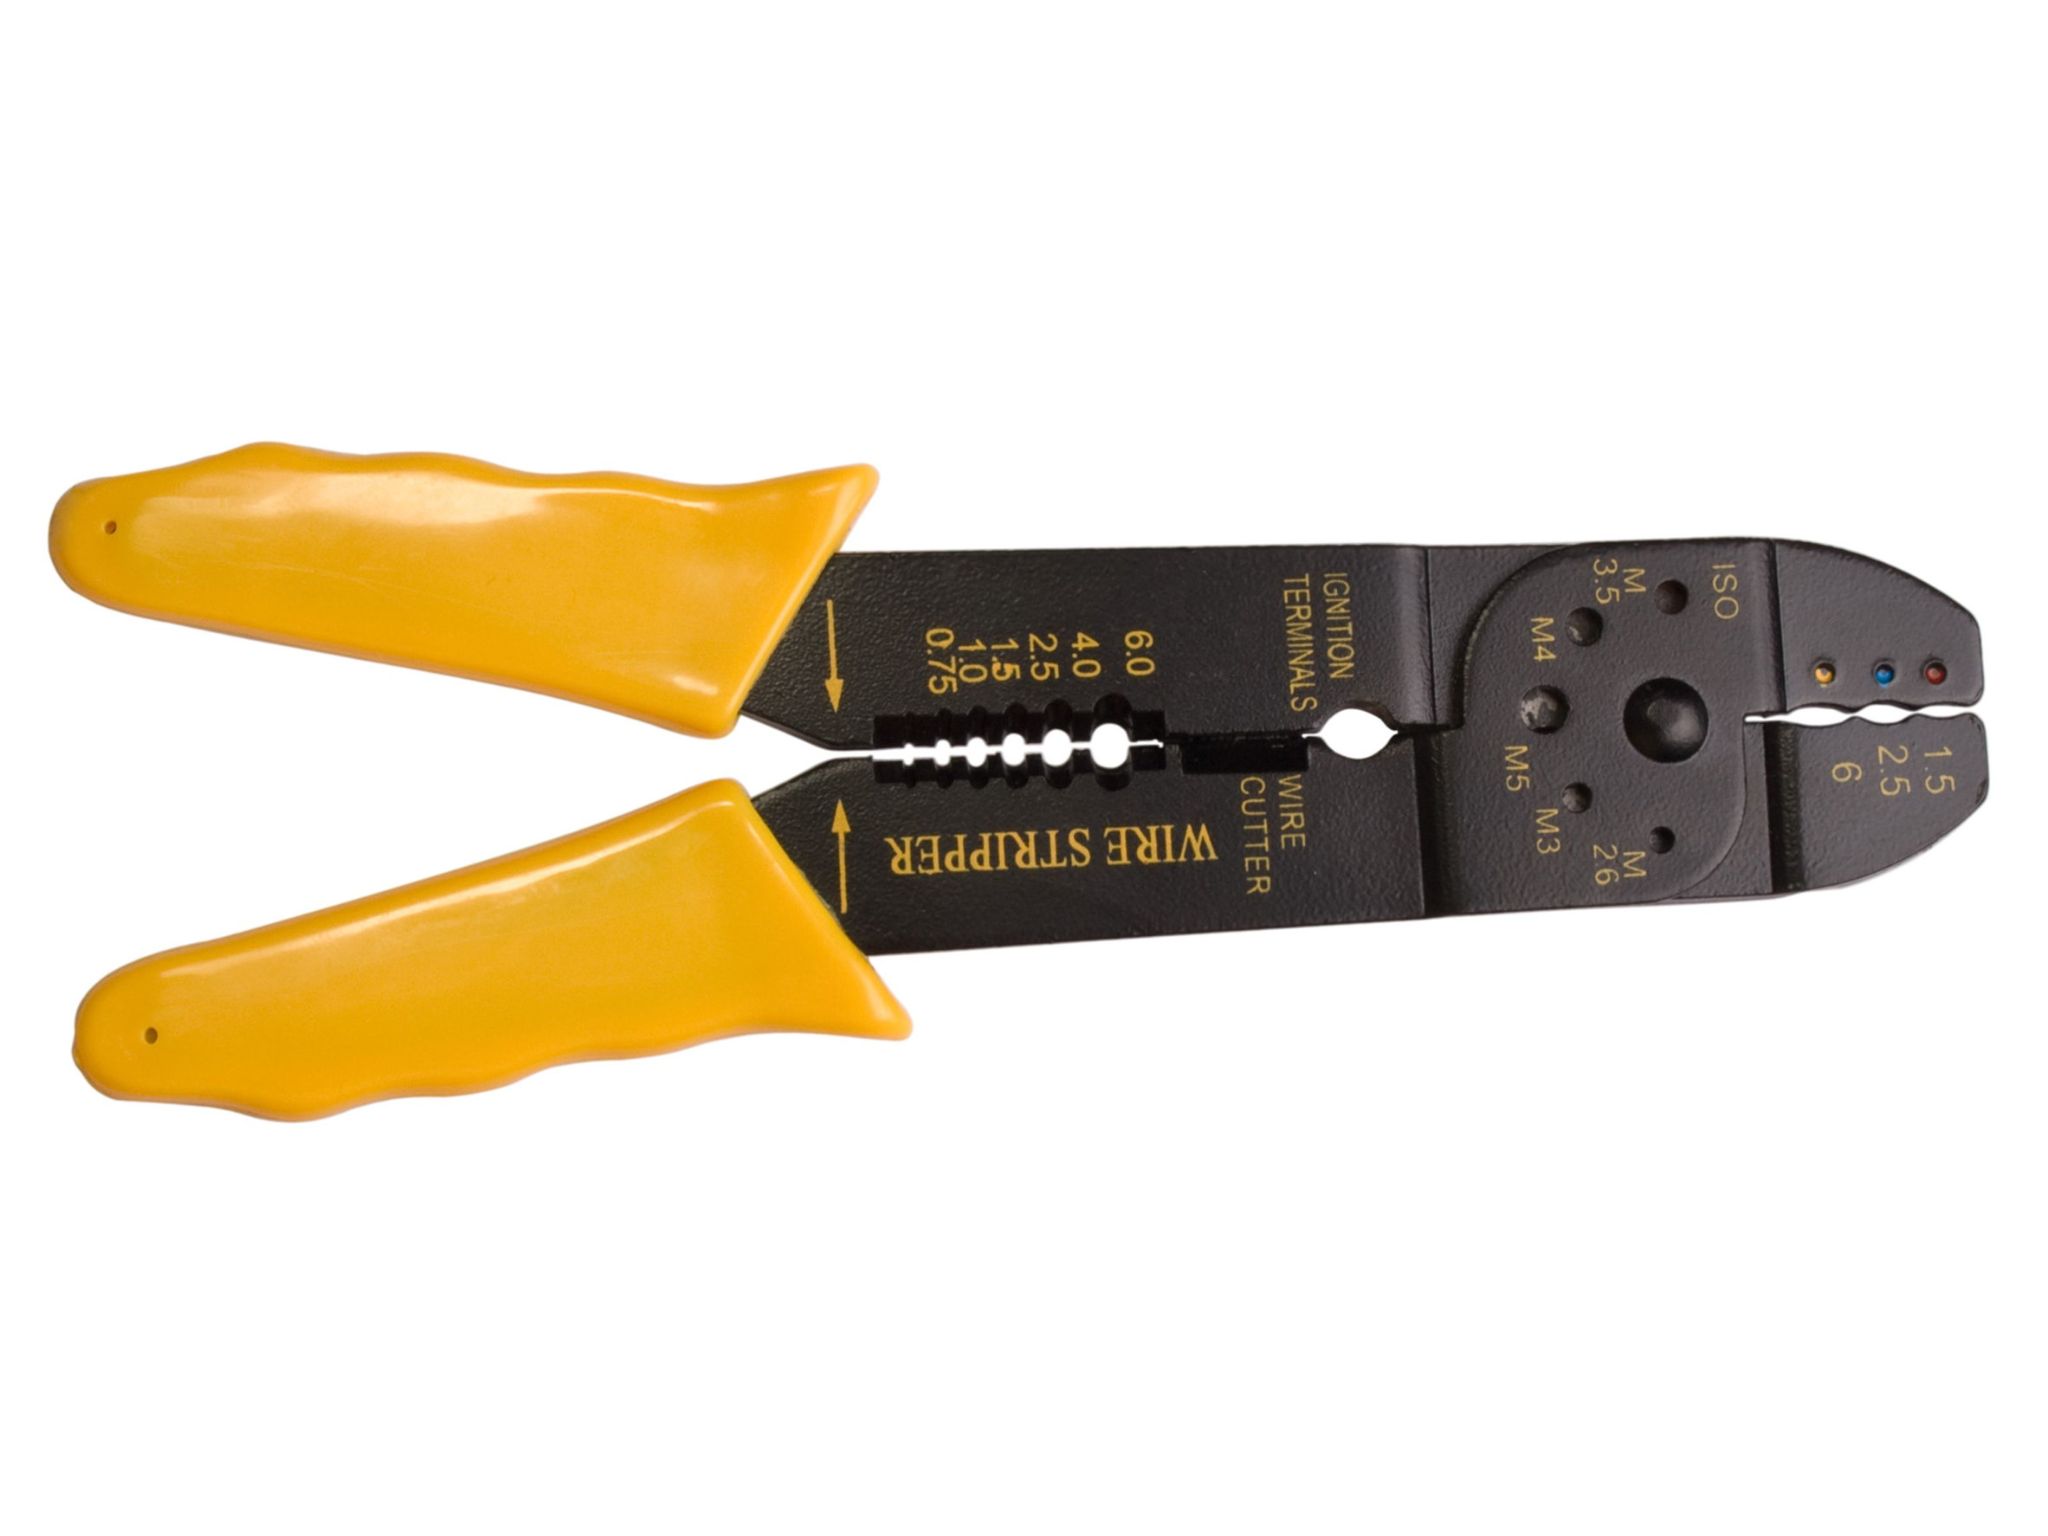
A wire stripper is a common hand tool that has a sharp blade on one side and an adjustable notch on the other so it can remove insulation off electrical wires – which lets you connect electrical components to each other without damaging them or your skin.

30. Hammer

A hammer is a hand tool that consists of a metal head attached to a wooden handle, which makes it easy for you to drive nails and other fasteners into surfaces because it creates enough force so you won’t put too much pressure on different parts of your body while working on DIY projects. However, make sure the material isn’t too hard or else the hammer might break after several uses.

31. Putty Knife

A putty knife is a small hand tool that has a flat blade with rounded edges, which makes it perfect for applying putty onto your walls and other surfaces. You can also use it to scrape off old paint or caulk from your walls if you don’t have time to repaint them, which is why some people call this kind of knife a “spackle knife”.

32. Trowel

A trowel is a small hand tool that has a rounded blade attached to a handle and is used for digging holes and moving around loose materials – like gravel and sand during construction projects. Some trowels can also be used as paint scrapers if their blades are thin enough, which makes them perfect for applying pastes or sealants onto your walls without damaging the material underneath.

Types of Gardening Tools

33. Rake

A rake is a garden tool that has a long handle and a series of projecting metal, plastic or wooden strips attached to the head so you can collect materials like dead leaves and twigs in your garden. You can also use it for smoothing out soil if you want to plant some crops or flowers.

34. Hoe

A hoe is another gardening tool that’s best known as a cultivating tool because of its design, which lets you remove weeds from the ground by digging into the dirt right beneath their leaves with the blade. Some models even have sharp blades on both sides so they can cut through thick roots more easily – which makes them perfect for landscaping projects where you need to remove big bushes or trees without hurting yourself.

35. Pruning Saw
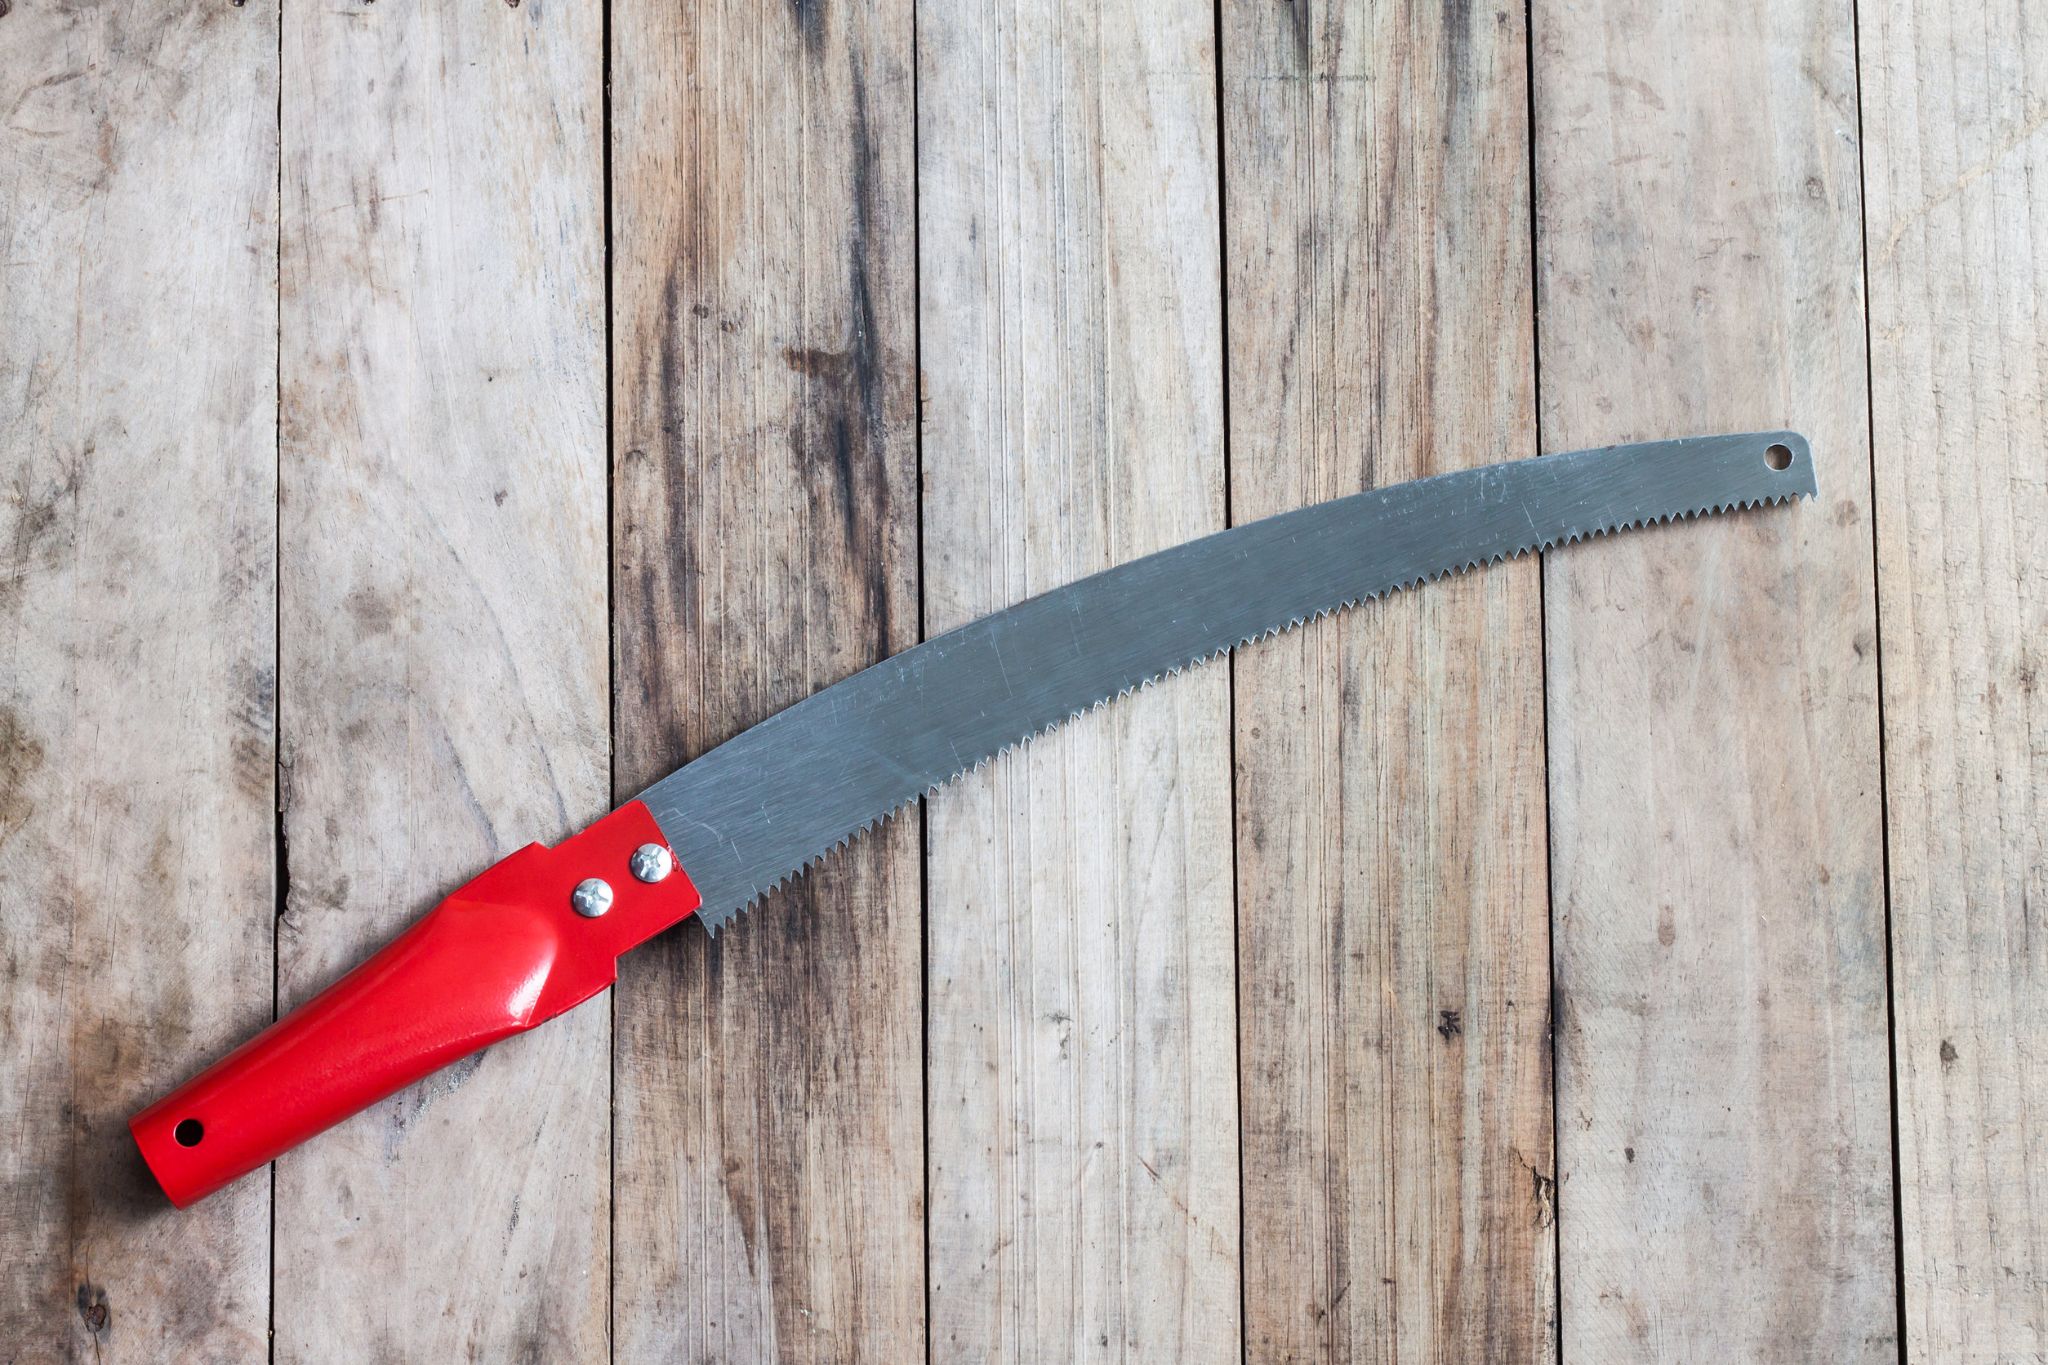
A pruning saw is a hand tool that has a blade with a sharp point on one side and a serrated edge on the other, which looks similar to a hacksaw – except it’s smaller in size. You can also use this kind of tool for trimming thicker branches because its blades are about six inches long, which makes them perfect for cutting through materials without exerting too much pressure on your arms.

36. Pruners
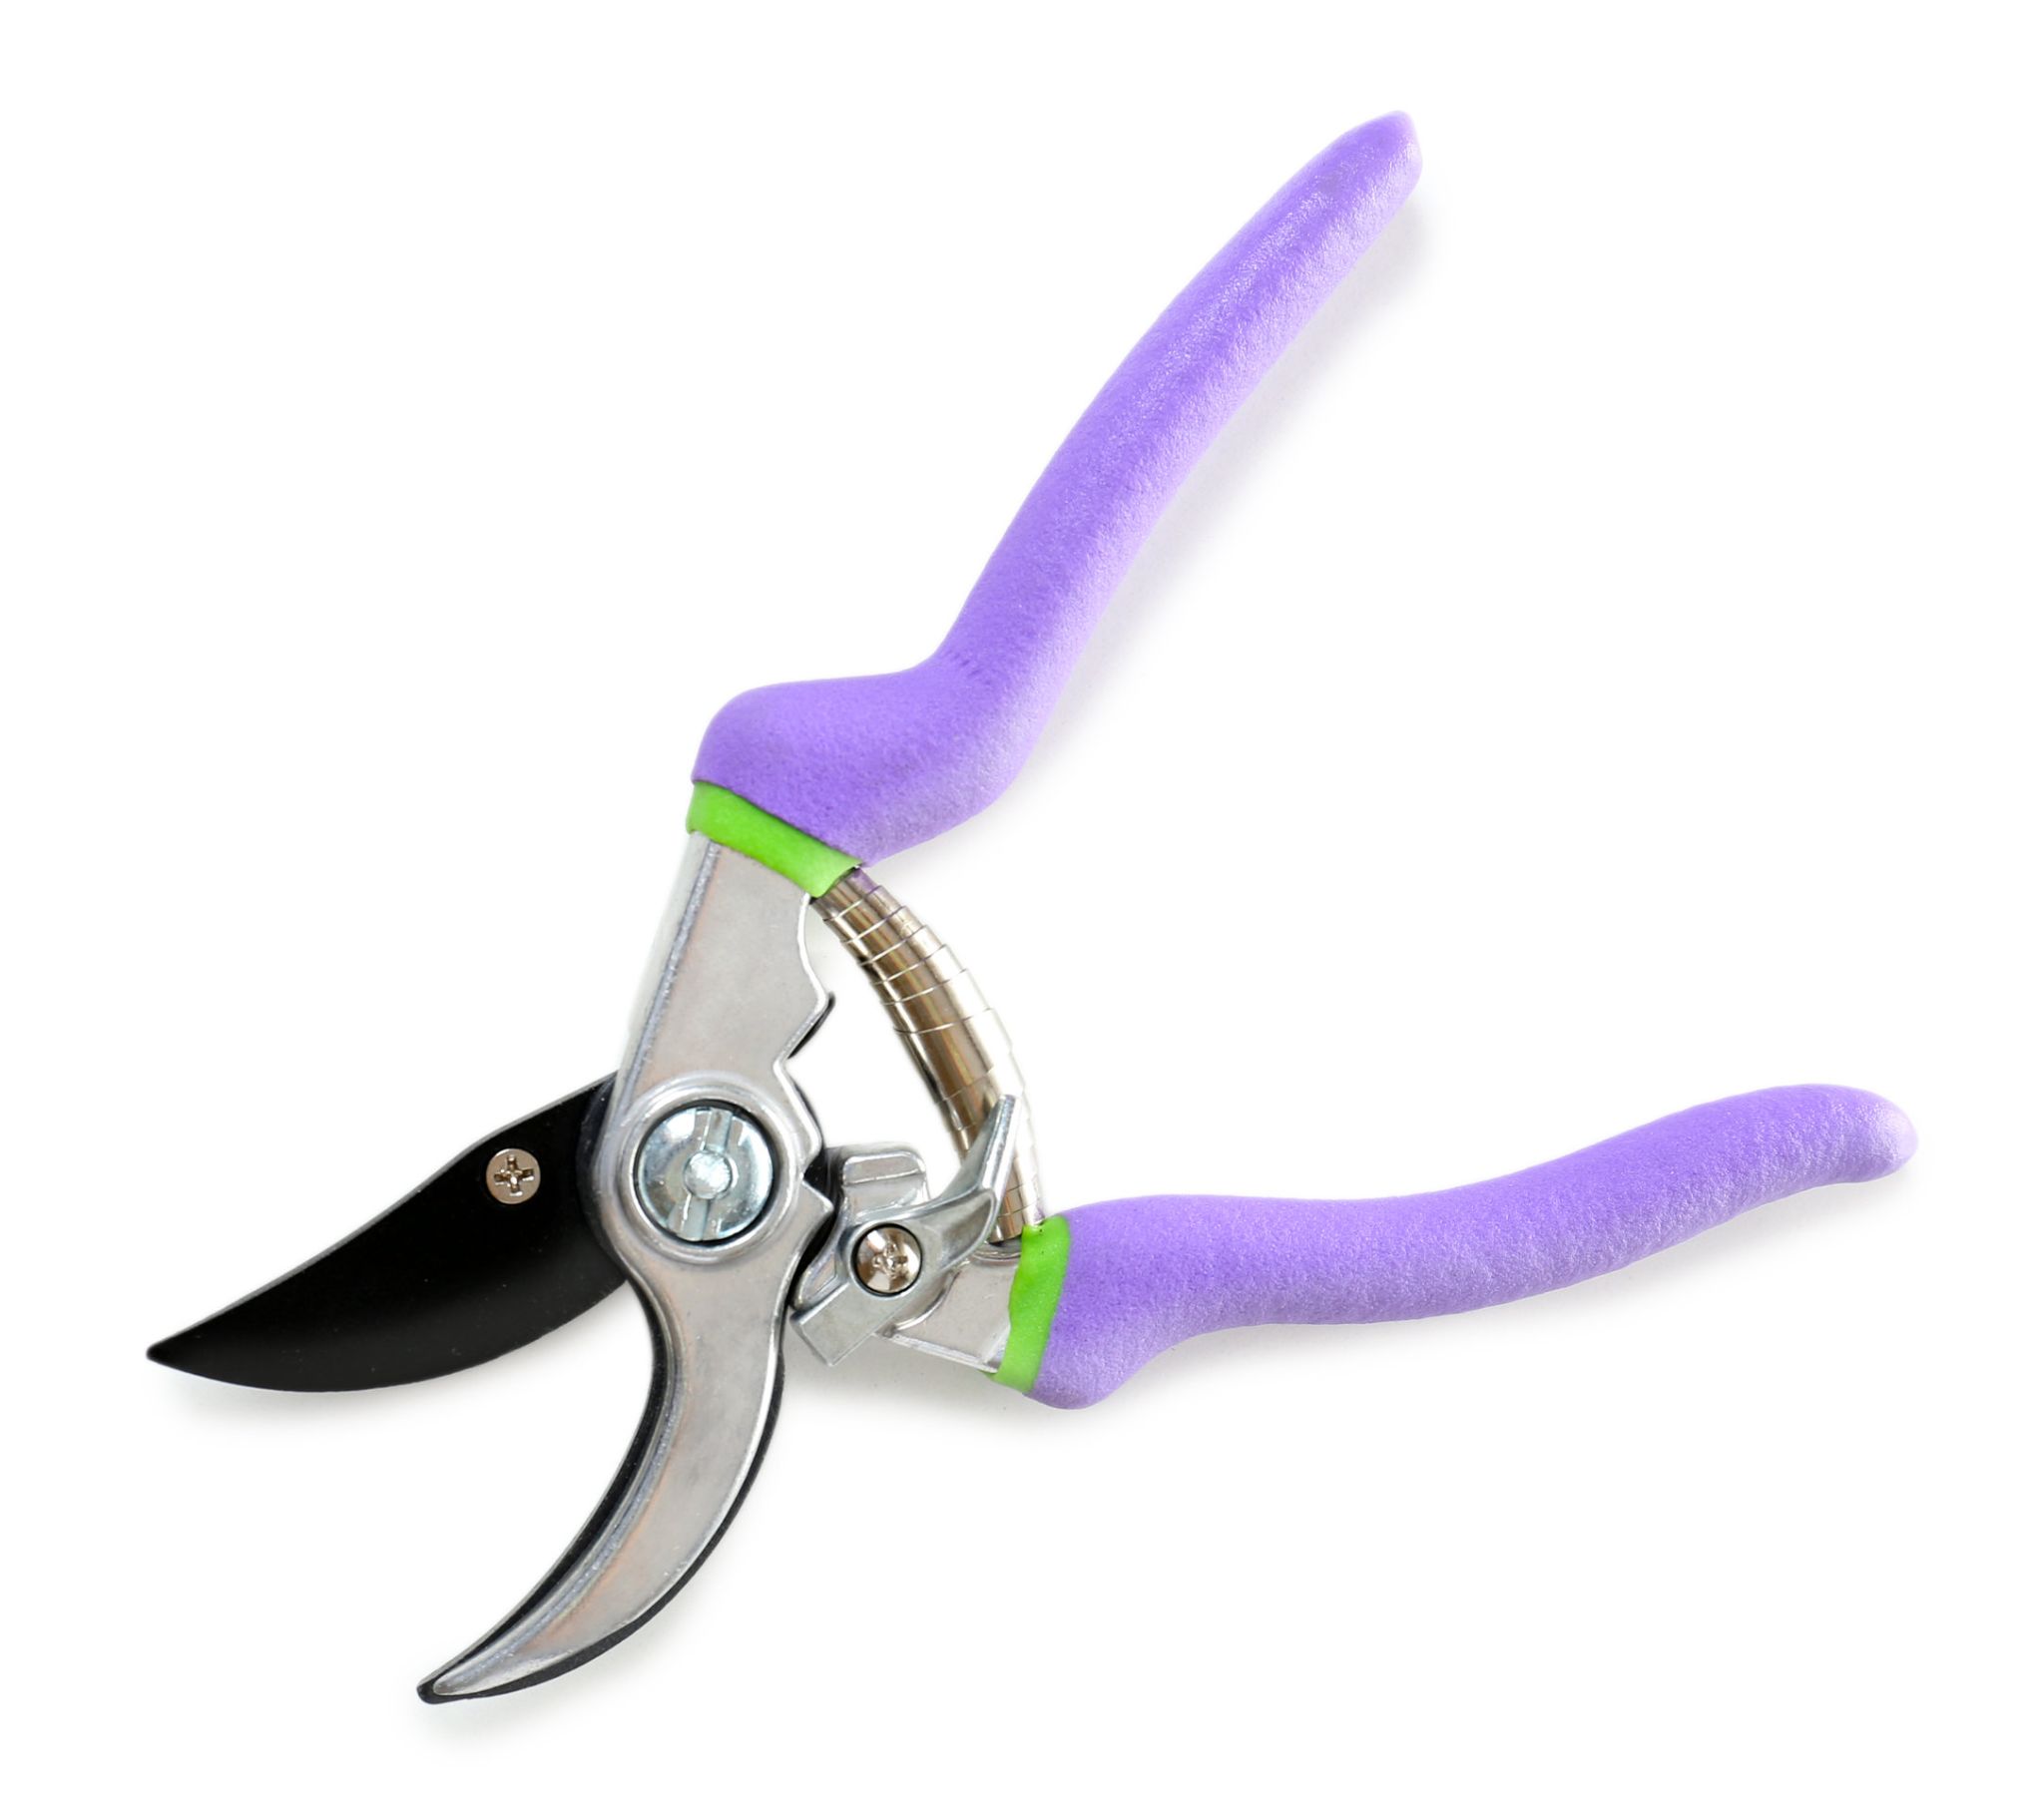
Pruners are another type of gardening tool that have two semi-circles made from metal or plastic attached to either end of a handle – which lets you cut small twigs and leaves with ease by placing them between both blades before the handles together until the blades meet.

37. Watering Can

A watering can is a gardening tool that consists of a container with a narrow spout on one side so you can control where the water comes out, which means it’s really helpful if you want to water plants evenly across an entire garden at once or fill up other tools like a lawn with water.

38. Hose

A hose is a device that has a series of small tubes running throughout its frame so it can carry out liquids with ease, which makes it perfect for watering plants and grass in your garden because the liquid moves faster than you could ever move by carrying around buckets or watering cans one at a time while walking back and forth across your garden. However, make sure you don’t leave it hanging out in the sun for too long because some kinds of hoses are made from plastic instead of metal – which means they’ll melt if exposed to high temperatures.

39. Shears

Shears are another gardening tool that have two blades attached to either end of a handle – which allows you to cut thick or thorny branches more easily because they apply less pressure than if you were using your hands to cut them.

40. Shovel

A shovel is a gardening tool that has a long handle and a flat metal or plastic blade at one end so you can move material from one place to another without too much trouble, which makes it perfect for reaching hard-to-get sources of water in your garden if you need something to drink right away.

41. Digging Fork
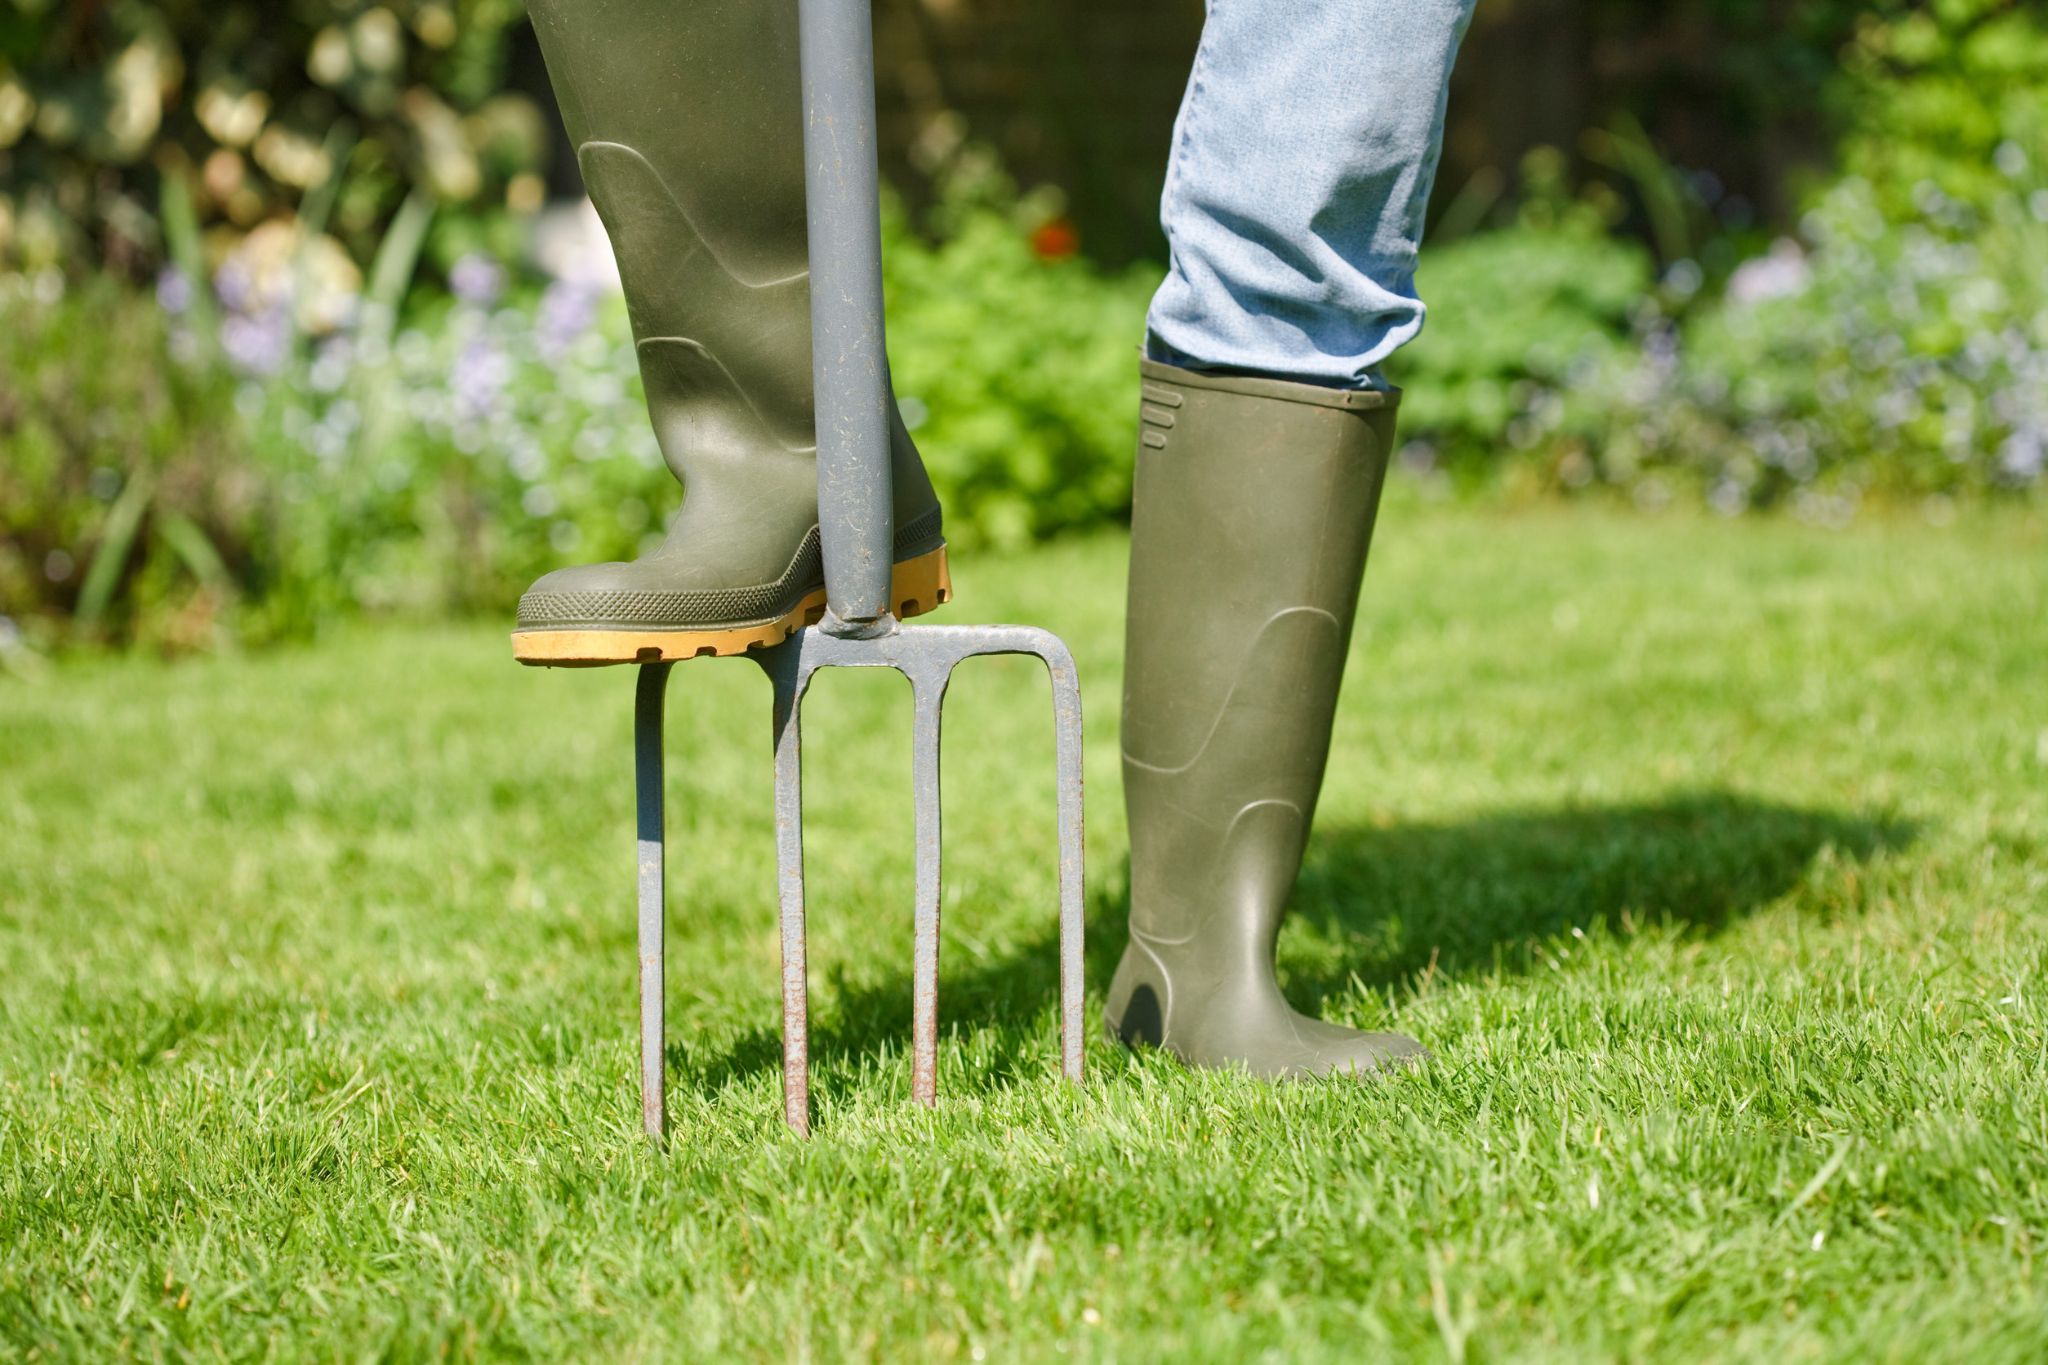
A digging fork is a gardening tool that has four large tines attached to a wooden or plastic handle – which lets you dig into dirt with ease because the shape creates more force when you push down on the ground compared to other types of shovels, rakes and forks out there. In other words, this kind of garden tool is great for loosening up soil before you plant any seeds or lay down new sod in your yard.

42. Lawn Mower

A lawn mower is a gardening tool that has a metal blade attached to a wheel, which can move from side to side as you push it back and forth on the ground so grass blades cut more easily against its sharp edges instead of getting tangled up in them. Some models even have motors inside of them so they don’t rely on you pushing them across a patch of grass – although most people still refer this kind of device as a lawn mower because it sounds cooler than “self-propelled motorized mini-grass cutter.”

43. Leaf Blower
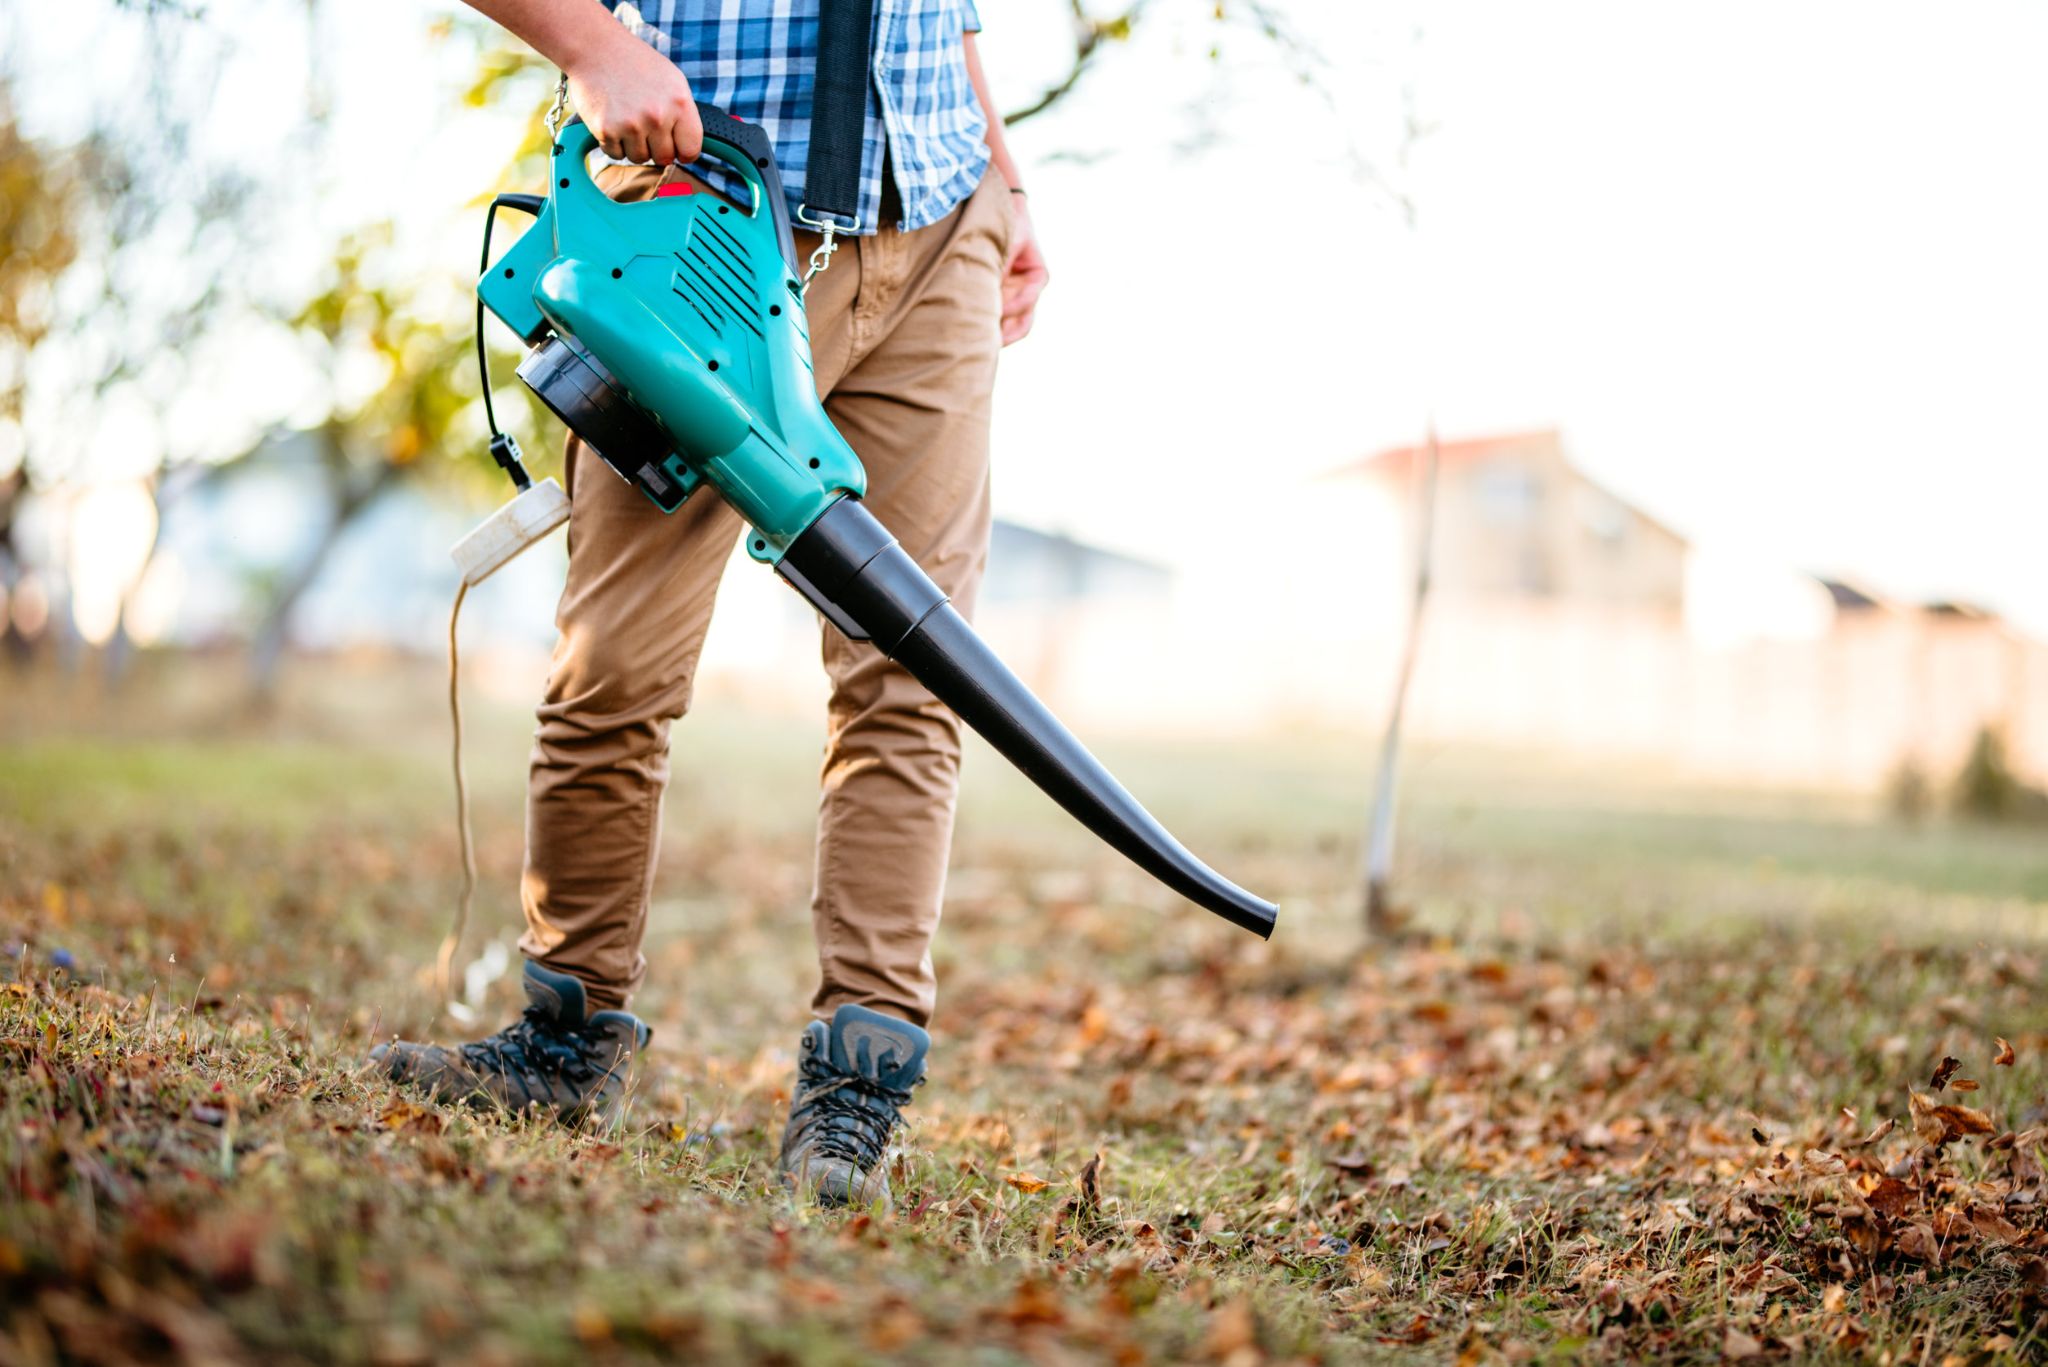
A leaf blower is another type of lawn mower that uses air instead of blades to clear out leaves from your yard, which is especially useful if you want to keep your garden looking nice for the entire year instead of just during fall.

44. Hedge Shears

Hedge shears are another type of gardening tool that have two blades attached to either end of a handle – which lets you cut hedges with ease by placing them between both blades before the handles together until the blades meet. However, some people like shaping their hedges into more creative designs by cutting away at them without making them too even or symmetrical. So feel free to improvise on this one!

45. Hoe/Cultivator

A hoe is a gardening tool that has a long handle with a flat blade attached to either end of it so you can turn over the soil in your garden or remove weeds that grow inside of it, which is useful if you want to fertilize your soil with manure or compost instead of just keeping it plain old dirt.

46. Rake

A rake is another type of gardening tool that has a long pole with a metal frame at one end and thin wire bristles on the other side – which lets you move material from one place to another without too much trouble, making this kind of device perfect for shifting around piles of leaves in your yard after Autumn comes. However, make sure not to scratch up your lawn too badly when you’re done because any permanent damage could cause your grass to die off or be less resistant to weeds in the future.

47. Hedge Trimmer

A hedge trimmer is another type of gardening tool that has a long handle with saw-blade teeth attached to it – which means you can cut thick or thorny branches more easily because the blades apply less pressure against your skin than if you were using your hands to cut them.

48. Roto Tiller

A roto tiller is another kind of gardening tool that has two metal shafts attached to either end of a wheeled frame – which lets you cut up dirt faster because the blades spin at a faster speed than if you were using your hands to do it. So feel free to hop on this one and keep tilling until your garden is as lovely as can be.

49. Wheelbarrow

A wheelbarrow is a gardening tool that has a wheel attached to either end of a metal pole so you can move large amounts of material around your yard with ease, which is great for moving piles of leaves, dirt or compost from one place to another. However, some wheelbarrows have open tops so the wheel part actually functions as one giant scoop – which means you have to be careful not to spill anything while carrying it.

Tools by Job

50. Hardwood Flooring Installation Tools

Now that hardwood flooring is more affordable and accessible, it’s a great choice for weekend projects.

Hardwood remains to be the top choice for flooring. It first became a viable option back in 1600 when only wealthy individuals could afford them as they had to have professionals install it themselves on their homes due to its rarity at the time but now things are different because installing one can all by yourself with just your weekends free even if you don’t have much experience so long as you’re willing and ready which makes this product worth checking out.

51. Tile Flooring Tools
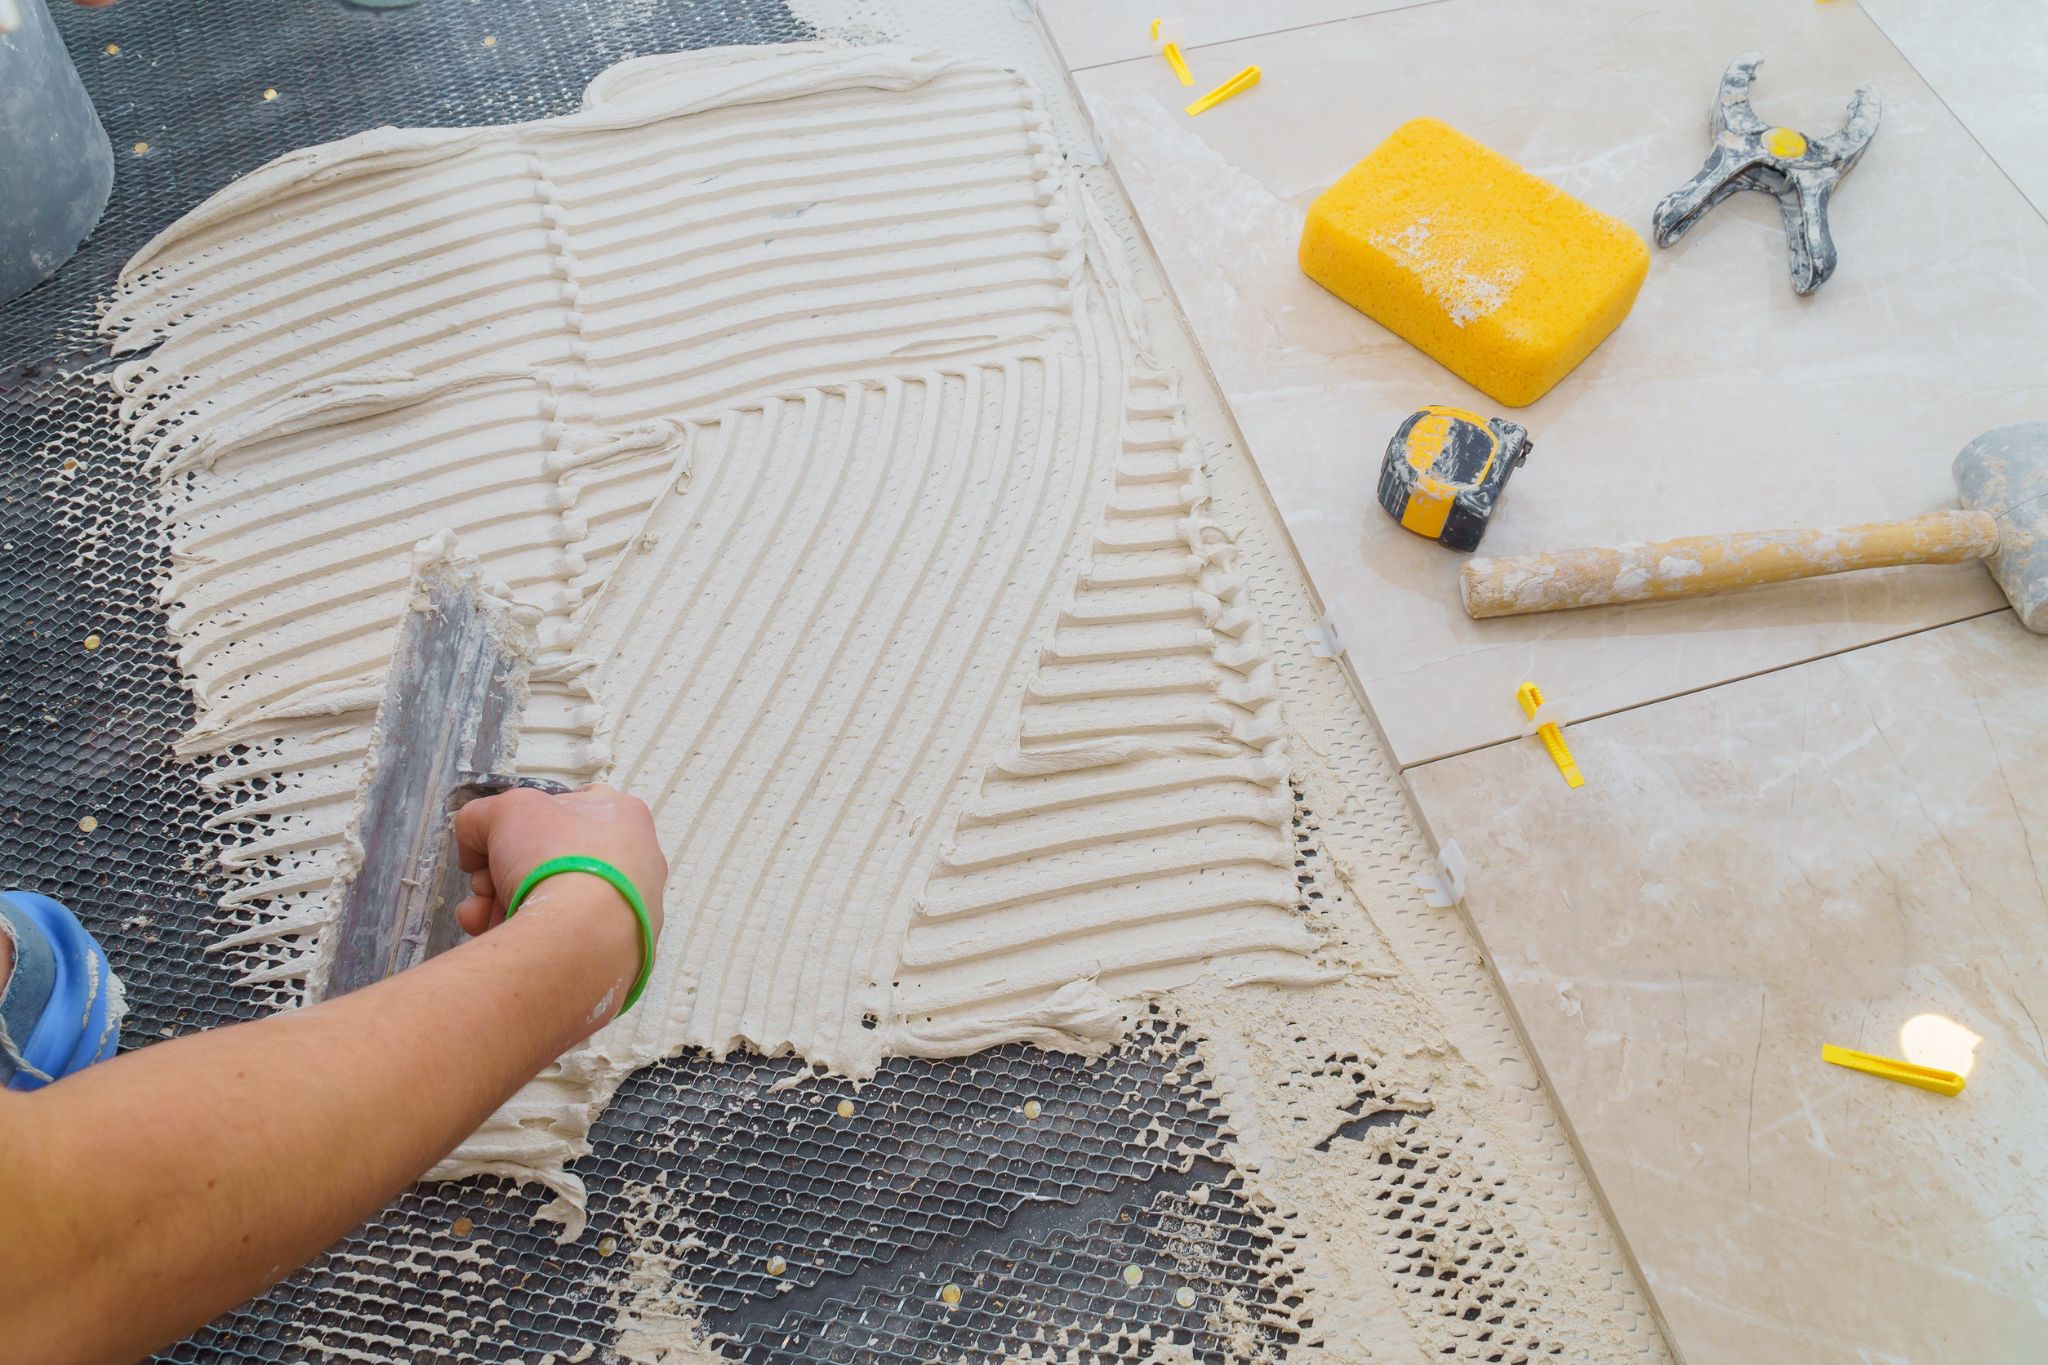
Tile flooring is another type of flooring that can be used around the home. Tile floors are easy to clean, making them great for homes with pets or children.

If you’re working with tiles, make sure to get all the right tools before laying them out on your floor. These include a tile cutter and grout spreader that can help ensure an even cut when it comes time to lay down the pieces of stone, wood or plastic for decoration in kitchens and bathrooms.

52. Cabinet Making Tools

Cabinet-making tools are another type of home improvement tool that can help you in building custom cabinets for your kitchen.

While the most common types of cabinet-making tools include both hand and power saws, there are other kinds that can help when it comes time to put together that new entertainment unit or repaint an entire room in order to re-furnish it with a brand new look.

53. Ironworking Tools
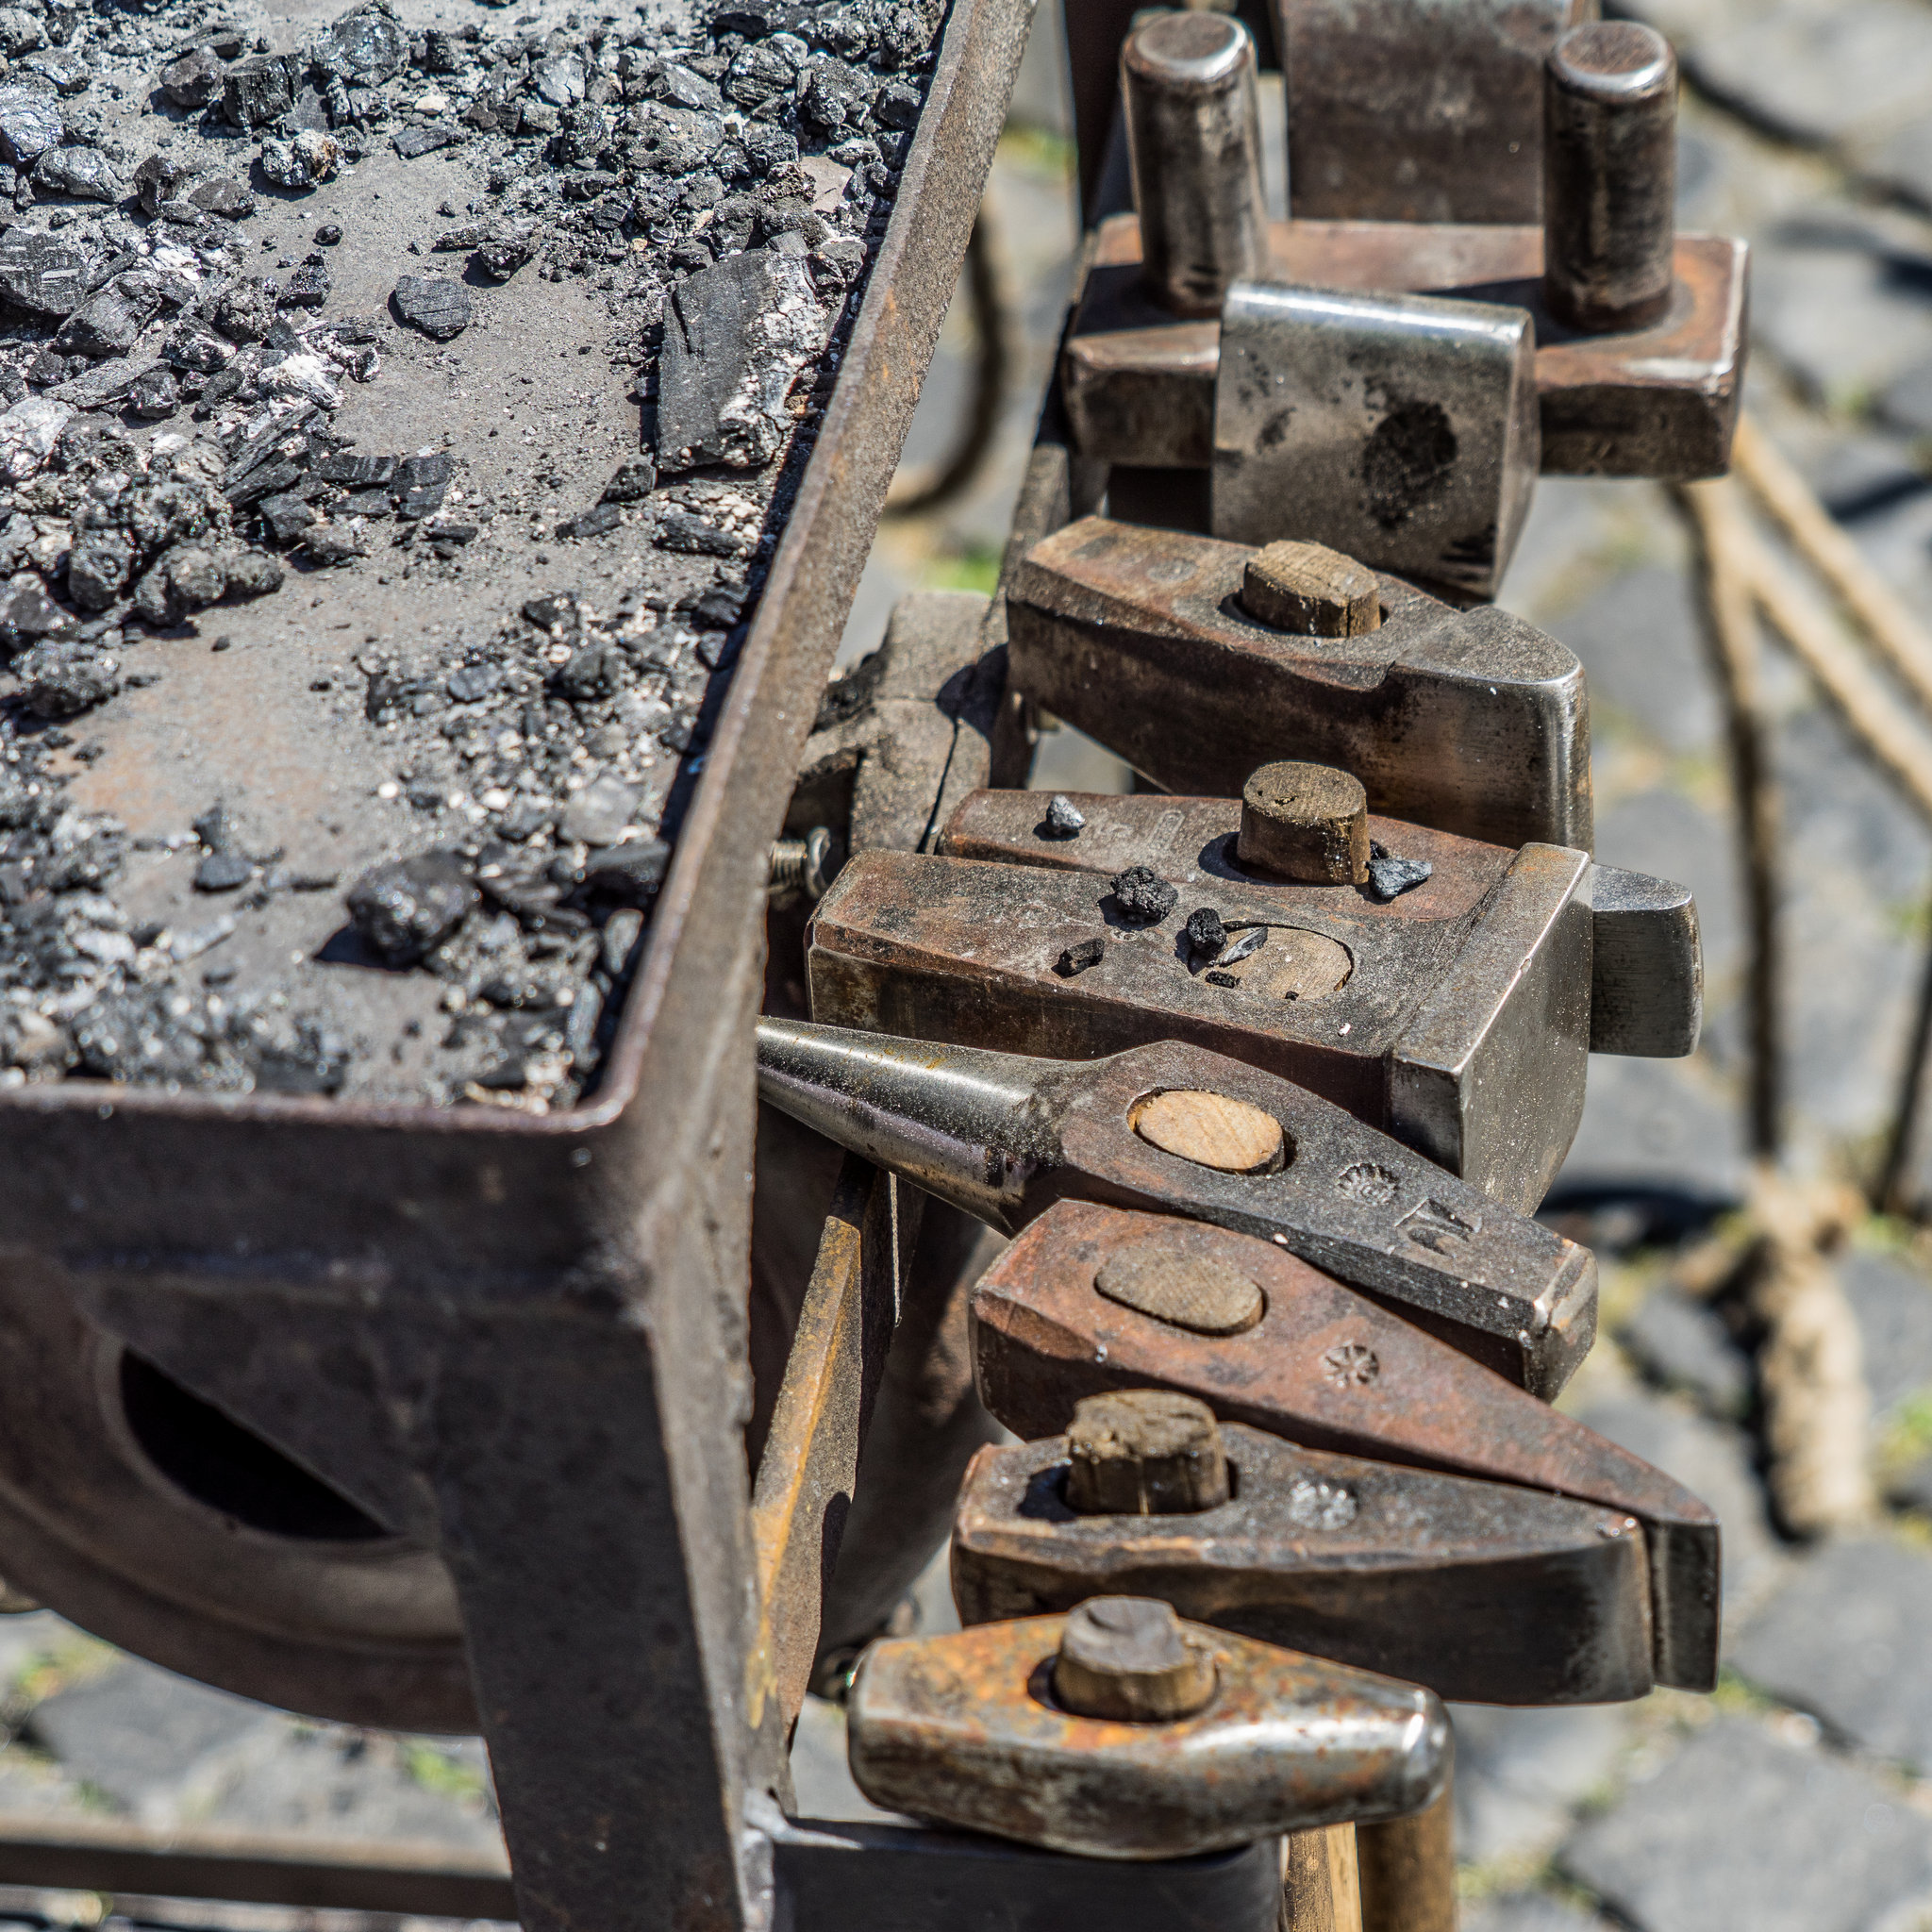
Ironwork is one of the oldest methods of working with strong metals like steel which has been used for centuries since the times of Ancient Egypt where they would craft items from metal using fire and stones as hammers to cut out shapes from them then assemble those pieces together into usable things such as armor, weapons and decorative items.

54. Plumbing Tools
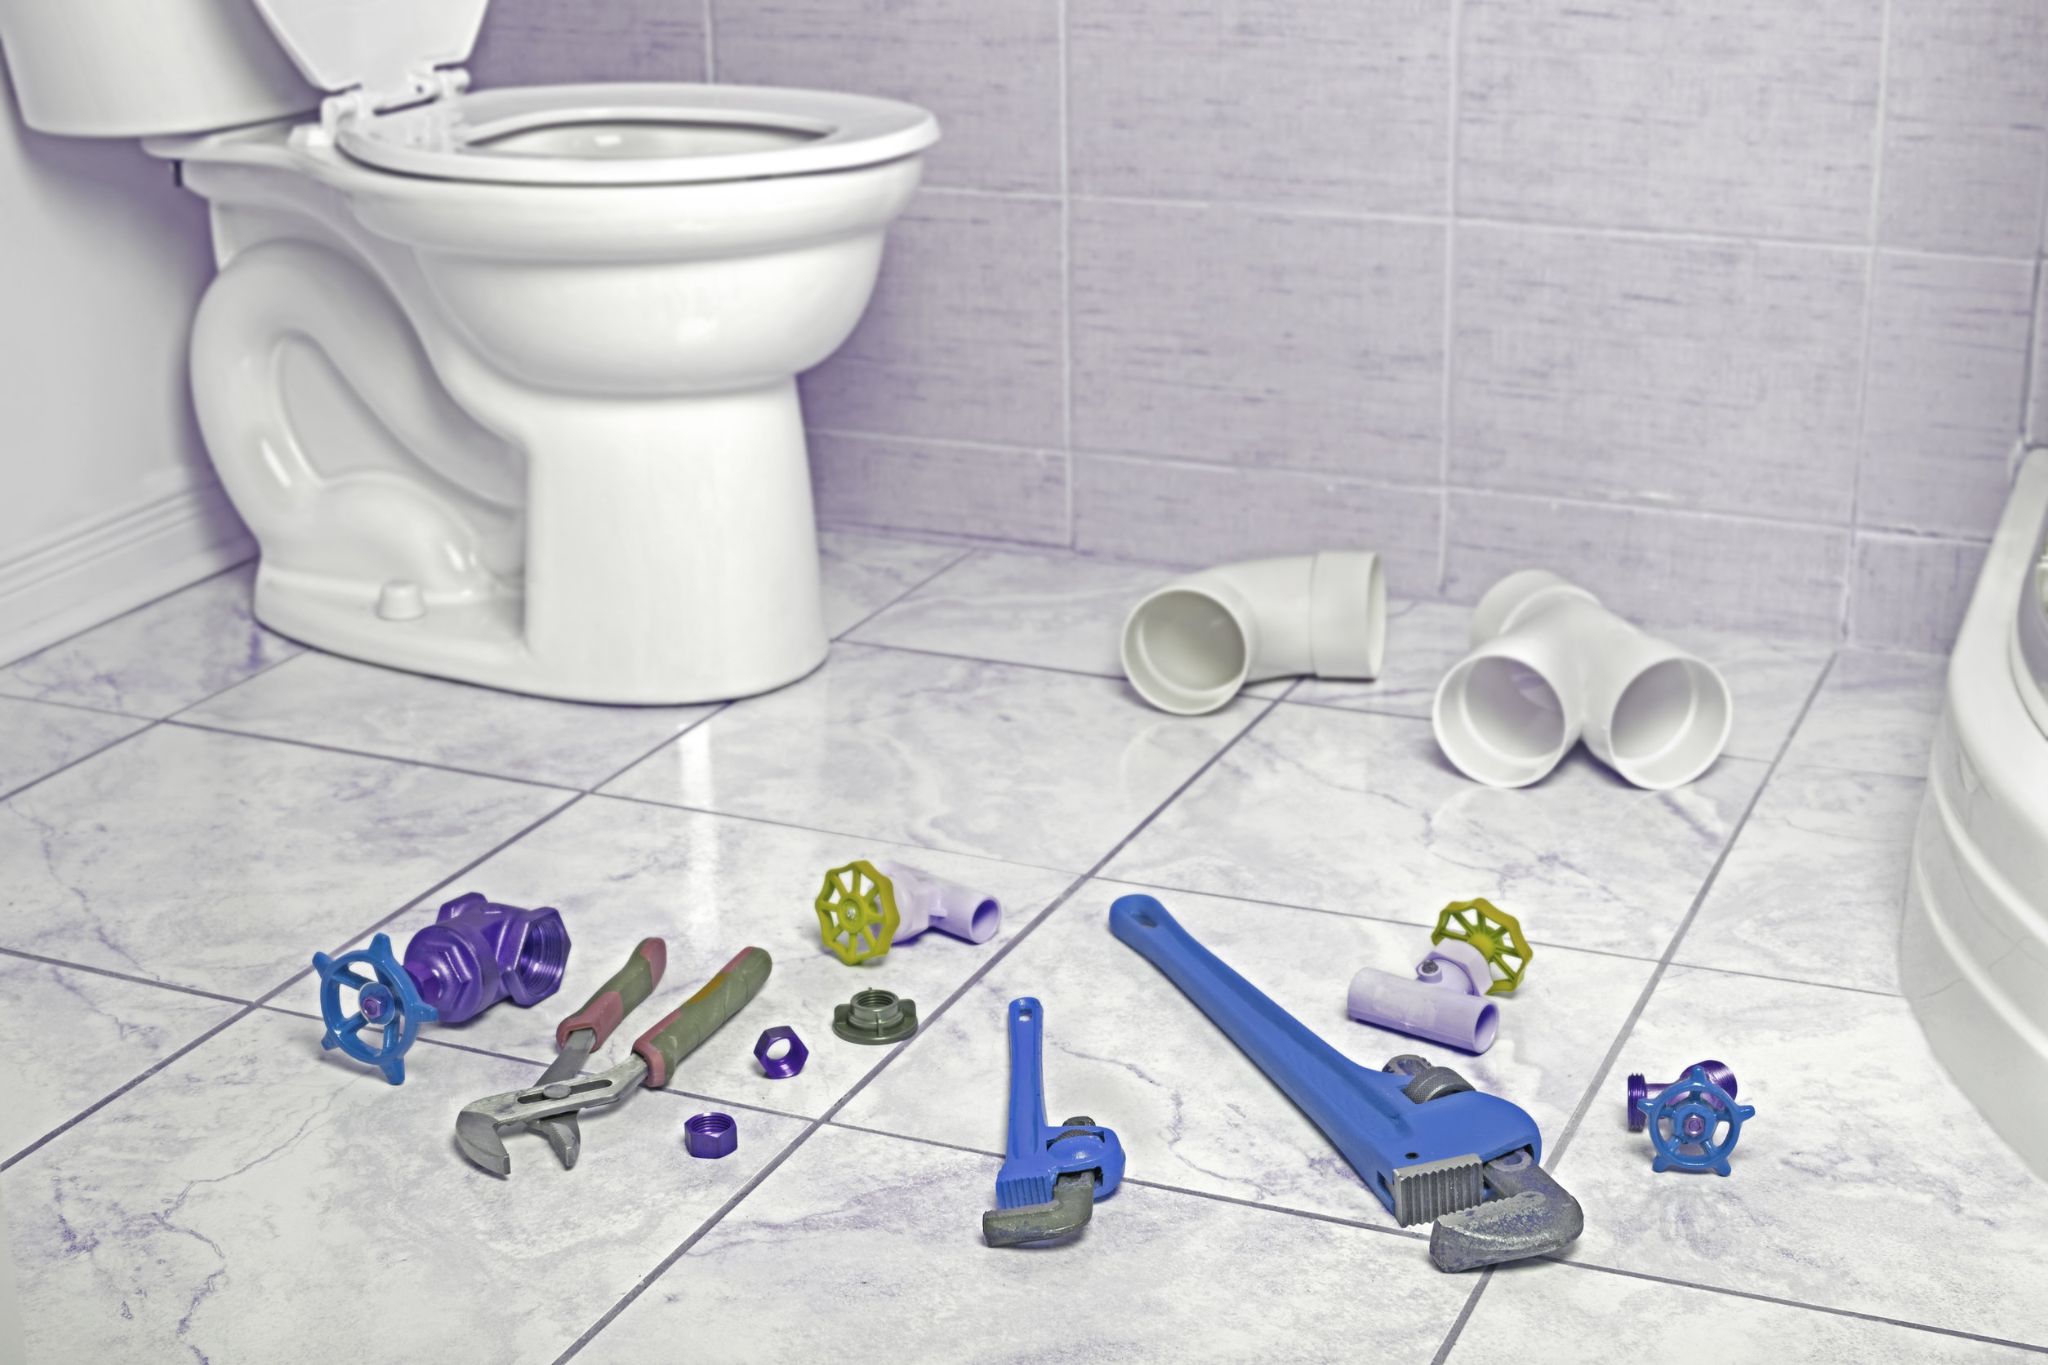
Plumbing tools are another kind of tool that can help make life easier for you when it comes to the daily chores around the house like washing dishes, taking out the trash or flushing toilets after your kids have left them sitting there for hours. Unfortunately, because most plumbing work has to be done under sink or behind walls, many homeowners tend to just do it themselves instead of hiring a professional which can cost them more in repairs than necessary so doing it yourself is no longer an excuse not to call someone if need be unless you don’t mind paying the consequences later on down the road which you probably will once things start to really fall apart without proper care. So follow up with this one and do your due diligence in your local area if you’re really dead set on not wanting to do it yourself.

55. Fireplace Tools

Now that the days are shorter and the weather is colder, there’s no better time to cozy up in front of a fireplace with your favorite blanket or start up that fall soup you’ve been wanting to make.

Fireplace tools can help keep things under control while you’re burning logs inside an indoor fireplace. These include pokers for when it gets too hot or when ash starts forming on the top – which can be another sign that it’s time to sweep so sweep away! – as well as tongs for moving them around safely when they need adjusting or cleaning out before placing them back in after you’re done with them until next winter comes around again.

56. Drywall Tools
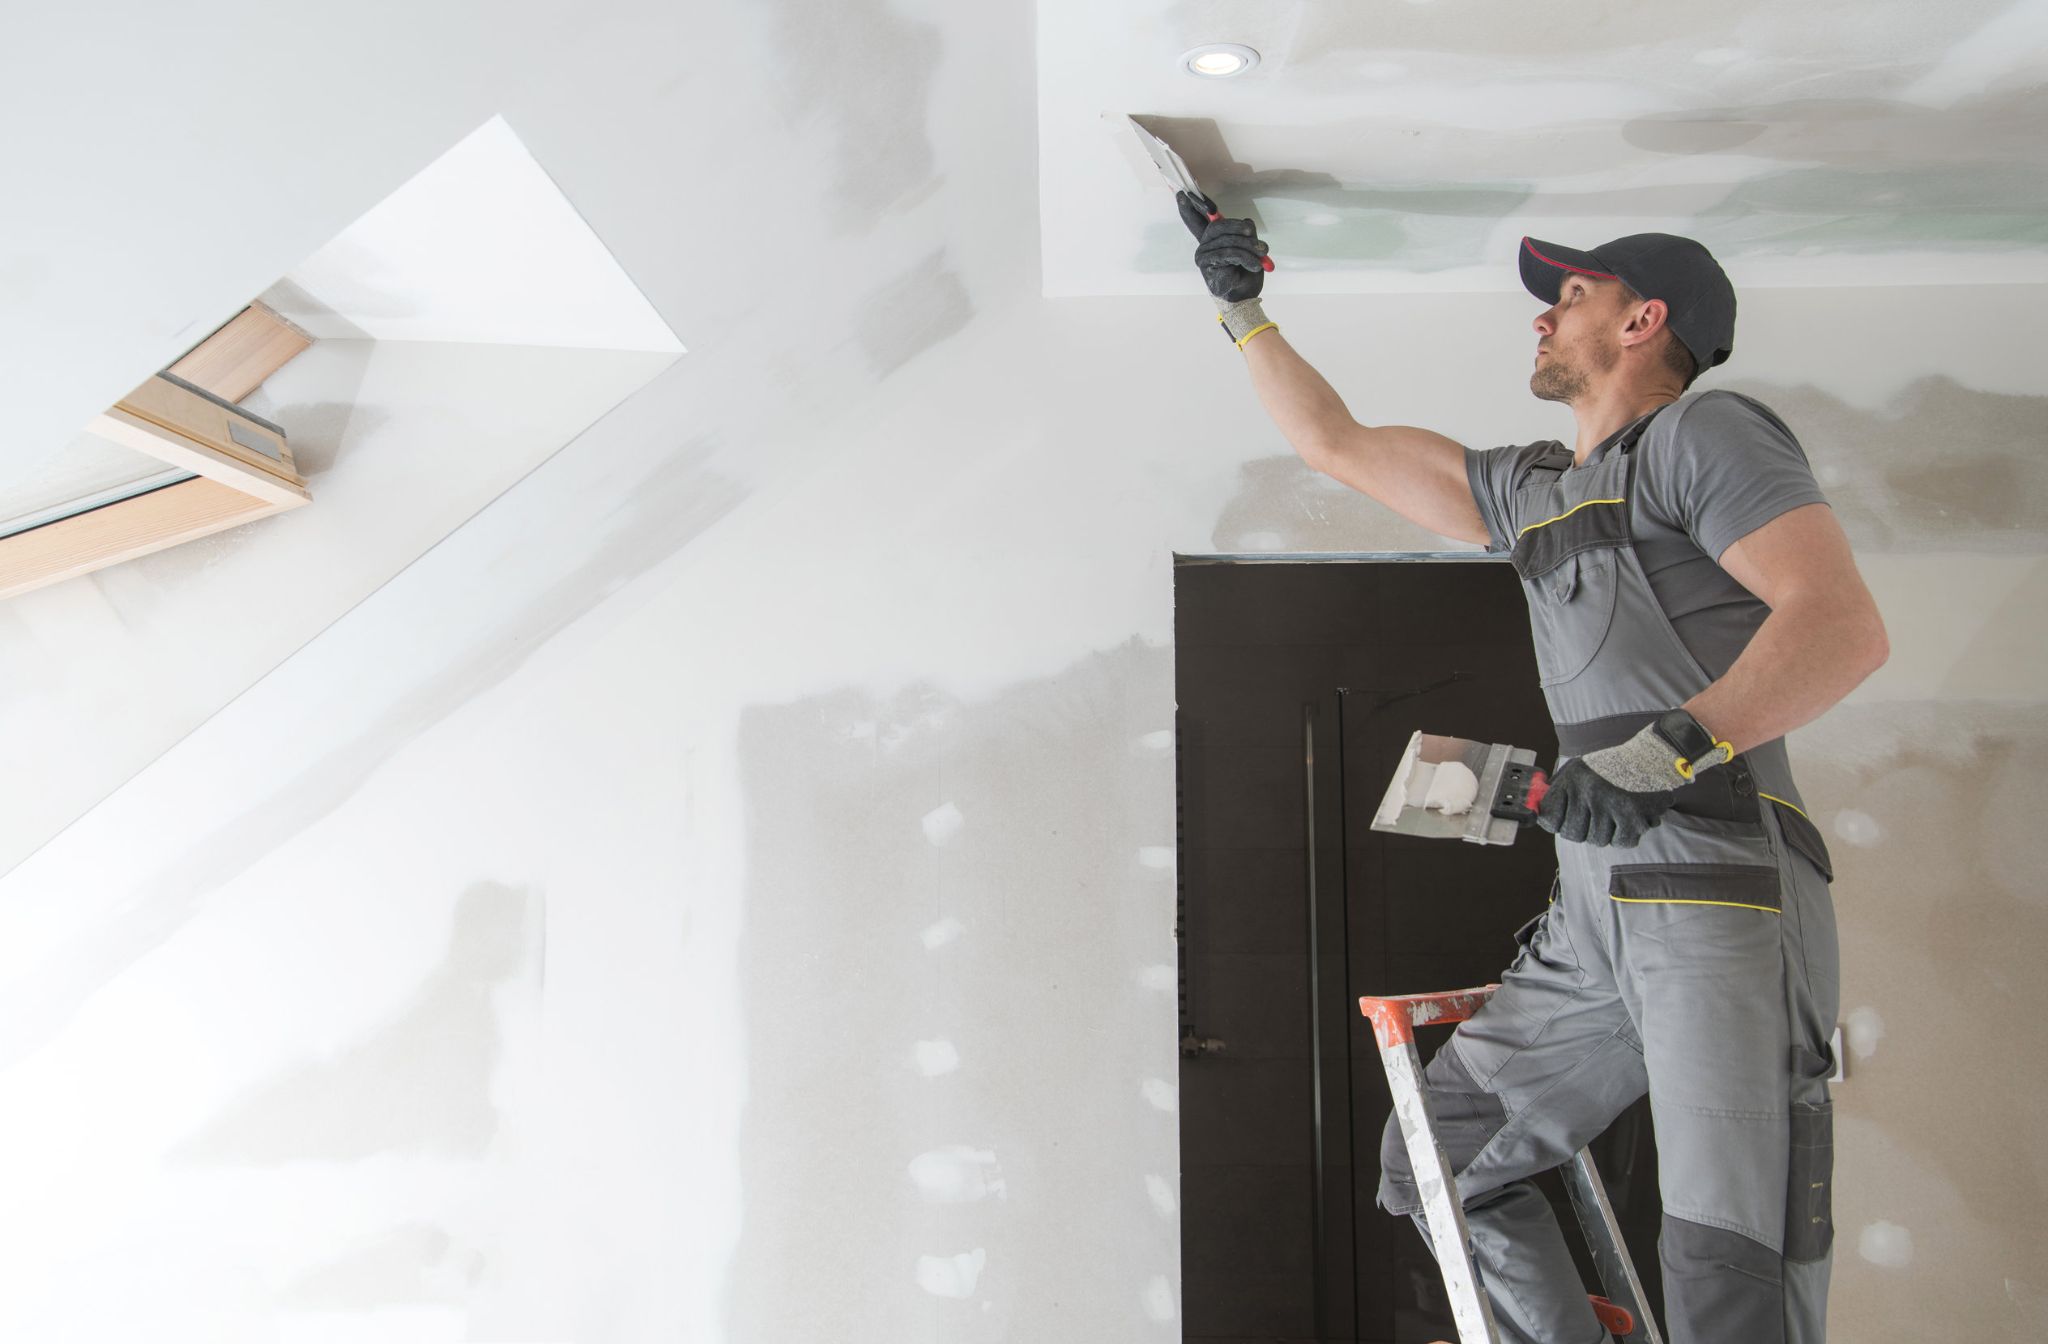
Drywall tools are another type of tool kit which you should have if you’re doing any drywall work.

Tools for working with drywall range from all kinds of different saws to put the pieces together while others out there include special corners that’ll allow for faster cutting when it comes time to install your new walls in your home or office.

57. Sanding Tools

If you want to get into sanding, don’t forget about sanding tools like sanders and sand paper to help get rid of old paint jobs, smooth out furniture before staining them or refinishing floors inside the house before moving on to other rooms in order to complete the look or change it around completely because trust, I’ve been there done that and it’s no fun having to buy new things all over again.

58. Gutter Cleaning Tools

Gutter cleaning tools are another type of tool that homeowners should have when it comes to taking care of guttering around the house. This includes all kinds of different equipment which you can buy online or in your local hardware store that’ll help get rid of leaves, bugs and other debris before they cause any damage not only to gutters but the roof itself so you’ll have more time to relax instead of worrying about what’s going on outside.

59. Leatherworking Tools
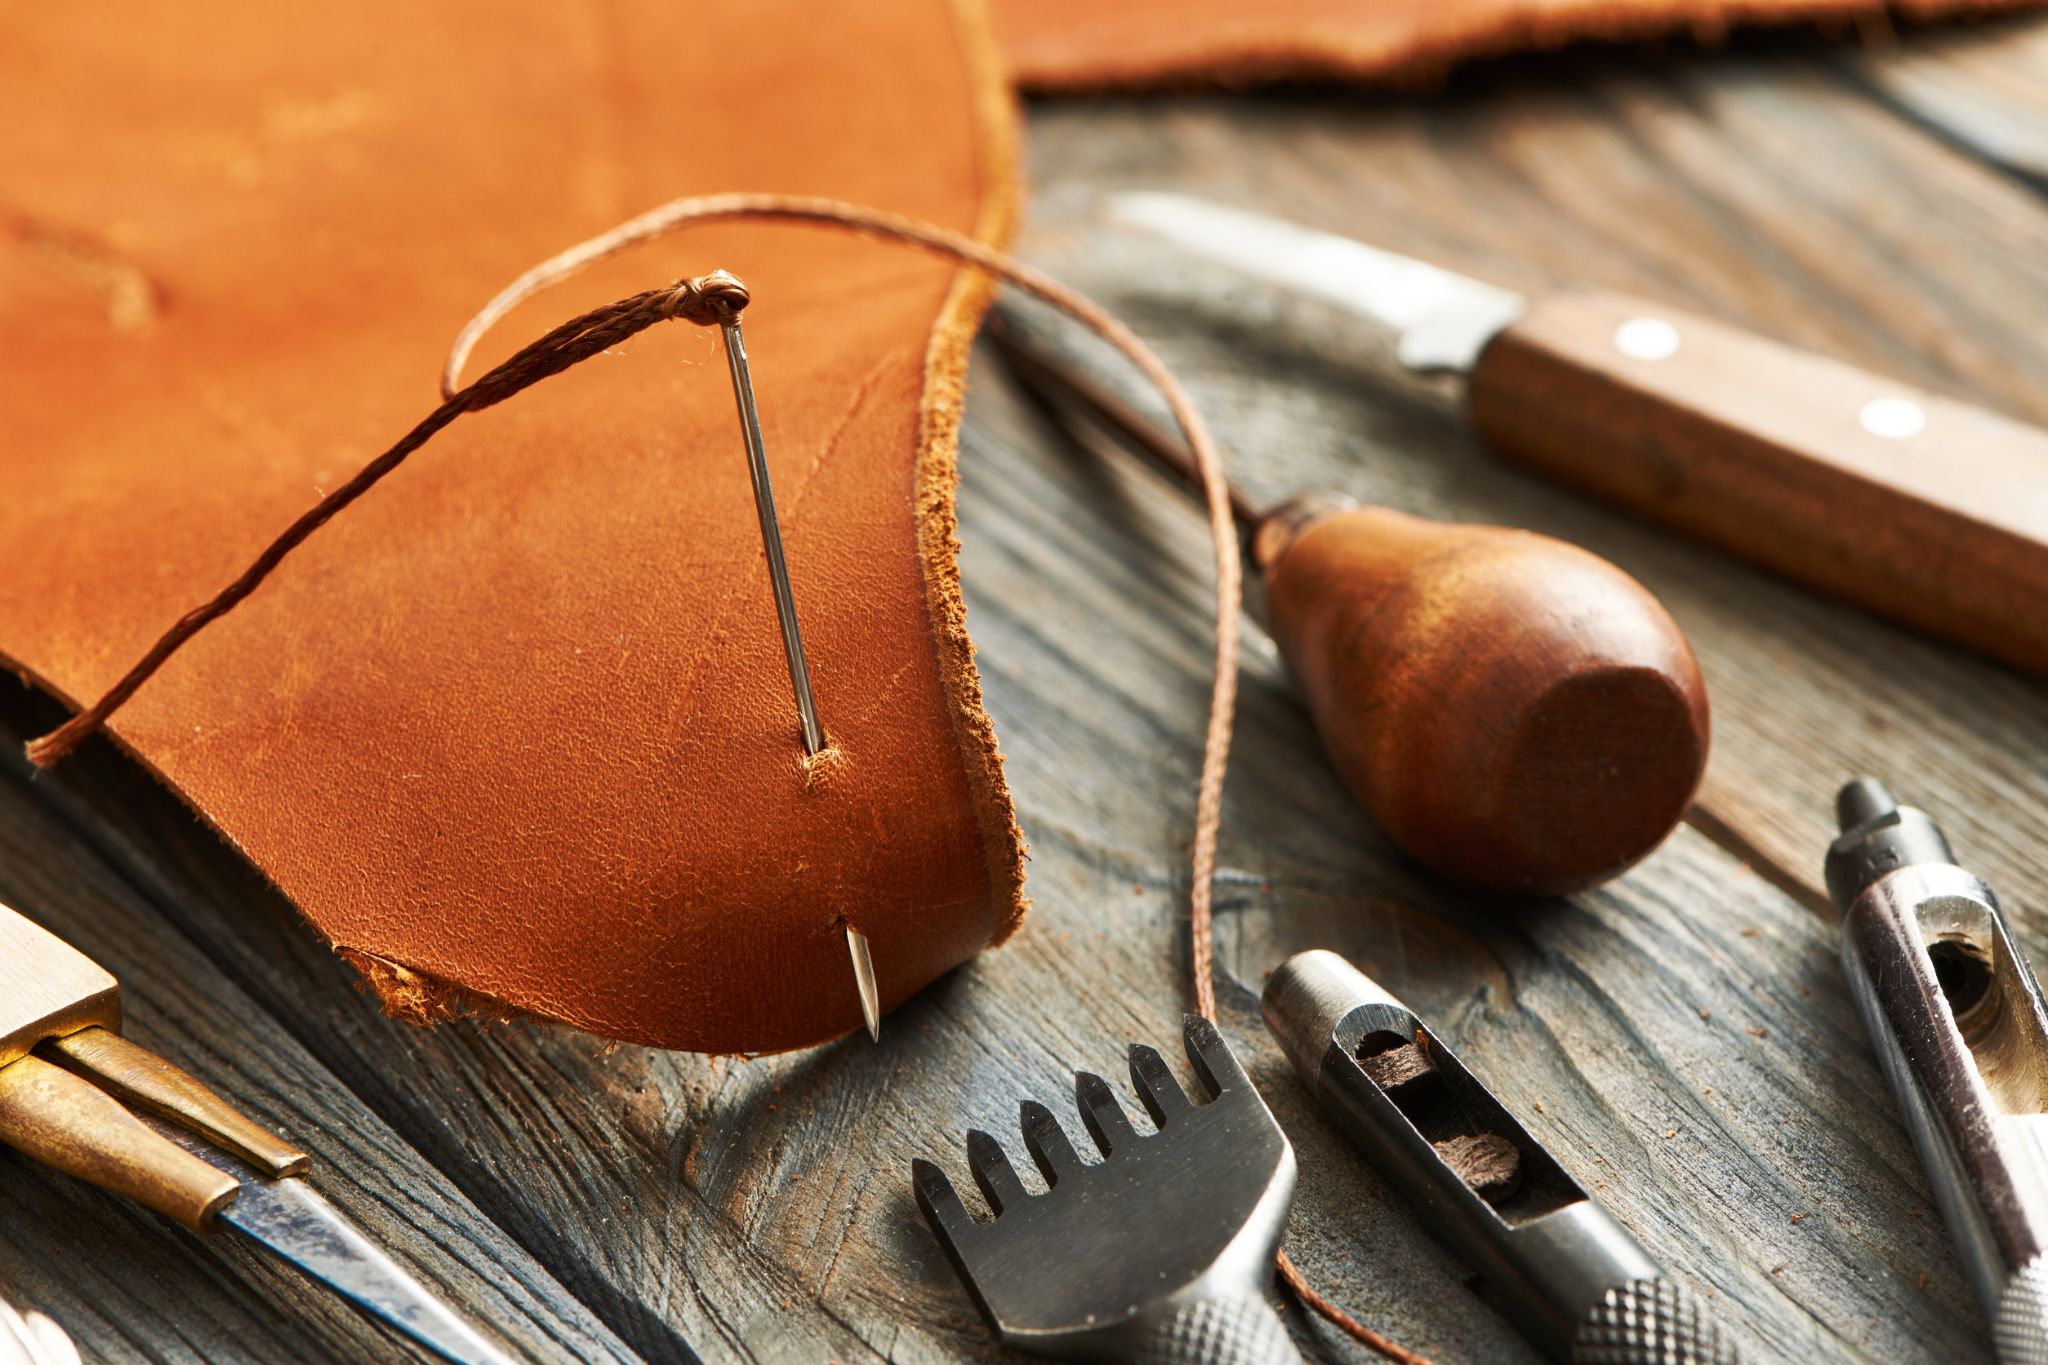
Leatherworking is a hobby enjoyed by many people around the world these days working with things like animal hides, skins, fur and even more exotic materials found in Asia where some skilled craftsmen are able to work with things like stingray skin from the belly area underneath its hardened exterior which is used to make shoes, handbags and other fashion accessories for those with expensive tastes.

Tools used in the leatherworking industry range from hand held knives to very large stitching machines that can speed up the process of sewing different pieces together like an assembly line before they come together into one big piece or pattern that can then be cut out using even more specialized tools depending on how it’s done whether by machine or manually by someone who knows what they’re doing.

60. Concrete Tools

Concrete tools are another type of tool kit you can choose to buy before getting started on a home improvement project involving concrete.

Tools used in the concrete industry range from very sturdy shovels and spades, all kinds of different rakes with various shapes and sizes depending on how they’re going to be used for things like smoothing out gravel surfaces or removing excess material, not to mention folding saws that’ll help cut through iron rods with ease or Hilti guns which use compressed air to drive them into tough materials like hard rock and metal before actually pouring the cement.

61. Painting Tools

You can’t have a home improvement project without painting tools which are another type of tool you’ll need before getting started on something big.

Tools used by painters include all kinds of different brushes to fit almost any job including speciality ones for very small or large areas where there isn’t much space to work with, rollers for working quickly over large surfaces without the material dripping along with multiple trays depending on how many colors they’re planning to use but if they plan on using more than one it’s best to get three so that they can keep them separate from each other before moving onto the next color.

62. Home Automation Tools

Another type of tool you should consider buying before starting your next big project around the house is tools used for home automation.

Tools used in the home automation industry are rather expensive but well worth it because they’ll allow you to remotely control things like lighting, sprinkler systems outside the house, heating and cooling depending on how much money you want to spend which could run into thousands of dollars easily because having a job means nothing if you can’t afford to pay for basic necessities like food and shelter or fix your car when something goes wrong.

63. Paint Removal Tools

Paint removal tools are yet another type of tool that it’s possible for homeowners to invest in before getting started on any big painting projects around the house.

Tools used in the paint removal industry include all kinds of different grinders with various attachments depending on what they’re planning to work on like tables, chairs or other pieces of furniture which don’t have much use anymore because something like a table can become useful again if you cover it with a glass top and put some lamps underneath to make an awesome coffee table while still having one less chair to move around when guests come over.

64. Piano Tuning Tools

Piano tuning tools are another type of tool you should consider buying if you don’t already have them in your home improvement tool kit to get started on a big project.

Tools used for piano tuning vary depending on what they’re working on because some pianos have much longer strings or hammers that need special treatment when being tuned which is why it’s important to invest in the right kind of long rulers which measure strings up to 3 1/2 meters (11 feet 6 inches) or even more like 5 meters (16 feet 5 inches).

65. Pottery Tools

Pottery tools are another type of classic home improvement tool kit that can be found almost anywhere including online at places like Etsy where you can get custom orders made using all kinds of different materials depending on what kind of work is being done.

Tools used for pottery making include a wheel for working on clay and throwing large pieces which can only be achieved by using a gas or electric powered motor, various disks to make different shapes with, tools used for sculpting as well as all kinds of different things like sponges and rakes that can be used during the finishing process to give it an awesome smooth surface.

66. Wallpapering Tools

Wallpapering tools are another type of classic home improvement tool kit that can be found almost anywhere including online at places like Etsy where you can get custom orders made using all kinds of different materials depending on what kind of work is being done.

Tools used for wallpapering include a trowel which is attached to the end of a pole that’s used to spread glue evenly across flat surfaces as well as a variety of wallpaper pastes from liquid paste to thick paste-like formulas depending on the type of material they’re planning to hang on their walls, paint brushes and even large squeegees or scrapers which help remove bubbles once it’s been hung so nothing goes wrong.

67. Carpeting Tools

Carpeting tools are another type of tool that can help you get started on carpeting your floors in any room at home depending on what you need.

Tools used for carpeting include a j-roller which is used to flatten the pile after it’s been glued down, power stretchers or pullers which work like large tweezers by attaching either end to opposite sides of the carpet in order to stretch it out without tearing holes into it when pulling with enough force, bubble levels to make sure everything has been installed perfectly flat and even smaller tape measures when measuring the rough size of rooms before having new carpets installed.

68. Vinyl Siding Tools

Vinyl siding tools are another type of tool that can help you get started on building a new home or doing any kind of home improvement projects around the exterior which vary depending on what they’re working on.

Tools used for vinyl siding include a tin snip which is used to cut and trim pieces to various different shapes and sizes, an awl which pierces holes in order to start stripping screw ends off without risk of damaging them when using pliers, a staple gun with special strips that are made especially for different types of installation, wire bristles for finishing off old paint before installing vinyl sheets as well as all kinds of other accessories depending on what they’re planning on looking at.

69. Stucco Removal Tools

Stucco removal tools are another type of tool necessary in order to remove stucco from wall surfaces by vaporizing the water which help break up and soften it enough for it to be scraped off without causing too much damage when removing.

Tools used for stucco removal include a scraper with replaceable blades which can be attached in order to prevent them from wearing down especially on rough surfaces, power sprayers with different attachments like nozzles or even longer hoses (up to 16 feet) that can reach further than what they could do themselves, trowels for making sure the new surface is flat before finishing off any exposed pieces where there wasn’t any stucco before as well all kinds of other accessories depending on what they’re planning on working on.

70. Roofing Tools
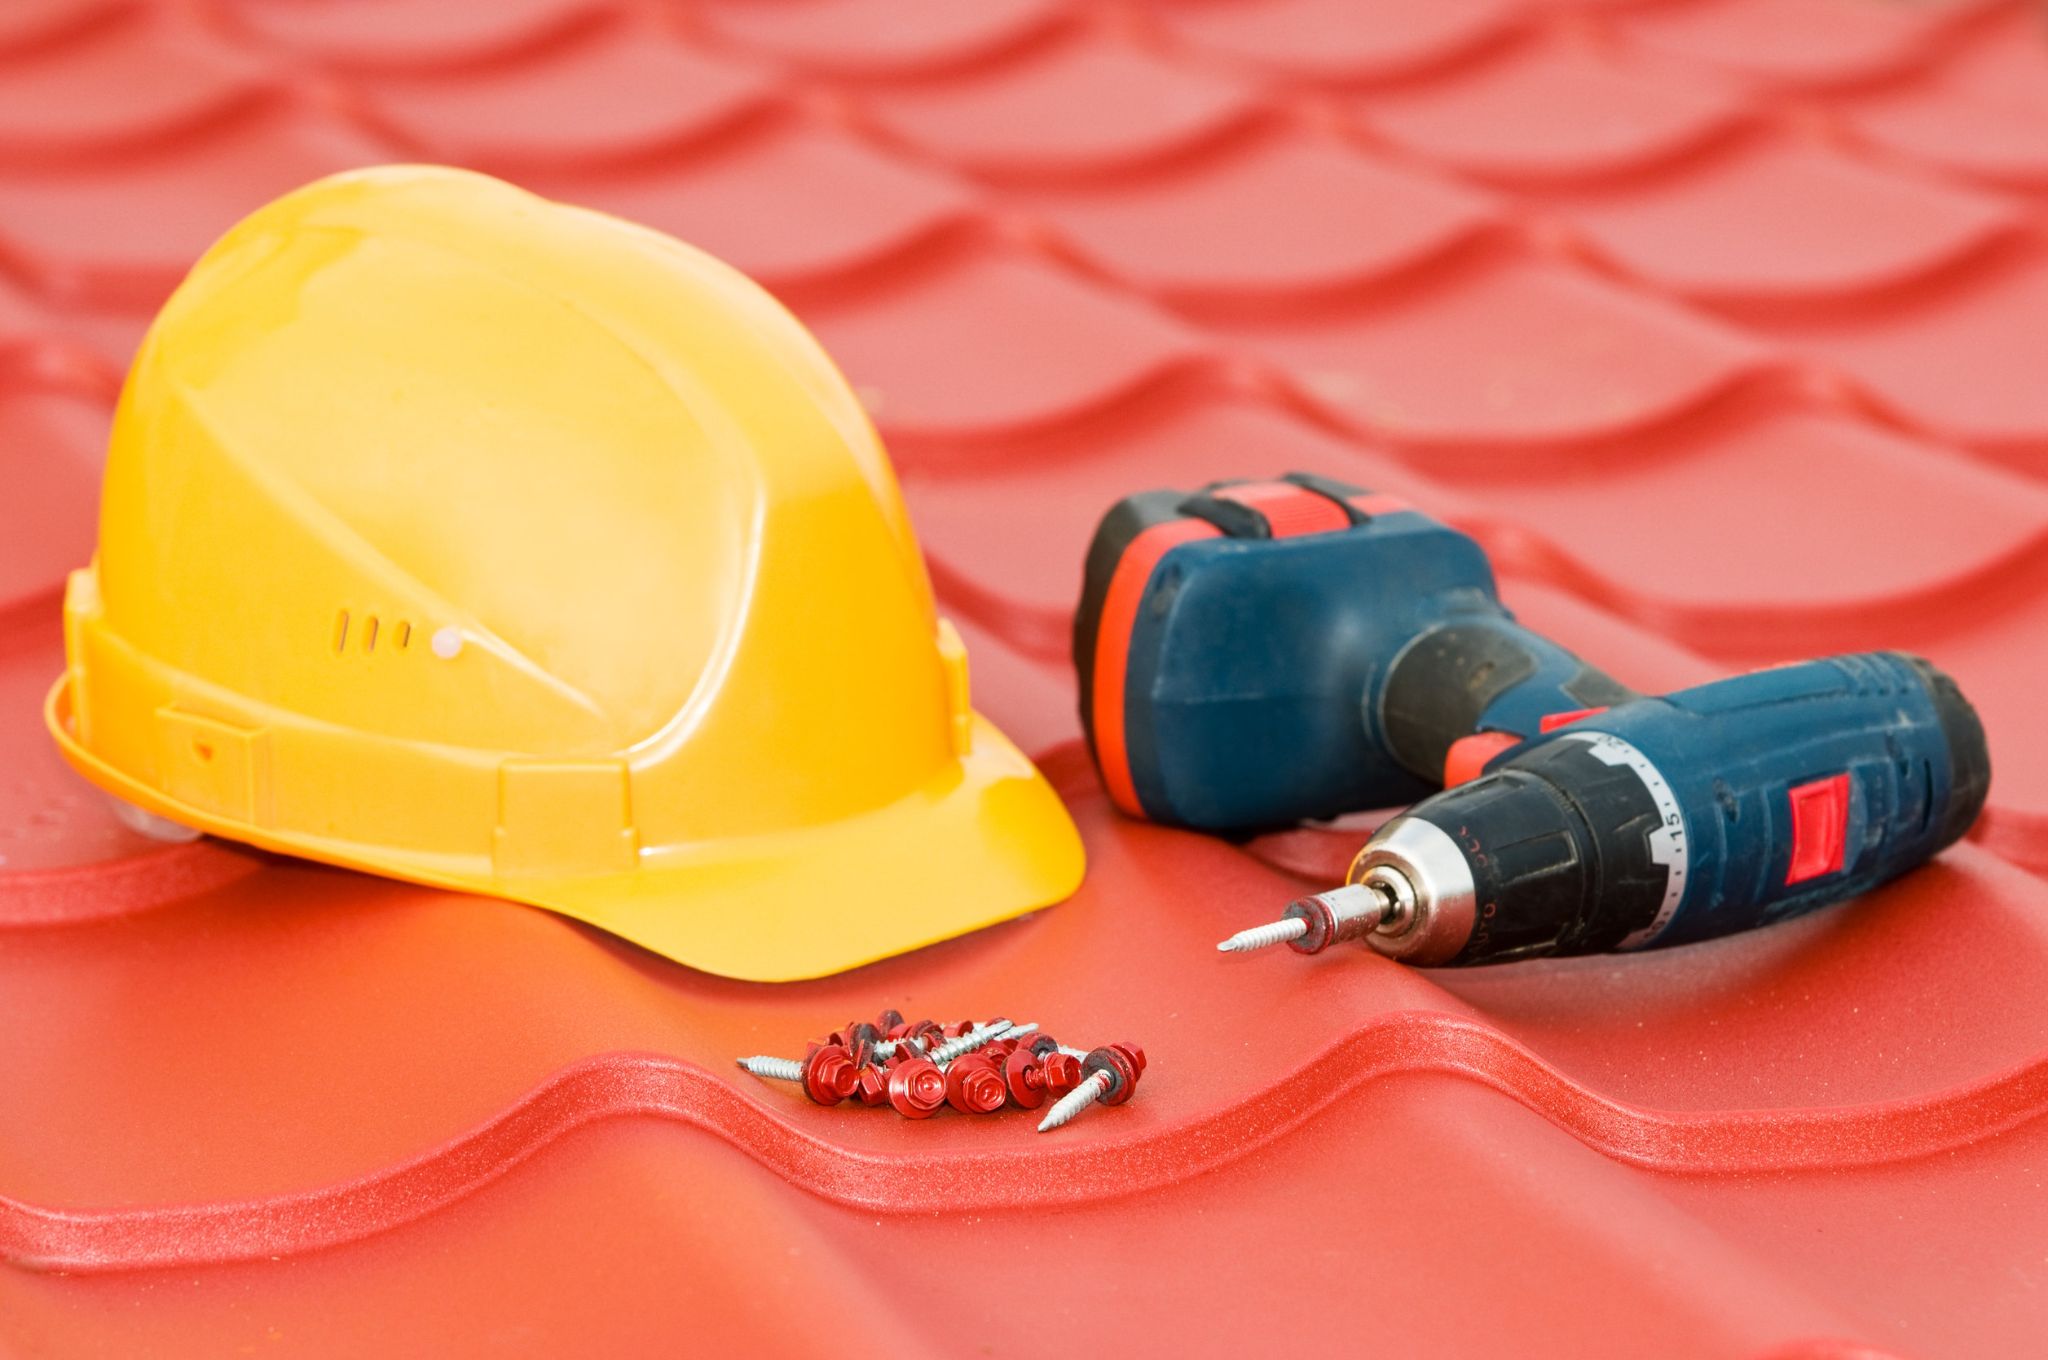
Roofing tools are another type of tool that can help you get started on any kind of roof installation or home improvement projects which vary depending on what they’re working on making sure everything is installed perfectly across the entire area without causing too much damage when removing old pieces.

Tools used for roofing include a square-nose shovel which helps them level off ground surfaces especially where there’s rocks, hand saws for cutting straight lines across the roofing when needed, a steel brush for stripping off old layers of paint before installing new pieces, a chalk line which is used to perfectly plot out where each piece will go before installing them across the entire surface, all kinds of hand-held tools that fit into their palm in order to remove nails from boards without having to bend over and pick up everything afterwards as well as other accessories depending on what they’re planning on working on.

71. Masonry Tools

Masonry tools are another type of tool that can help you get started on any kind of masonry installation or home improvement projects which vary depending on what they’re working on making sure everything is installed perfectly across the entire area without too much damage when removing old pieces.

Tools used for masonry include small hand chisels which come in different shapes and sizes depending on the type of surface they’re working with, mortising tools for making sure everything is perfectly cut to fit in before installing it, a hammer drill which sticks into their palm when doing heavy-duty drilling without having to carry around power cords or extension cords across each section, all kinds of files that help smooth out surfaces after being worked on in order to avoid sharp pieces later on as well as other accessories depending on what they’re planning on looking at.

72. Picture Framing Tools

Picture framing tools are another type of tool that can help you get started on different types of picture frame installation or home improvement projects which vary depending on what they’re working on making sure everything is installed perfectly across the entire area without causing too much damage when removing old pieces.

Tools used for picture framing include a plumb line which is used to measure straight lines in order to make sure they’re perfect before placing nails or anything else, a hammer with all kinds of faces that give them more options when nailing things down, safety glasses when the risk of flying debris is high, spring clamps when there’s no room to fit both hands inside the frame itself in order to hold everything together while installing nails as well as other accessories depending on what they’re planning on looking at.

73. Printmaking Tools
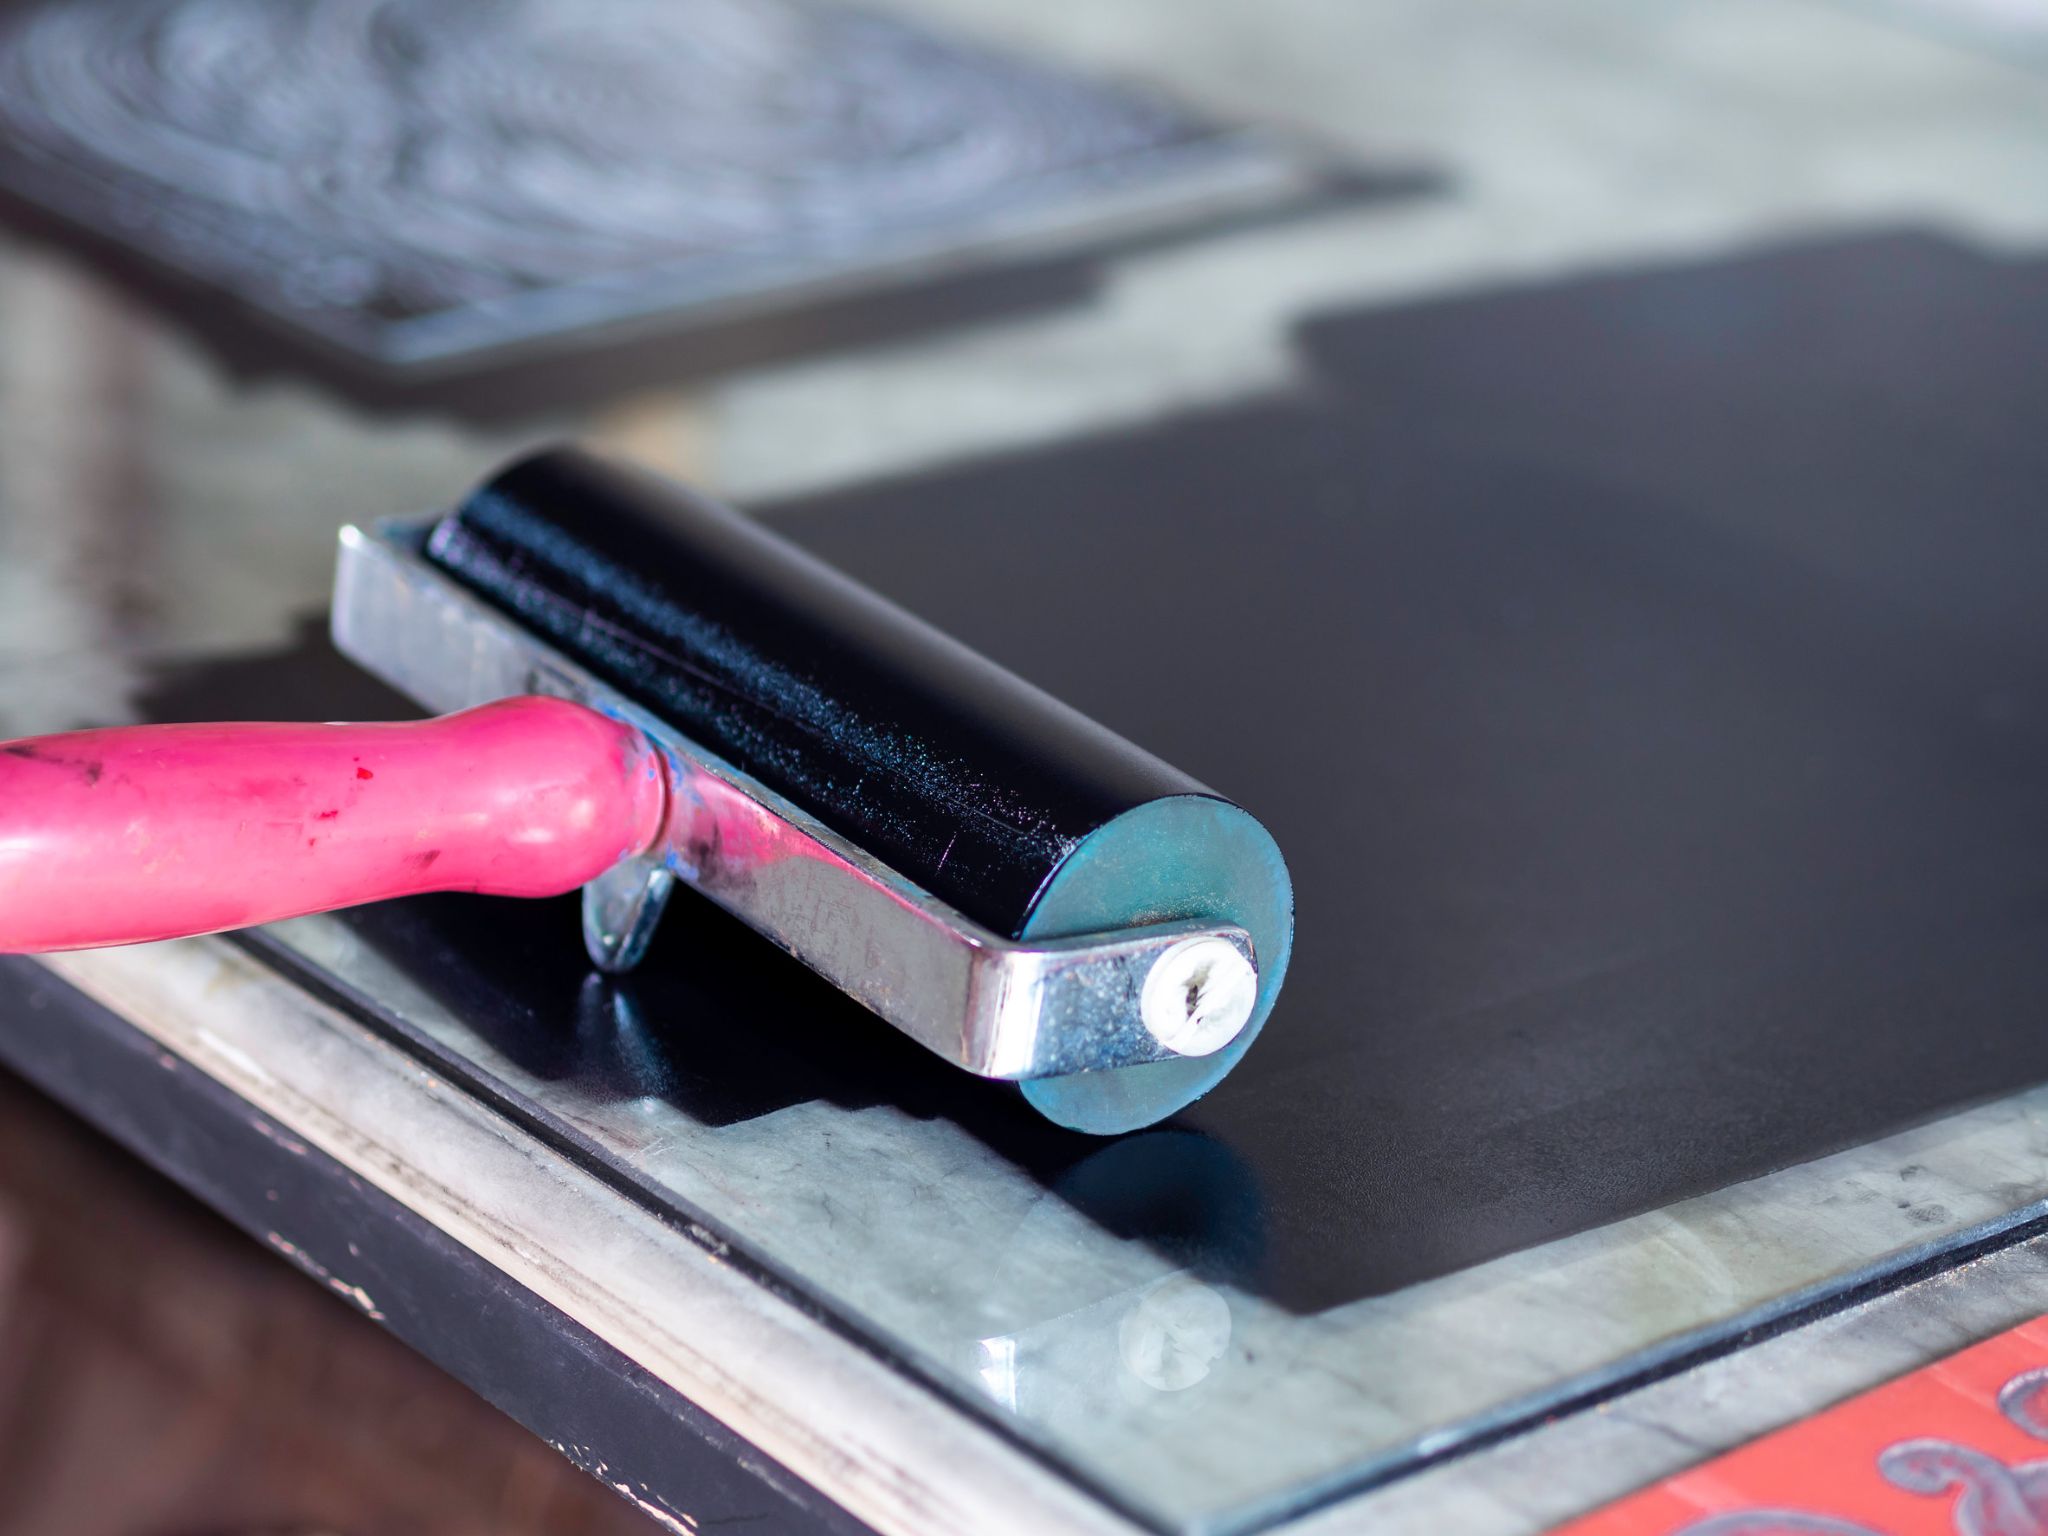
Printmaking tools are another type of tool that can help you get started on different types of print making installation or home improvement projects which vary depending on what they’re working on making sure everything is installed perfectly across the entire area without causing too much damage when removing old pieces.

Tools used for printmaking include a bevel eraser which helps clean off any dust from previous pieces, burnishing tools made out of animal bones which rub down past prints to make it look as good as new by filling in missing parts with ink, all kinds of printing press machines where templates need to be taken off each time before starting the process from scratch again, wiping rods made out of a strong cloth which help remove excess ink from the surface before putting on a new design, printmaking knives which function as a brush for filling in missing pieces with more ink if needed and other accessories depending on what they’re planning on looking at.

74. Foam Cutting Tools

Foam cutting tools are another type of tool that can help you get started on different types of foam installation or home improvement projects which vary depending on what they’re working on making sure everything is installed perfectly across the entire area without causing too much damage when removing old pieces.

Tools used for foam cutting include a hot wire cutter which helps slice through dense foam boards if needed, an electric knife which works by pushing down with both hands instead of only one, all kinds of sanding blocks which smooth out rough edges after being cut to avoid getting hurt while installing new designs, self-healing mats where templates need to be placed in order to prevent cuts from happening when using knives while cutting them down and other accessories depending on what they’re planning on looking at.

75. Grout Removal Tools

Grout removal tools are another type of tool that can help you get started on different types of installation or home improvement projects which vary depending on what they’re working on making sure everything is installed perfectly across the entire area without causing too much damage when removing old pieces.

Tools used for grout removal include all kinds of wire brushes which help remove built-up dirt after being left out for too long, combination tools made out of wood pieces and grout saws used to cut through hard materials like stone in order to make way for new pieces, all kinds of scrapers including steel blades with wooden handles sticking out to avoid breaking them off inside the material itself, putty knives for smoothing out surfaces before laying down pieces as well as other accessories depending on what they’re planning on looking at.

76. Leather Cutting Tools

Leather cutting tools are another type of tool that can help you get started on different types of leather installation or home improvement projects which vary depending on what they’re working on making sure everything is installed perfectly across the entire area without causing too much damage when removing old pieces.

Tools used for leather cutting include a rotary cutter which functions by attaching blades around a wheel and pulling them along, an adjustable scissor specifically made out of metal to avoid breaking off over time, all kinds of shears with serrated edges for helping cut down thick materials like denim and other accessories depending on what they’re planning on looking at.

77. Brick Laying Tools

Brick-laying tools are another type of tool that can help you get started on different types of brick installation or home improvement projects which vary depending on what they’re working on making sure everything is installed perfectly across the entire area without causing too much damage when removing old pieces.

Tools used for bricklaying include all kinds of chisels and scrapers made out of metal and wood in order to remove excess bricks and mortar to make way for new ones, a brick hammer with a flat end in order to knock down any uneven pieces before setting them up again, a pointing trowel which helps lay down fresh mortar after being applied from a bucket, steel tweezers used for lifting up loose ends if needed as well as other accessories depending on what they’re planning on looking at.

78. Fence Building Tools

Fence building tools are another type of tool that can help you get started on different types of fence installation or home improvement projects which vary depending on what they’re working on making sure everything is installed perfectly across the entire area without causing too much damage when removing old pieces.

Tools used for fence building include all kinds of pliers like fencing pliers for clipping ends off, lineman’s pliers which allow you to twist pieces around if need be, metal snips specifically made out of hardened steel in order to cut down pieces without breaking them off or any other accessories depending on what they’re planning on looking at.

79. Car Wash Tools

Car wash tools are another type of tool that can help you get started on different types of car washing or home improvement projects which vary depending on what they’re working on making sure everything is installed perfectly across the entire area without causing too much damage when removing old pieces.

Tools used for car washing include all kinds of sponges with bristles attached in order to scrub down uneven parts, rags for drying off excess water and other accessories depending on what they’re planning on looking at.

80. Window Cleaning Tools
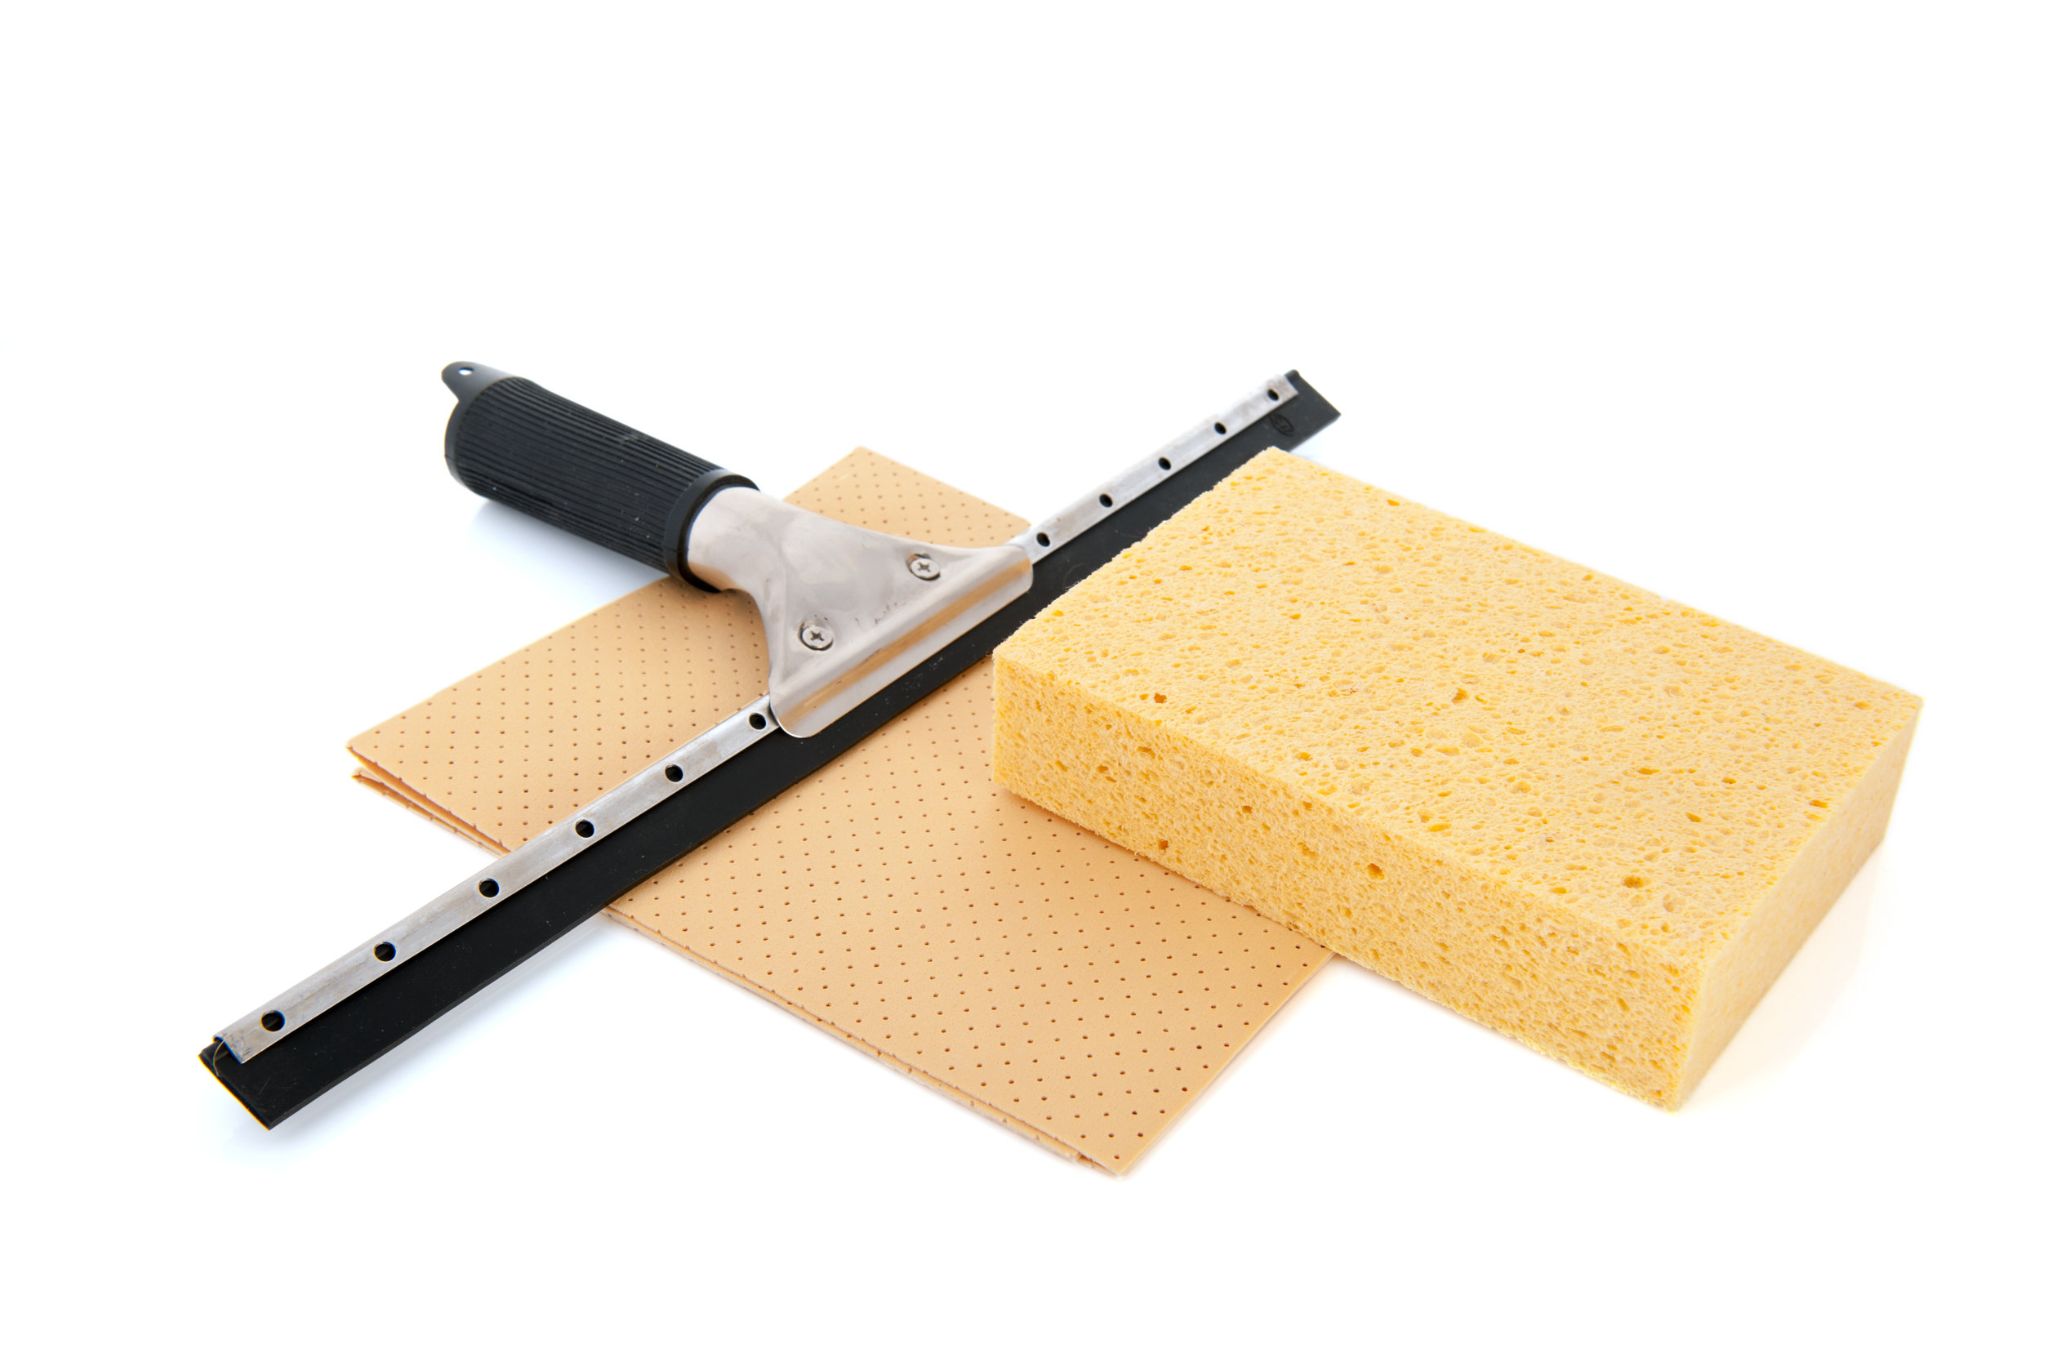
Window cleaning tools are another type of tool that can help you get started on different types of window washing or home improvement projects which vary depending on what they’re working on making sure everything is installed perfectly across the entire area without causing too much damage when removing old pieces.

Tools used for window cleaning include all kinds of brushes with natural bristles in order to scrub down surfaces and make them sparkle, squeegees meant specifically for scraping surfaces clean after being sprayed down, towels for drying off any excess water and other accessories depending on what they’re planning on looking at.

81. Washing Machine Tools

Washing machine tools are another type of tool that can help you get started on different types of washing machine installation or home improvement projects which vary depending on what they’re working on making sure everything is installed perfectly across the entire area without causing too much damage when removing old pieces.

Tools used for washing machine installation includes all kinds of wrenches for tightening up screws, pliers meant specifically to handle rust which means they’re made out of special materials that will last without breaking apart, garbage bags to wrap things up in order to carry them around and other accessories depending on what they’re planning on looking at.

82. Trash Hauling Tools
Trash hauling tools are another type of tool that can help you get started on different types of trash hauling or home improvement projects which vary depending on what they’re working on making sure everything is installed perfectly across the entire area without causing too much damage when removing old pieces.

Tools used for trash hauling include all kinds of boxes with lids meant to carry heavy items, gloves made out of materials that are designed specifically to withstand being touched by things inside the dumpster which would otherwise be dangerous, flashlights so they can see inside dark areas and other accessories depending on what they’re planning on looking at.

83. Fastening Tools
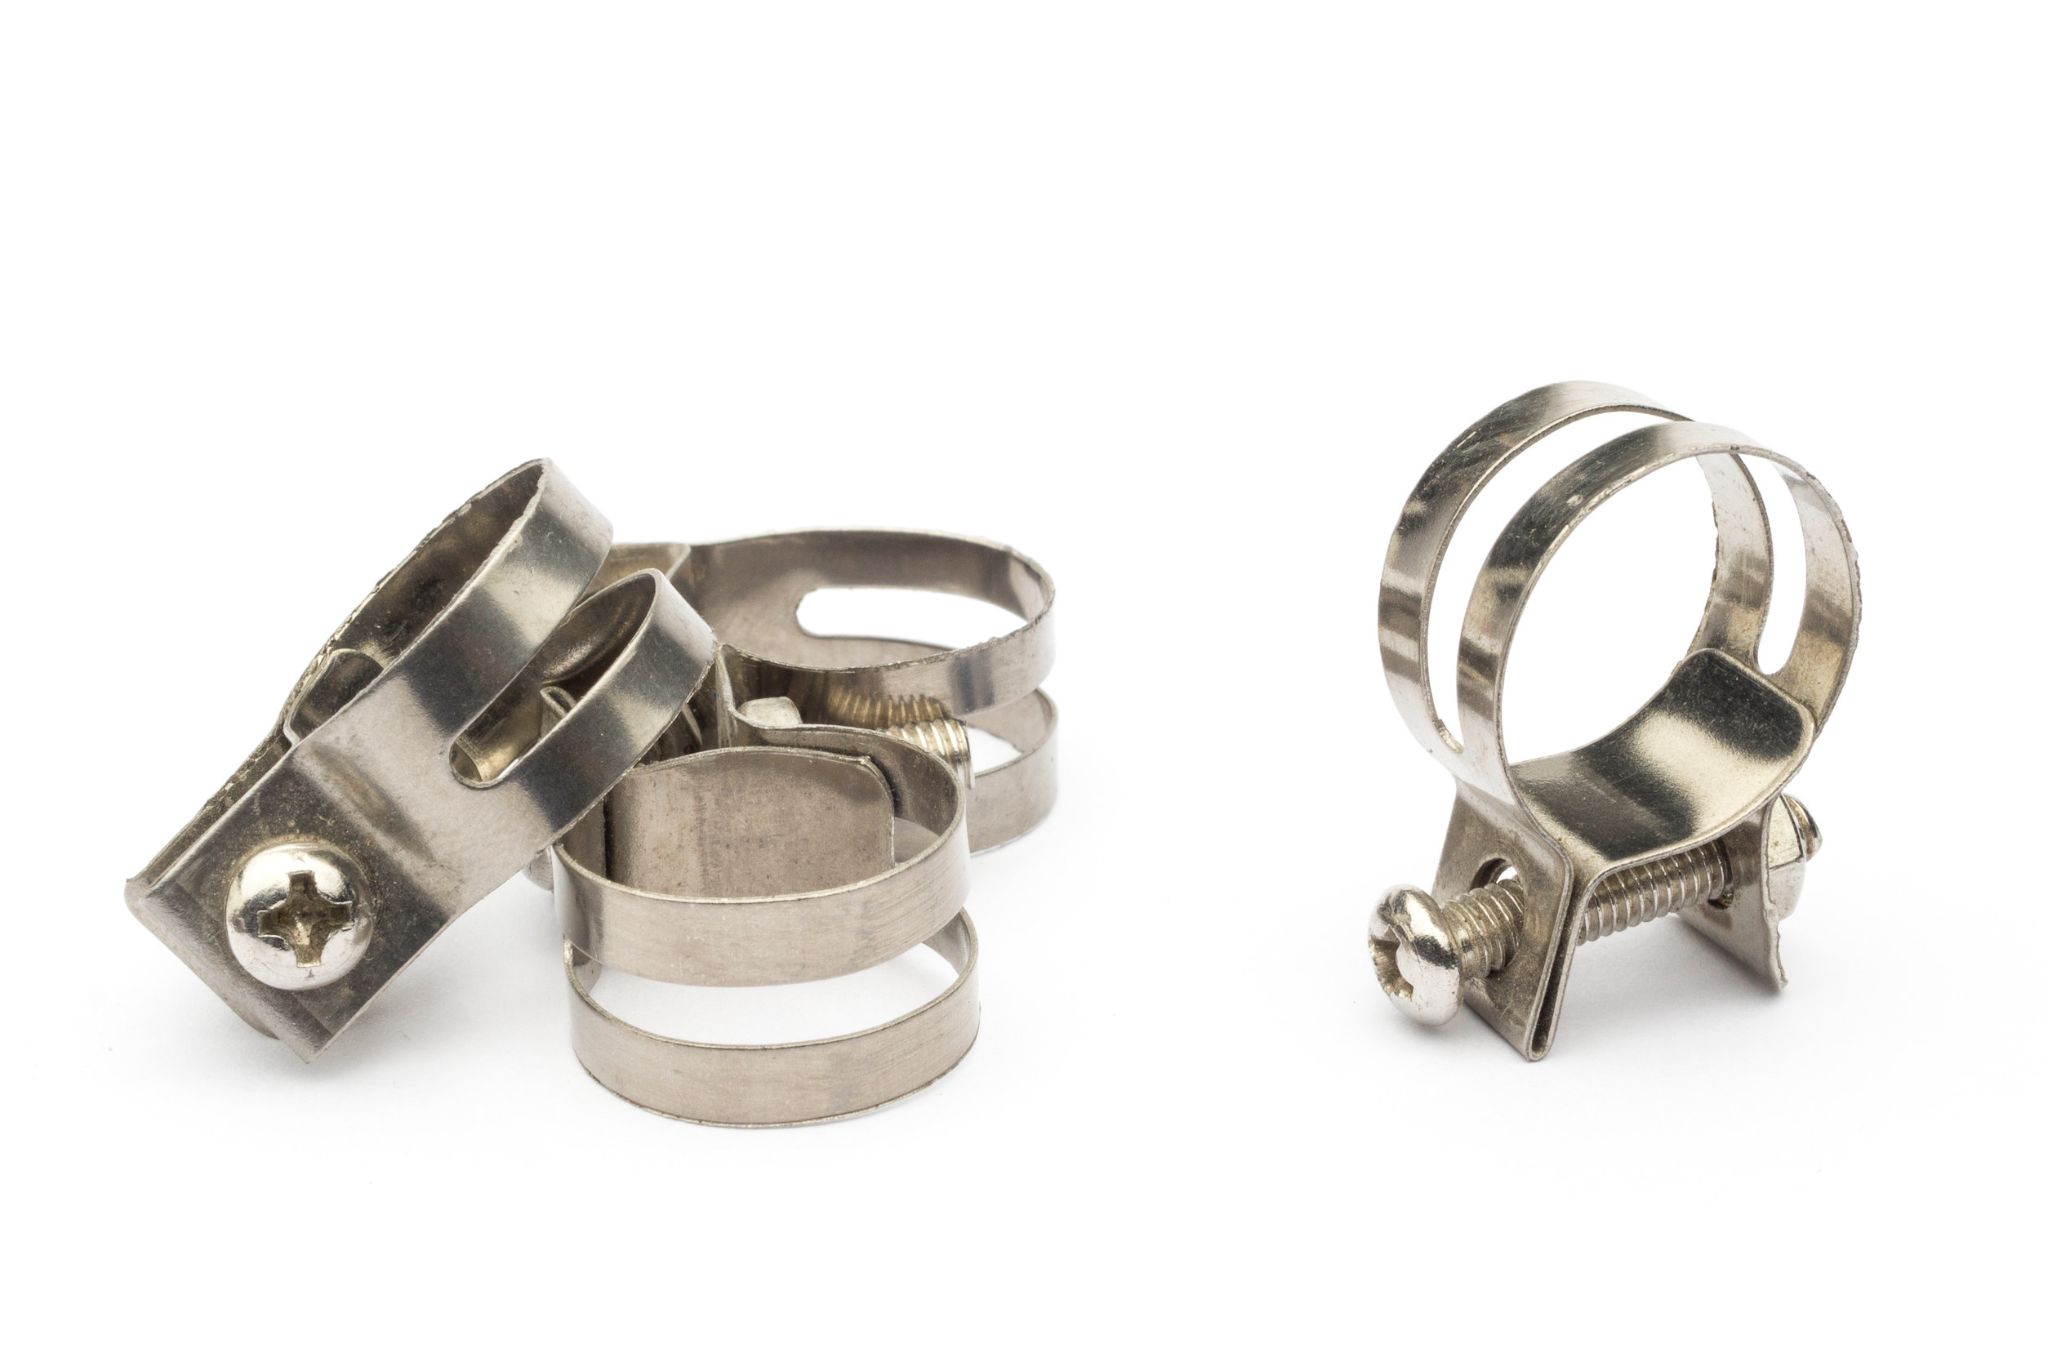
As you can probably guess, fastening tools are another type of tool that can help you get started on different types of fastening or home improvement projects which vary depending on what they’re working on making sure everything is installed perfectly across the entire area without causing too much damage when removing old pieces.

Tools used for fastening objects together vary between all kinds of wrenches with the exact dimensions required to tighten down screws, hammers meant specifically for striking surfaces inside hard to reach areas which means they’re designed not to slip out of your grip along the way, magnets for picking up dropped fasteners and other accessories depending on what they’re planning on looking at.

How To Spot Clean Decorative Throw Pillows

Decorative throw pillows are a great way to add style and comfort to your home. But if you have kids or pets, it’s inevitable that at some point they will get dirty.

Cleaning decorative throw pillows can be tricky because of the unique materials from which they’re made. The wrong cleaning products could do more harm than good.

Follow these tips for how to spot clean a decorative pillow so you can keep them looking like new without ruining its fabric.

Step 1: Remove any dust

Take your decorative throw pillows outside and give them a good shake. This will remove any dust or debris that’s settled on the surface of the pillow. You can also use a handheld vacuum to clean off the bottom of the pillow.

Step 2: Blot and rub the spill

Blot up as much liquid as you can from wet spots on your pillow, using a white cloth towel or an old terrycloth towel (you don’t want to leave colored fibers stuck in your fabric). If it’s ink, be sure not to touch it. Ink is extremely difficult to get out once it has seeped into fabrics.

Step 3: Use a soapy cleaner

Mix together soap flakes with hot tap water until you’ve created a paste. Rub the paste into the fabric and blot with a damp cloth until the stain is removed. Let dry naturally (don’t use direct heat such as a clothes dryer, stovetop, or iron).

If you don’t have any soap flakes on hand, you can also make your own soap solution by mixing together two parts hydrogen peroxide to one part dishwashing liquid (do NOT mix this with bleach as it will release toxic chlorine gas)

How to clean sticky substances

For spots such as chewing gum, chocolate or sticky syrup that are hard to remove from shoes and fabrics:

Place a zippered sandwich bag full of ice over the affected area until frozen. Next use an old plastic knife (with blunt end) scrape away at any debris on top making sure you start at the edge where stain would be for most items-work your way inward if necessary repeating this process in circles every time it gets soft again then follow up with soap to clean all areas thoroughly before washing garment once more.

How to clean pen marks

Reach under your bathroom sink for this cleaning solution. First, dab the pen mark using a clean area of white fabric towel each time you do so and then dry it off with another fresh piece when done until there’s no more color coming from where we were working on; place this new wet cloth onto an absorbent surface like paper towels or old clothes-folded clothing sheets if possible because otherwise they can get soaked through quicker than expected in some cases.

Once both sides are stained evenly use rubbing alcohol instead: soak one side of medium weight (not terry) cloth first by carefully applying small amounts at once making sure not to overdo it since too much will end up running past the pen mark and down onto the fabric making it harder to see; then do the same with paper towels or other materials on the other side until all ink is gone for good.

How to Keep Your Throw Pillows Clean Longer

When purchasing a throw pillow, look at the care label before buying. If you have pets or kids in your home, choose an easy-to-clean fabric choice. If you have difficult stains, however, opt for a washable fabric choice. Wash your pillows once every six months using gentle detergents to help maximize their life span. Spot clean any stains that occur in between monthly washes by following these tips.

If you are unsure about how to spot clean delicate fabrics or are worried about ruining a wonderful pillow with a stubborn stain, contact a local dry-cleaning service for advice. Professionals know what materials are best cleaned with their equipment and detergents.

How Long Does It Take Paint To Dry?

In this post, we’re going to answer the question: how long does it take to paint to dry?

We’re going to look over some basic dry times before looking into other factors like humidity levels which affect drying time.

Drying vs. Curing

Drying

Dry paint is when the paint is dry to the touch when you place your fingers on it. This may take anywhere from one hour to eight hours depending on which type of paint and what other factors come into play.

Most paint takes between one hour and eight hours to dry. Again, this varies based on the types of paint you are using.

Curing

You can check to see if your paint is cured by pushing your fingernail into a space that isn’t highly visible. If the paint underneath is dry, it won’t damage the surface of the area you’re about to paint over.

It’s best to try to have the humidity levels around 50% or lower. After all, most paints don’t like high humidity and will take much longer than normal to dry when there’s lots of moisture in the air around them. If possible, turn on fans so that moist air leaves the room while wet paint is drying for faster results.

Sometimes people refer to the amount of time it takes for paint to cure as the “set time.”

Curing paint is when the paint’s final appearance and drying time has been reached and usually takes another 24 hours to complete. If you want, you can test out your painted walls or surfaces to make sure that they dry properly by sticking a piece of paper on it and checking if it gets wet. This will work once the surface isn’t sticky anymore.

How Long Does It Take Paint To Dry Based On Application?

When using paint for indoor projects, you may need to know how long does it take for spray paint vs brush-on paint to dry so that you can ensure your efforts are efficient with time. Here are some basic facts about application methods:

Brush-On Paints

Brush-On paints have their own schedule for drying and curing. These paint types usually take between eight to twelve hours to dry and set properly.

Spray Paints

While spray paints might seem like the quickest and easiest option, it actually takes them longer than other methods to get their final look. You can expect that spray paint will take twenty-four hours or more to cure, depending on the product you’re using.

How do the types of paint impact how long it takes to dry?

There are three types of paint that you might be using for your project: acrylic, oil-based, and latex.

Acrylic Paints

Acrylic paints need less time to dry than most other types of paint do. They usually take anywhere from one hour to eight hours to cure completely.

Oil-Based Paints

These types of paints typically take longer than regular acrylics due to the high solvent content within the formula. Among other factors, this leads to a thicker consistency than water-based paints which can also increase drying times. Acrylics will start out wetter than oil-based paint but won’t stay that way for as long because it dries much faster. You can expect oil-based paints to take twenty-four hours or more to dry, depending on the humidity levels in your home.

Latex Paints

Lastly, latex paints are water-based and usually take between eight to twelve hours, but sometimes up to twenty-four hours if there’s too much humidity in the air. Latex is slightly thicker than water-based paint so that can affect drying times as well. You’ll want to wait until it feels like the paint might be sticky before laying down newspaper over it for indoor projects like painting furniture or walls.

What are factors that can impact how long it takes for paint to dry?

There are a few factors that can impact how long it takes for paint to dry, such as:

Type of paint

The type of paint you use will affect the drying time along with any other product you mix into the batch. For example, if there is high humidity or too much moisture in the air around your project, polyurethane could take longer to set than normal and may need twelve hours instead of eight. This also applies to paint thinners and primers.

Weather and temperature

High humidity and low temperatures tend to slow down the process even further because there is more moisture in the air which affects evaporation times for water-based paints. You should always check local alerts before starting a painting project to be on the safe side.

FAQ

How do you know when the paint is dry?

When applying paint with a brush, make sure that you give it time enough to set or cure before allowing an object onto it. For example, if you’re painting a table and want to start assembling it, try to give the paint at least one hour (usually more) for it to dry properly before you set anything delicate or expensive on top of your work.

When using spray paints, make sure that you allow the paint enough time to dry completely. If you don’t, there is a possibility of paint being tacky after being applied so be patient with your project if you are spraying.

To help speed up drying times, consider using fans in your home when using acrylics or oil-based paints. This will help speed up the process by helping move moist air away from surfaces where wet paint is being used.

How Long Should I Wait Between Coats?

When should you wait after one application of paint before starting another? This varies based on the type of paint you are using; here’s an easy breakdown:

Brush-On Paint

For brush-on paints, you’ll need to let each coat sit for at least six hours before adding a new one. If you want, you can wait even longer to ensure that your layers are ready.

Spray Paint

You have the freedom of being able to add new coats at any time after you’ve completed one layer of application if you’re using spray paint. It’s best not to apply another coat until the surface is dry and it feels like the base layer has set in well with no tacky feelings or surfaces that feel sticky still left behind.

How Many Coats Should I Use?

If you don’t properly prepare your walls before painting them (this article on how to prep your walls tells you everything), then it may be hard for your coats of paint to stick to the wall. This leads us to our next question: How many coats of paint should you use?

When applying multiple coats of paint, it’s best to use two or three layers. One layer may not provide enough coverage to your walls if their surfaces are rough.

If you want to avoid using several coats of paint on both your walls and ceilings, then you can opt for using a primer first. Primers are high-quality coatings that help the second coat stick better to the wall surface. While they won’t work as well as multiple layers of different colors might have, primers can save time in some cases by making just one layer suitable enough for covering the walls up properly.

Do I Need Primer?

It’s important that you determine whether not primer is needed before beginning your project. This will save you time and effort during the process by knowing whether your paint can stick well to its surface or not. Here are some helpful questions that might help you figure out if the primer is necessary for your task at hand:

1. Is it a new wall?

2. Do you have an uneven surface?

3. Is there old paint on top of the current color/paint type?

If you answered yes to any of these, then primer may be necessary for your walls before painting them. Ideally, primers are used on surfaces that aren’t smooth enough to hold up coats of regular paints easily because they provide a better foundation for future paint layers without sacrificing too much style. However, it’s best not to use a primer if you’re just going to add another coat on top of the priming coat anyway.

How can I tell that the paint is dry?

Once you’ve finished painting, it’s best not to wait until your paint drys and set in before coming back and touching it again. This is because you’ll keep smearing or disrupting anything that might be forming in how thick and smooth the layers are against one another. Instead, here’s what you should do:

1. Wait at least twelve hours after your final layer of paint has been applied (this isn’t counting drying time for any coats beforehand.)

2. Touch each area once with a light hand; don’t push too hard into the surface

3. If the paint feels tacky, then it’s not dry yet and you should wait a couple more hours before continuing on.

Do I start with the trim, walls, or ceiling?

The answer depends on what your painted surface is like and how large it is. A good rule of thumb when deciding how to determine the order in which you’ll paint different surfaces with multiple coats is as follows:

1) Walls:

After trim, if they’re both done (or at least primed.)

2) Trim: After walls are done (or at least primed.)

3) Ceiling: Before walls are painted, even if it’s a quick coat.

4) Floor: After all other surfaces have been painted.

How To Clean A Faux Fur Rug In 5 Steps

Faux fur rugs can be expensive and pretty delicate. They’re also a pain to clean because the hair tends to get matted down, which makes it hard for your vacuum to pick up all of the dirt.

If you have one of these precious rugs in your home, we’ve got some tips that will keep it looking good as new.

We’ll walk you through how to do this yourself so you don’t have to pay someone else or risk damaging your rug while trying on your own.

Here are five steps to clean your faux fur rug:

1) Shake or vacuum the rug clean

2) Use soapy water to fill a tub

3) Soak the rug in the water

4) Use warm water to rinse the rug

5) Let the rug dry

Items you’ll need for the cleaning processes

  • Vacuum
  • Soap or Detergent
  • Bathtub
  • Warm Water
  • Rags
  • Brush
  • Towel

Step 1: Shake or vacuum the rug clean

This may seem silly but you’d be surprised how much dirt, dust, and debris can get trapped inside of the fibers of a faux fur rug.

Shake out your rug outside or vacuum it using the crevice tool to loosen up any stubborn bits that don’t want to come loose.

Step 2: Fill a tub with soapy water

Fill up a large bathtub with lukewarm water and add some mild soap such as dish soap. Place your rug in the tub and let it soak for about ten minutes before taking it out. 

Letting the soapy water sit on the fibers allows for easier cleaning once you start scrubbing away at them since they’ll be nice and pliable from soaking in the warm water.

Step 3: Use a brush to scrub the rug clean

After letting the soapy water sit for a few minutes, grab a soft brush and get started scrubbing your rug. It’s going to take some elbow grease on your part but it will make all of the difference when you’re finished with this step. 

If you’re worried about damaging your faux fur rug by scrubbing too hard, consider investing in one of those rubber/foam sponges that are textured for tougher jobs like this. You could also use an old toothbrush or boar bristle brush to help remove dirt from individual strands.

Step 4: Rinse the fabric using warm water

Grab another bucketful of lukewarm water and empty it on top of your rug. Once again, use the brush to scrub away at any particularly dirty spots or stains in your faux fur rug.

Be sure to rinse out the rug frequently so you’re not just moving around dirt and grime from one area to another instead of actually getting rid of it completely.

Step 5: Dry off the rug with a towel

Once you’ve gotten all of the soap and dirt buildup off of your faux fur rug, dry it using an old towel. The fabric will probably still be wet but don’t worry about that since it will dry up when you put it in its spot in your home.

After giving your faux fur rug a thorough washing, make sure it’s completely dry before placing it in its usual spot in your home. 

If you have a big enough radiator, that’s a great way to speed up the drying process so you can recommence walking all over it in bare feet without having to wait a long time for it to dry out completely.

Otherwise, just give it a few hours and the rug will be dry enough to use again.

How To Get Rid Of Odors From Faux Fur Rugs

A carpet that has a scent may also emanate an unpleasant odor throughout your entire home or room. If you notice an odor coming from the fibers of your favorite chair, try sprinkling baking soda on top and let it sit for 10-12 hours before removing it with an upholstery tool vacuum cleaner.

How Do You Make A Faux Fur Rug Soft Again?

It’s not fun to have a rug that’s old and tired. But don’t worry, because there are ways for you can get your faux fur back into shape. For example, hand washing will help if done correctly or machine-washing at the right temperature with care could revive an otherwise lost cause.

Can You Put Faux Fur In The Washing Machine?

It’s important to know the proper care for your faux fur. Faux furs are often machine washable, but some acrylic and wool-based ones require dry cleaning instead because they cannot withstand getting wet like other types of fabrics can do without damaging them or losing their properties entirely due in part to being too delicate; you’ll want something durable so as not risk ruining an expensive item. Jackets and coats made with this material should always be cleaned by someone experienced since otherwise there could potentially still remain hidden dirt particles left behind which might lead to wear down faster than expected over time.

How Do You Fix Matted Faux Fur?

If you have matting on your faux fur, the best way to fix it is with a cat brush. Not only will this remove any dirt that may be embedded in the first fibers and knots or tangles but also make sure all of its sleekness stays intact.

The Complete Guide To Best Under Sink Water Heaters

We all want to save money on our energy bills, but it’s hard to know which water heater will be the best choice for your home.

Water heaters are expensive and not something you should buy without doing some research first. You don’t want to make a mistake that costs you thousands of dollars in wasted energy over the next few decades.

This article is meant to help you understand how different types of water heaters work and what factors affect their efficiency so that you can choose the right one for your home.

The 6 Best Under Sink Water Heaters

1. Bosch Electric Mini-Tank Water Heater Tronic 3000 T 4-Gallon (ES4)

Sale

Bosch Electric Mini-Tank Water Heater Tronic 3000 T 4-Gallon (ES4) – Eliminate Time for Hot Water – Shelf, Wall or Floor Mounted

  • CONVENIENT HOT WATER HEATER: 4 gallon point-of-use mini-tank fits under your sink to provide hot water right where you need it. Thermal efficiency is 98%. Dimensions : 13.75 W x 13.75 H x 13.5 D Inches

The Bosch Electric Mini-Tank Water Heater Tronic 3000 T 4-Gallon is a time-saving option. It pumps out hot water way more quickly than other electric heaters, so you save time waiting for your sink to come up with any kind of usable hot water. If your primary heating source is far from the sink, this heater will come in clutch for individual or supplementary use. Never have to worry about switching between warm and cold again when using this POU electric heater as an infra-red device works constantly to ensure a continuous output of warm water. This unit is perfect for kitchens where sinks are far away from main sources of natural or propane heated water; it increases the efficiency of conventional gas furnaces that do not heat water to near the temperature that is needed for use. Save time and money by heating up only what you need with this compact under-sink heater.

2. EcoSmart ECO 11 Electric Tankless Water Heater

Sale

EcoSmart ECO 11 Electric Tankless Water Heater, 13KW at 240 Volts with Patented Self Modulating Technology

  • Endless On-Demand Hot Water; Consistent hot water when you need it that never runs out; Continuously monitored water temperature and controlled flow rates ensure efficiency and consistent performance within 1 degree of selected temperature

You won’t experience the annoying over-heating that you might find with a traditional model. The unit provides up to 2 gallons of hot water at any time and is equipped with self-modulating technology, which will control energy output based on regional conditions. This unit can provide maximum heat capacity for two sinks or a shower while automatically adjusting in colder climates where one sink may be all it’s able to handle. Additionally, the ECO 11 is designed for under-the-sink installation only so tight corners don’t have an effect on its effectiveness–even your kitchen faucet.

3. ECOTOUCH Tankless Water Heater Electric

Tankless Water Heater Electric 5.5kw 240V, ECOTOUCH Point-of-Use Hot Water Heater Digital Display,Electric Instant Hot Water Heater with Self-modulating,Overheating Protection,White

  • 【INSTANT & SUFFICIENT HOT WATER】Applied with 5.5KW heating system, the electric water heater supplies instant, consistent and endless hot water of 116℉or higher temp shortly, no waiting for preheat nor terrible temp up & down, perfect companion for sinks. Time to get rid of those “lukewarm” toys.

Whether you’ve got an aging dishwasher or if your dish rack is stacked up with charred pots and pans, a brand new ECOTOUCH Tankless Water Heater Electric will be the perfect match. No more waiting for water to reach an acceptable level of warmth, now with this under sink water heater you can live in blissful hot water luxury—every day. And since we understand that not everyone wants their morning tea at 120 degrees Fahrenheit, the ECOTOUCH has a built-in thermostat that ensures only your perfect desired temperature is served. Though it could have turned out very differently (pun intended), look how nice and neat this little guy looks beneath your sink? A beautiful upgrade to lukewarm living.

4. Camplux ME25 Mini Tank Electric Water Heater 2.5

Sale

Camplux ME25 Mini Tank Electric Water Heater 2.5-Gallon with Cord Plug,1.5kW at 120 Volts

  • Saving Energy & Money – Built in insulation foam, reduces heat loss. 2.5-gallon point-of-use mini-tank fits under your sink to provide hot water right where you need it.

The Camplux ME25 Mini Tank Electric Water Heater is a good choice for you to save energy without sacrificing convenience. This particular model does not have an output of more than 120 gallons per hour, which can help with the savings. With this appliance in your home, you will be able to enjoy hot water any time that you need it thanks to its 2.5-gallon glass-lined tank and CSA-listed temperature/pressure relief valve. Other great features include installation being generally easy as long as there is cold water access under your kitchen sink, and ease of use–simply plug the unit into a standard 120V electrical outlet near where it will be installed.

5. EM-7.0 Eccotemp 7 Gallon Electric Storage Tank Water Heater

Sale

Eccotemp EM-7.0 Mini Storage Tank Water Heater

  • Great for use on boats or in RVs, cottages, and kitchenettes

Knowing that everyone needs easy access to hot water, Eccotemp has made a heater worth its weight in gold. No need for endless pots of coffee waiting before every meeting or industrial task; the EM-7.0 is here with instant relief. Take this miniature wonder anywhere you go and whip up anything your heart desires on the fly. You’ll never have to worry about running out of water again – we make sure your kettle stays full and ready at all times.

6. HS-4 1 Gallon Electric Tankless Water Heater

RINKMO Electric Tankless Water Heater 18KW 240V Instant Residential Electric on Demand Water Heater for Bathroom Bathtub rv Whole House and Point-of-Use Shower Sink Small

  • ????【INSTANT ENDLESS HOT WATER】: RINKMO 18KW tankless water heater requires 2 x 40 AMP breakers and 2 x 8 AWG wire, the Water Flow is 0.4GPM/1.5L/min. You aren’t limited to the amount a storage tank heater can hold, tankless water heater technology will instantly supply the hot water your lifestyle demands.

The HS-4 1 Gallon Electric Tankless Water Heater is amazing for anyone looking for a heater that takes the guessing out of setting your desired water temperature. This waterproof, stainless steel product will adapt to any preferences depending on how much you use it, thanks to Pending Closed-Loop Modulation and an Activating Quarter-GPM Flow Rate. With a range of temperatures from 80°F to 140°F, this unit will be sure to handle any need.

Type of Under Sink Water Heater

An under sink water heater can be electric, propane gas, or natural gas.

Electrical Water Heater

This type of water heater uses electrical power to heat potable water and is usually installed under a kitchen sink or counter near an existing faucet. The main advantage to this type of unit is that it does not need any form of the flue, venting, or natural gas line; however, there are many disadvantages, including the high cost in comparison to other types, limited efficiencies/energy factor ratings & potentially dangerous if used improperly (when compared with LP models). Under Sink Electric Tankless Water Heaters typically have very short warranties ranging from 1 year up to 3 years depending on the manufacturer.

Natural Gas Water Heater

There are two types of natural gas water heaters, direct vent, and vent-free. Direct vent units are recommended only for countertop installations because they require a chimney or flue. Vent-free models can be installed either under the sink or on a wall but must not be installed to the side of the cabinet due to combustion gases/carbon monoxide emissions which can enter the room in extreme cases.

Propane Gas Water Heater

The most popular type of tankless water heater is propane because it is inexpensive, offers high energy efficiency & can power multiple appliances at once (including an oven). However, installation requires both plumbing and electrical services and should only be used with appliances that have self-venting designs. Propane water heaters also require annual maintenance to ensure safe operation, but they are the easiest type of tankless water heater to install as long as you have access to a gas line.

Under Sink Water Heater Features to Consider

There are many important features to consider when purchasing an under sink water heater, including type, flow rate, energy rating, dimensions, heating capacity, voltage, warranty, installation & maintenance, and safety features.

Flow Rate

When considering flow rates, it is important to consider all demands for hot water in your home. For example, if you need a lot of hot water in a hurry you may want to choose an under sink water heater with higher GPM and if you live alone then maybe 1.5GPM or even lower would work just fine. Be careful not to overestimate the demand on your unit as there are no benefits from having too large of a unit other than spending more money upfront for something that could potentially not do the job you need it to do.

Energy Rating & Efficiency

Another factor that will affect your energy bills greatly is the energy rating which includes both Btu/h and AFUE. A lower energy rating will not be as efficient as a higher one, but keep in mind that it is always better to have less power consumption than more. Since you want the most bang for your buck choosing an under sink water heater with the highest Energy Factor (EF) rating is ideal. The EF describes how well a unit transfers heat from combustion to the water and includes a number between 0 and 1 which is based on efficiency at different Btu/h ratings so you can rest assured knowing that this is important when shopping around.

Dimensions

When measuring for an under sink heater remember to add at least 4 inches above your existing faucet height. This additional space ensures correct installation & provides evaporative cooling which is vital for the unit’s function.

Heating Capacity

Heating capacity is another important factor to consider when purchasing an under sink heater because the higher the Btu/h rating, the larger your tank will be. Keep in mind that no matter how large your unit is, it cannot provide endless hot water and will shut off once the pre-set temperature has been reached. For this reason, you should choose a water heater with at least 20% more heating power than what your household needs.

Safety Features

Safety features are always a good thing to have and having them on your water heater is even better. Here are some important safety features that you should look for when shopping around: an automatic ignition shut-off, overheating protection, freeze protection & an auto-fill device.

Installation & Maintenance

Although installation is very easy with most tankless water heaters, make sure to do thorough research before purchasing any under sink water heater. Most units connect directly to existing under sink plumbing but there are other models that require removal of the existing water heater which can be costly if purchased at an appliance store (see Home Depot here ). Another thing worth mentioning is the importance of regular unit maintenance – as it is vital to prolonging the life of your equipment and ensuring it is safe to use.

Venting

Most under sink water heaters require an indoor air vent that must be installed before you can connect the unit. Vents tend to be a bit more expensive than regular installation but they are well worth the additional cost in the long run because it adds safety & prevents exhaust fumes from escaping into your home. Regularly check your vent for blockages and make sure airflow is free & unobstructed at all times when using your heater.

Warranty

As with any appliance, a good warranty is always important to look out for. Not only does it protect you should something go wrong but most reputable brands will offer extra features such as extended warranties or even free (non-expiring) in-home service calls if needed. Some manufacturers provide lifetime coverage which goes to show how confident they are about the quality of their unit & its function long term – all under sink water heaters come with at least 1-year parts & labor warranty.

Price   

Although price and cost can often be used interchangeably, there are some differences that need to be noted here. Whereas cost takes into account multiple factors such as brand name and popularity, price only looks at your total initial investment without assessing value; so the price is what you pay while cost is what you get. Obviously, with a larger initial investment comes more peace of mind and better long-term reliability.

You’ll also find that there are multiple features to consider when shopping around for an under sink water heater (such as heat settings, type/size tank, maintenance requirements) all of which affect the total cost both short and long term – read our article about factors to consider before buying an under sink water heater if you’d like more information on this topic. The point being made here is that just because one unit costs less than another it doesn’t necessarily mean that it’s the best option for your needs.

Size   

A common people make when purchasing a new water heater is buying one that’s too small. Keep in mind that a water heater is only meant to provide endless hot water under set conditions – but this will not be the case if you purchase an undersized unit. You should always have at least 20% extra capacity to make up for the loss of energy efficiency and heat output when your water heater cycles on & off.

For example, a family of 4 living in a house with 1 bathroom would need at least a 50-gallon tank (4 people x 2-3 showers per day = 8-12 daily uses) to ensure they can take as many hot showers as needed at any time without running out of hot water before the end of the day. A 40-gallon tank falls short by 10-20% which can become a serious problem when you need it most (i.e. kids racing to the bath after soccer practice).

Temperature Settings

As with any modern appliance, water heaters come with a wide range of customizable features such as output temperature & timer functions that are designed to improve safety and prolong unit life. For example, some under sink water heaters have built-in 20-40 degree Fahrenheit temperature increments so you can get just the right combination of hot & cold for your needs – read our article about this topic here. On top of that, automatic timers will turn off units after 1 or 2 hours (or whatever time frame you prefer) – automatically turning on again every – which helps eliminate wasted standby energy.

Recommendations & Tips

When installing an under sink heater always leave at least 4″ above your faucet for clearance in case you ever need service or want to replace the unit. For better results make sure that the plumber installs venting/ventilation for ventilation and installation near an existing drain is ideal when considering height restrictions (remember that installation on top of most sinks could interfere with cabinet doors). Generally speaking, electric units are best suited for 1-2 people while propane is recommended for larger households of 3+ people. Remember, no one likes cold showers so consider purchasing a tankless water heater with a high flow rate for maximum comfort.

Pros and Cons of Under Sink Water Heaters

There are several pros and cons of choosing an under sink water heater.

Pros

Cons

Taking Care Of Your Under Sink Water Heater

There are some important things that you can do to make sure your under sink water heater is working as it should. When we look at other appliances, regular check-ups play a huge role in maintaining their performance and lifespan. It’s only fair if the same goes for our appliance too.

It’s normal practice to give an outline of how maintenance works with any product or machine, so I’ll start there before getting into what this entails specifically when it comes to these types of heaters.

Like I mentioned earlier, there are a few things that you’ll need to check on regularly. Although this might sound like a task and a half, it really isn’t that much extra effort – especially when you consider the potential rewards as well as all of the benefits that under-sink heaters provide in general.

After reading about these appliances, you’ll likely still have a few questions and uncertainties regarding them before going ahead with your purchase and installation. However, if everything checks out and you’re satisfied with what they can do for you then it’s time to take care of them properly so they truly shine.

How To Choose The Best Paint Sprayer for Kitchen Cabinets

There are so many different types of paint sprayers out there. It can be hard to know which one is the best for your needs.

You don’t want to buy a cheap, low-quality tool that won’t last you very long and will give you poor results. 

We’ve put together this blog post with all the information you need about how to choose between gravity feed or siphon feed spray guns, what features are important in a high-quality kitchen cabinet paint sprayer, and even some tips on how to use it properly. Enjoy!

Table of Contents

The Best Paint Sprayer for Cabinets

1. HomeRight Paint Sprayer

HomeRight Finish Max Series Handheld HVLP Paint Sprayer, Choose Between Quick Finish, Finish Max and Super Finish Max Spray Guns

  • PAINT SPRAYER FOR COUNTLESS DIY PROJECTS: The HomeRight Super Finish Max paint sprayer offers the ultimate DIYing experience. It’s great for applying a great finish on small to large projects like fences, decks, furniture, cabinets, dressers and more!

The HomeRight Paint Sprayer is perfect for your home project this summer. No matter what type of paint you are using, the HomeRight sprayer can handle it with ease–or maybe even two at a time! It comes with three different tips to provide perfect coverage on both indoor and outdoor projects. Don’t settle for a tool that will only work well with one medium and instead upgrade to the HomeRight Paint Sprayer.

2. Wagner Spraytech FLEXiO 590 Handheld HVLP Paint Sprayer

Wagner Spraytech 0529011 FLEXiO 570 Handheld HVLP Paint Sprayer, Sprays Unthinned Latex, Includes iSpray Nozzle, Complete Adjustability for All Needs

  • FLEXIBILITY FOR HOUSEHOLD PROJECTS: The Flexio 570 paint sprayer is great for applying a consistent finish and fast coverage on household projects like walls, ceilings, exterior siding, fences, and more

The compact Flexio 590 Paint Sprayer from Wagner is perfect for any paint job that demands ease of use and efficiency. Featuring a portable design, two nozzles, ten-speed settings, and adjustable flow patterns (these are just some of the benefits), this tool will easily save you time and energy on your next painting project. 

Flexio 590’s design makes painting easy: the sprayer includes an ergonomic handle with an extended range to ensure you have more precise control over the product than ever before. This also means less stress on your arm- meaning better mobility too! You’ll be able to set up in no time by adjusting the height with quick release airless clamps for faster installation.

3. PaintWIZ PW25150 Handheld Paint Sprayer

Sale

PaintWIZ PW25150 Handheld Paint Sprayer PRO

  • Full coverage water based disinfectant sprayer

Painting the outside of your home? Maybe painting a bedroom or kitchen interior? Opt for this versatile PaintWIZ handheld paint sprayer instead of an ordinary brush. The 400-watt HVLP sprayer is perfect when you need to tackle detailed work, like painting trim along walls and windows, as well as larger projects like the exterior siding on your home. It also has less overspray than other models, which is great news for indoor projects!

This unit comes with three spray patterns, one variety for each type of project (priming smaller areas vs. medium coverage). And remember: don’t forget to use the included double nozzle attachment if you want more control over how thick the coat is applied!

4. REXBETI Ultimate-750 Paint Sprayer

Sale

REXBETI Ultimate-750 Paint Sprayer, High Power HVLP Home Electric Spray Gun, Lightweight, Easy Spraying and Cleaning, 5-pcs Paint Strainers, 4 Nozzles(1 Nozzle has Already Been Installed on The Gun)

  • ( kindly notice : totally there are 4 nozzles, the 2.5mm black nozzle has already been installed on the gun. ) High power & superior finish – With high power, the ultimate-750 provides a precise spray pattern,creating the smooth and superior finish.With 1000ml high-capacity container,it will be your best electric paint sprayer for tables, chairs,fences,interior walls and crafts

Spring cleaning can be a lot for anyone, and it’s possible that you may need a little help! This ultimate-750 sprayer is not only great at getting paint on the walls but also offers four different nozzles, three coat patterns to get different looks, and easy flow rate control allows for simple use. With an extension cord included in the purchase as well as extra items like food quality ingredients and cleaners, this item is an essential part of springtime cleanup. Simply load your HVLP air compressor with paint or another finish your product is designed for and aerosol like never before!

5. Wagner Spraytech 0518080 Control Spray

Sale

Wagner Spraytech 0518080 Control Spray Max HVLP Paint or Stain Sprayer, Complete Adjustability for Decks, Cabinets, Furniture and Woodworking, Extra Container included

  • HVLP PAINT SPRAYER: The Control Spray Max paint sprayer uses high volume, low pressure technology to atomize materials into fine particles and provide a smooth finish on door trim, decks, furniture, more

With the Wagner 0518080 sprayer, you can get any job done up to 48″ in height. Its adjustable pressure and variable flow rate settings let you easily control how much paint is coming out of the nozzle for a perfect finish on each painting project. Prevent overspray from getting on your clothes or furniture with its included shroud and hood that effortlessly attaches right onto the top of this unit! Plus, it has a lightweight design with an ergonomic handgrip–making sure your wrist never needs to go above and uncomfortable angle when gripping this product. With all these features and more, there’s no wonder why this sturdy two-stage turbine engine sprays evenly and mess-free even under heavy use conditions…engineered literally for lasting beauty for every surface.

6. Tacklife Advanced Electric Spray Gun

Paint Sprayer for Home, 400W Hvlp Spray Gun, Electric Paint Sprayers with 1 Viscosity Measuring Cup, 3 Nozzles, 3 Spray Patterns, 800ml Container for Home and Outdoors, Painting Projects

  • HIGH POWER & LARGE CAPACITY: Compared to paint brushes or rollers, you can use less time and effort to get a smooth, high-quality surface treatment; Equipped with 800ml detachable container, it will be your best electric paint sprayer for furniture, tables, chairs, fences, interior walls and crafts

The latest word in durable spray guns, this 400-watt electric paint sprayer is designed to make your amateur painting endeavors a breeze. From its three different modes (fine mist, medium, and wide halo) to its easy cleaning features an ABS construction that prevents yellowing or peeling over time, the Tacklife Advanced Electric Spray Gun may just be your new best friend when it comes to home decorating.

7. Fuji Semi-PRO 2 HVLP Spray System

Fuji 2203G Semi-PRO 2 – Gravity HVLP Spray System, Blue

  • Professional non-bleed Spray Gun with Adjustable Pattern Fan Control

You’ve just finished the best paint job on your living room walls thanks to your new Fuji Semi-PRO 2 HVLP Spray System and you want some more of that feeling. All you need is an artist friend with a vision, dishwasher soap, bowls, watercolors, and other supplies and your space will be transformed into one for creativity and play.

The Advanced Air Control ensures smooth spreads while not dripping or running off the sides of surfaces. As ever mindful of safety they’ve also included a safety lock button to avoid accidental activation when it’s not needed as well as non-clogging air filter screens which prevent clogs and jams without altering sprayer performance. Bonus: The nozzle fits standard garage door openers!

Pros and Cons of Using a Paint Sprayer

Should you purchase a paint sprayer in the first place? There are many reasons why someone might not want to buy this type of tool, however. We’ll outline all the pros and cons that make owning one difficult for some people before we tell you if it’s right for everyone else or not.

Pros

The paint is even. When you use a paint sprayer, you’re going to get an even paint job. There’s no paint running or spilling and you’re not left with any goopy spots that look like the whole area was suffocated in glob.

The paint is fast. Instead of slopping all over your furniture or floor, painting with a sprayer lets you get done quicker than ever before. The more quickly it gets done, the less time there is for an accident to occur (including permanent damage).

The paint goes on smooth. When you let paint build up thinly on top of itself, it creates a texture through which other objects can be seen quite easily. With a nice finish from paint that has been applied by a sprayer, this problem is eliminated entirely so your project looks its best without any risk of sticking out like a sore thumb

No brush strokes or roller marks. Paint gets applied all at once and not in waves or dips that are tough to blend out. The uniformity of the finished product is impressive, which makes it even better than putting on a coat by hand for most people.

It’s easy to use. Anyone can own a paint sprayer, unlike some other tools that require professional training. You don’t need to be a professional painter or someone who has had years of practice with large pieces of machinery in order to use this device. It’s easy enough for kids and even first-timers who are curious about creating their own wall decor.

Cons

Noise. While some paint sprayers can be quite quiet with their operation, others make quite a lot of racket as they work. This could be bothersome for those who don’t want to disturb their surroundings while getting things done around the house.

Hassles starting and stopping the sprayer. Sometimes these types of machines clog up, leak fluid everywhere or simply refuse to turn on when you need them to later on down the line. If you let this get into your head too often, then it might make it more difficult for you to rely on your paint sprayer when the time comes.

The mask is a must. Paint nozzles or brushes can get extremely dirty and if this isn’t dealt with correctly, then serious problems could be just around the corner. This means that using respirators and other protective gear is an absolute necessity while working with one of these machines so anyone not up for doing something like this would do well to give them a pass altogether.

The price is high. Paint sprayers are often very expensive because they’re so sophisticated (and reliable). They have been designed by people with many different kinds of backgrounds and experiences, from artists looking for the perfect tool to make painting easier for them than ever before to designers looking for something more efficient than a brush but smaller an airbrush machine used in body painting.

Different Types of Spray Painters

There are many different types of spray painters, including airless, pneumatic, and HVLP.

Airless

An airless spray painter uses high-pressure air pumps to push the paint through the nozzles. These types of machines are often used on bigger projects because they’re not very portable. This type of machine might be best for homeowners that need something heavy-duty but don’t have the space or time for a smaller device.

Pneumatic

These spray painters are powered by compressed air in either an electric motor or gasoline engine and use a rotary pump to get the job done. The paint is transferred into a holding container where it’s mixed with other chemicals before going out through one nozzle at a time. This can lead to some problems because there will be areas where more fluid is needed than others, which creates uneven coverage.HVLP For those who don’t like the idea of coming into contact with paint at all, HVLP spray painters might be your best bet. This type of machine uses high volumes but low-pressure in order to get the job done without any help from other chemicals or additives. While this can help protect your health, it also creates a problem where colors can appear too light and barely visible on surfaces.

HVLP

HVLP sprayers utilize low pressure, are easier to use, and more economical than traditional models. Unlike other types of sprays that require expensive materials such as thin paint or a compressor, for example, HVLP is perfect for home improvement projects involving cabinets because it uses less material but still produces high-quality results.

Tips for How to Spray Paint

Tips for spray painting your cabinets include: preparing the kitchen for painting, removing and disassembling the cabinets, cleaning the cabinets, sanding and patching the cabinets, and priming the cabinets.

Prepare the kitchen for painting

Before you can begin painting your cabinets, you will need to make sure the kitchen is prepared for painting. You may want to cover appliances and electronics with plastic sheeting or newspaper in order to protect them during the process. You should also make sure that countertops are protected from spills so they don’t become damaged by paint.

Remove and disassemble cabinets

When removing doors, drawers, knobs, and other hardware from your cabinets, remember not to paint them along with the cabinet itself. Paintbrushes or spray paints work best on bare wood surfaces because they won’t trap air bubbles inside of them like traditional pre-painted materials will.

Clean cabinets

After completely disassembling your cabinets and allowing them time to dry completely (which could take days), clean the cabinets with a degreasing solution in order to remove dirt and grease.

Sand and patch cabinets

When you’ve finished washing your cabinets, it’s time to sand them down so they’re even and smooth. This will help the paint stick properly and eliminate any bubbles or inconsistencies.  Patch up any holes that will interfere with paint sticking effectively as well as cracks, chips or other imperfections.

Prime cabinets

Before painting anything, make sure you prime first! Latex primer works best for porous surfaces such as wood (and generally doesn’t require more than one coat). You should also use an oil-based primer on non-porous surfaces like metal and plastic if needed. Make sure that you wait for each coat of primer to dry before applying another coat.

For some people, the idea of painting their cabinets is a novel one but at the end of the day, they may lack time and patience – or both. For those looking for an easier option, it’s best to get in touch with local cabinet painters who can do the job for you.

FAQ

Can you use a sprayer to paint kitchen cabinets?

Spray painters are perfect for kitchen cabinets because they use a spray nozzle to get the job done. They can be used to paint bare wood or primed metal surfaces with ease.

Is it possible to remove old paint from kitchen cabinets at home before painting? Depending on how long it’s been since your cabinets were painted, you may be able to remove the existing paint by hand using mineral spirits (paint thinner) and steel wool. You should always test this method in an inconspicuous spot first, however.

How much does it cost to have kitchen cabinets professionally painted? Spray painters typically cost around $100 per hour as well as the materials required for the job. This means that costs will vary depending on what materials are needed and how many cabinets there are to paint.

Can you use latex paint on kitchen cabinets?

It’s possible to use a water-based acrylic or latex paint, but make sure the primer and surface are both compatible with it first. Latex paints tend to have a low sheen (or gloss) while oil-based paints usually have a high sheen.

Is it better to paint or stain kitchen cabinets? Paint will give your cabinets a thicker, more impressive appearance than staining them, so in general, this is a better option. Stain works best if your cabinets were originally painted as it will darken the whole thing uniformly rather than layering light over dark as paint would do.

How do you get rid of cabinet doors before painting?

You can remove the doors by simply unscrewing the hinges, but if you need to remove hardware (like knobs or handles) beforehand, be sure to remove them so they don’t stick to the paint and damage it.

Is it better to spray or brush paint kitchen cabinets?

There is no perfect answer to this question. Spraying paint gives you a smoother, more blended finish but it also requires special equipment that most people don’t have access to like spray painters or compressors. Brushing cabinets generally takes longer and has a higher risk of creating bubbles in the paint, so it’s best left to professionals who know what they’re doing.

What type of spray painter is best for cabinets?

The best spray painters for cabinets tend to be units with a gravity cup, so that the paint is directed down into the cup and away from the air. Blasting cabinets with high-pressure sprays can damage wood grain because it’s too coarse to handle such force.

Can you use stain on kitchen cabinets after painting them?

If you’re looking for a two-in-one option, you should consider choosing a water-based stain or tinted primer instead. These products are designed to both prime and color surfaces for maximum coverage and they often come in tints that match common cabinet colors like maple, white, or espresso.

Is using a paint sprayer easy?

Using a paint sprayer is much easier than you might expect. Most units come with adjustable tips that allow you to adjust the flow of paint so it’s easy to get just the right amount for your project.

What kind of surface can I use?

There are really only two rules regarding what can or cannot be used by someone who owns a paint sprayer: Is it paintable? Will the material runoff or absorb too much of the paint being used? If it can stay put and hold on tight without these issues, then you’re good to go.

What kinds of things should I clean my sprayer with?

For starters, always try a little bit of water first. If that doesn’t solve the problem (including in and around the tip), try dish soap or denatured alcohol. Don’t ever use solvents or petroleum-based products as they can damage components and leave unsightly spots on whatever you’ve been working on.

Is there anything else I need to know before getting started?

Yes! Always read through safety manuals before using your new machine for any reason at all. Failure to do so could result in bodily harm which is just something you can avoid by reading through this kind of manual in advance.