44 Different Types of Home Appliances

Buying appliances for your home can be a confusing and overwhelming experience. 

We’ve all been there, we want to buy an appliance but we don’t know what the best choice is. There are so many different kinds of refrigerators and ovens and dishwashers out there that it’s hard to figure out which one would work best in our homes.

This guide will help you learn about all the different types of appliances available on the market today, how they differ from each other, and when you should purchase them. Let’s get started.

#1. Air Conditioner

In hot weather, it can be hard to stay cool inside your home. For this reason, people with central air often supplement their cooling system by purchasing portable ACs that they bring into use when needed and then put away at night time or on vacation periods so as not to burden themselves too much during these times of year without constant progressions through appliances.

These units are typically quite efficient in helping make sure you’re staying comfortable despite outside conditions but many homeowners also have one installed if they live somewhere where summers regularly exceed 30°C (86°F).

There are many styles to choose from, so you can find the perfect unit for any need. If cooling one room is all that’s needed then window units will work great; if whole-house coverage and energy efficiency interests you most go central ac installation might be worth considering too- but don’t forget about those portable coolers either because they’re great for taking outside on hot days (or inside when guests come over).

#2. Air Purifier

An air purifier is used for removing contaminants from the air such as dust, pet dander, and smoke. They can be used in your home or office and are a great choice for people with allergies. Many homeowners buy them after pets enter their homes to help keep allergen levels down and remove odors too- especially if you have an animal that sheds fur.

The number of air purifiers available on the market today is somewhat astounding; there is certainly no one size fits all model that works for everyone so it’s important to research which types will work best for your home before purchasing. Some of these appliances look like fancy fans while others remind us more of high-tech space equipment than something we’d expect to find at our local electronics store.

Most models utilize filters, similar to those used in central air units, so these will need to be replaced fairly regularly. If you find the prices of replacement filters are too high though, take heart because some manufacturers offer free maintenance for an entire year with their AC units- so compare carefully before making your purchase decision.

#3. Blender

Using a blender for your drinks and meals is one of the most convenient ways to get things done quickly when you don’t feel like cooking or doing something complicated with your choices. It doesn’t matter if you are using it for mixing personal drinks or cooking; these appliances can be used for whatever is on your mind.

There are many different types of blenders, each designed to make things easier on their own. The most popular among the kitchen appliance family is the immersion blender. It works by submerging its blade into whatever object you’re trying to mix together and then turning it on (and off) like a mixer would. Its downsides are that it can be difficult to clean but it more than makes up for this inconvenience. You don’t have to worry about moving anything around because everything is done right in the container itself.

The next most common blender type is usually referred to as a ‘countertop blender’. This is the type most people think about when they envision a blender and it uses a container that sits on the counter rather than being submerged- usually with a blade at the bottom and an opening for liquid or solid objects to enter from above. It requires more effort but generates much better results because of its ability to move things around and mix them together without having to rely on anything external to work itself.

#4. Bread Machine
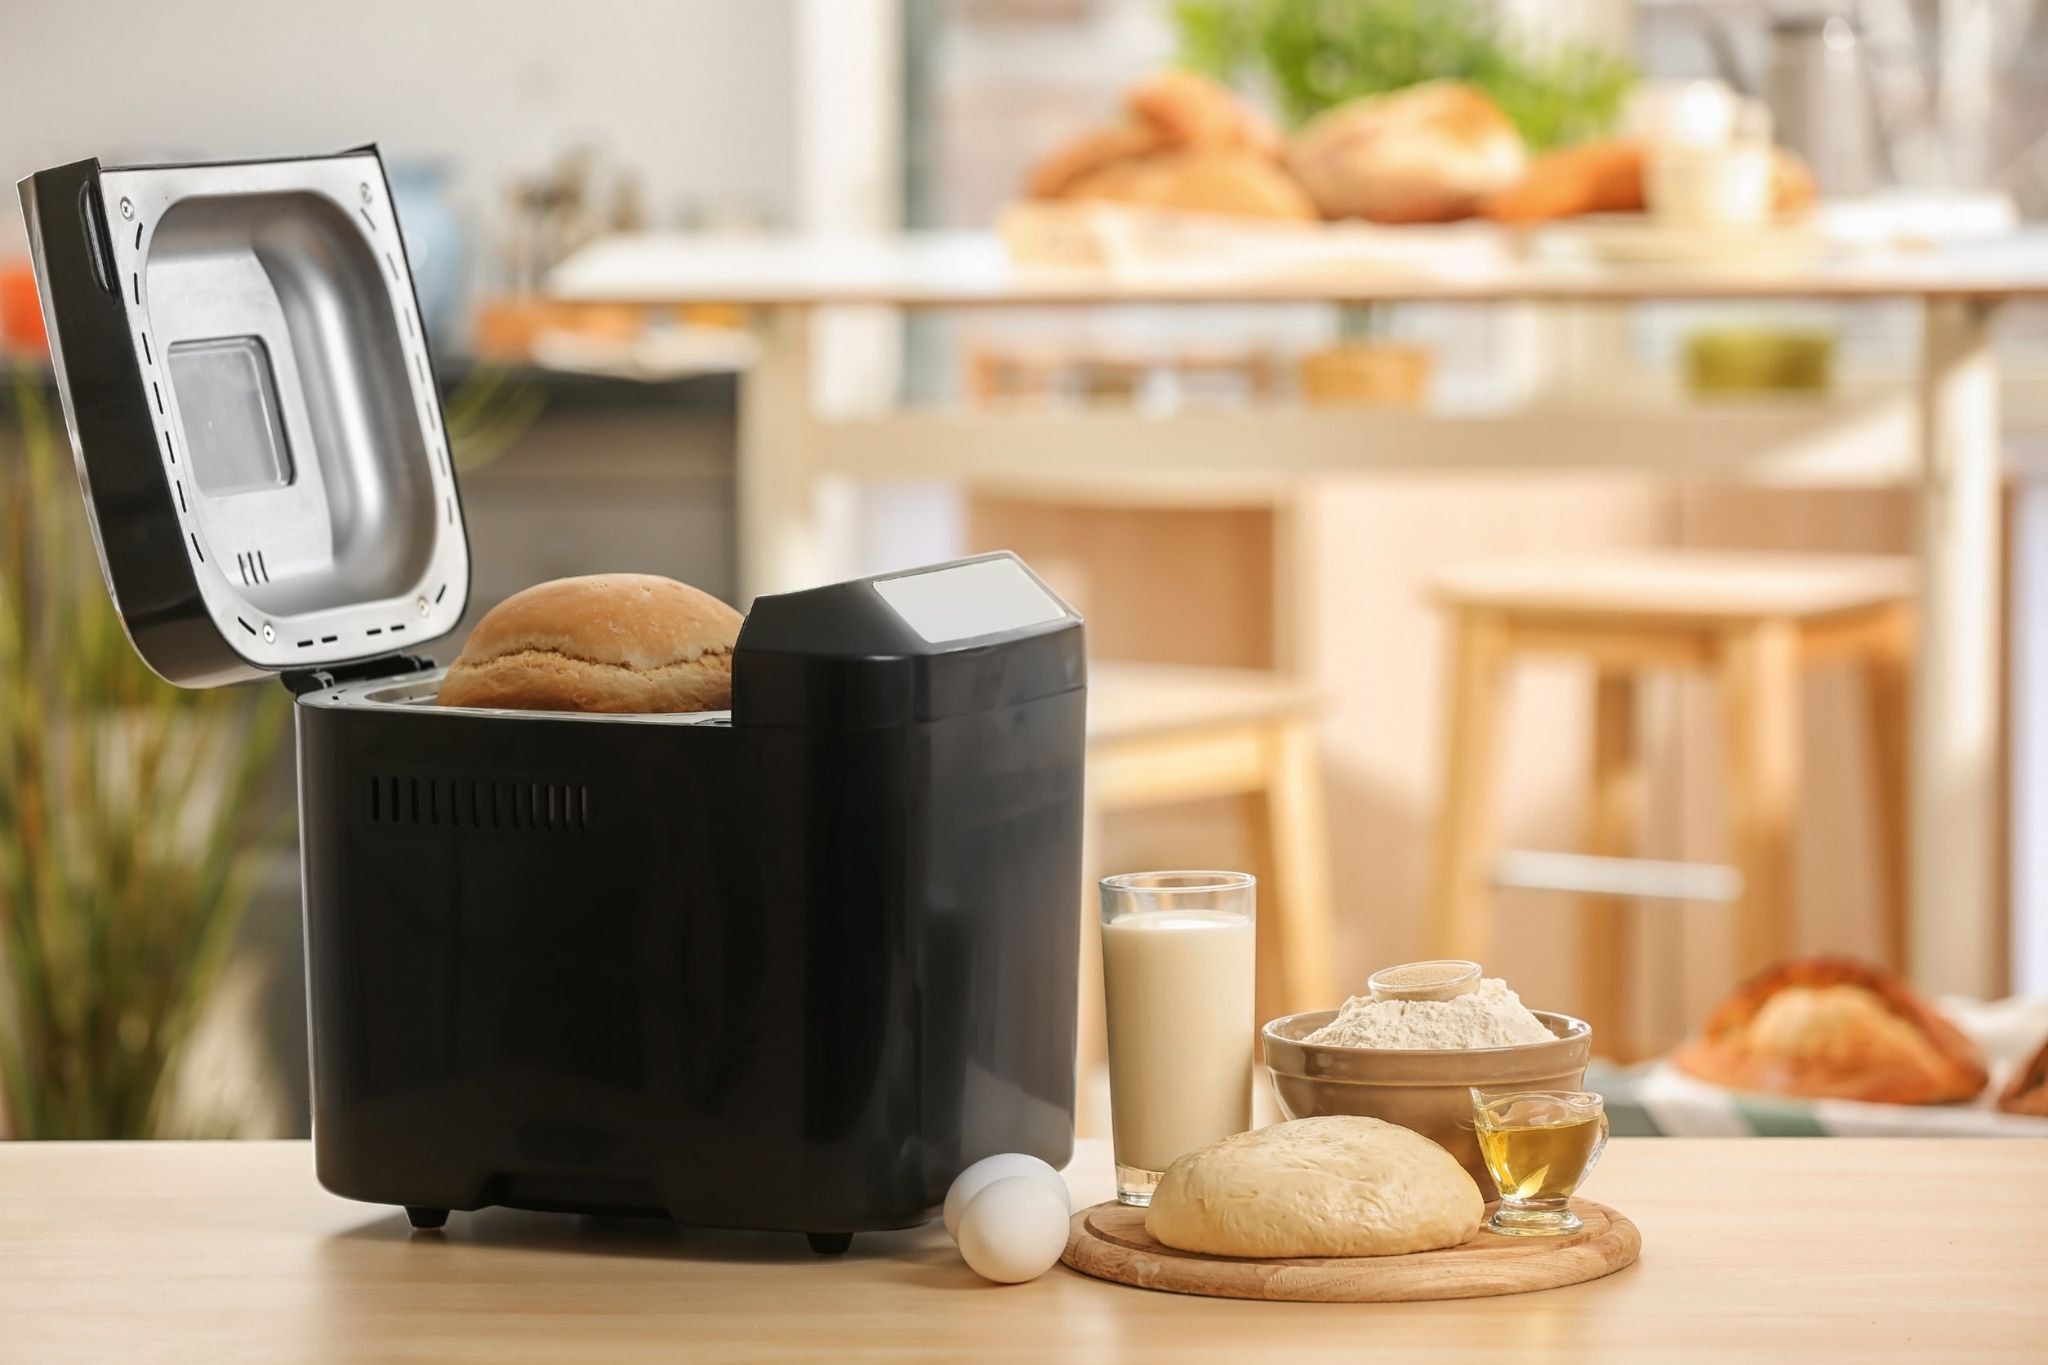
There are so many bread machines out there these days but one thing all of them have in common is that you simply add all your ingredients, turn them on, and watch as fresh bread comes out within two hours (if not sooner).

They can handle anything from standard white and wheat bread to whole grain and gluten-free recipes. And they’re not just for baking either; many people use them as a food dehydrator because you can set the heat and timer to whatever you need.

#5. Built-in Dishwasher

Having a dishwasher installed in your kitchen is one of the most convenient things that can be done to improve how much work goes into keeping up with dishes. It doesn’t require any extra effort on your part other than loading it up before going to bed or leaving for work.

Afterward, all you have to do is remove the clean glassware and utensils from the racks inside whenever you need them without having to worry about scrubbing anything down first. They usually have a ‘quick wash’ setting which can cut your clean time down to about an hour if you need to do a few things in a rush.

#6. Ceiling Fan
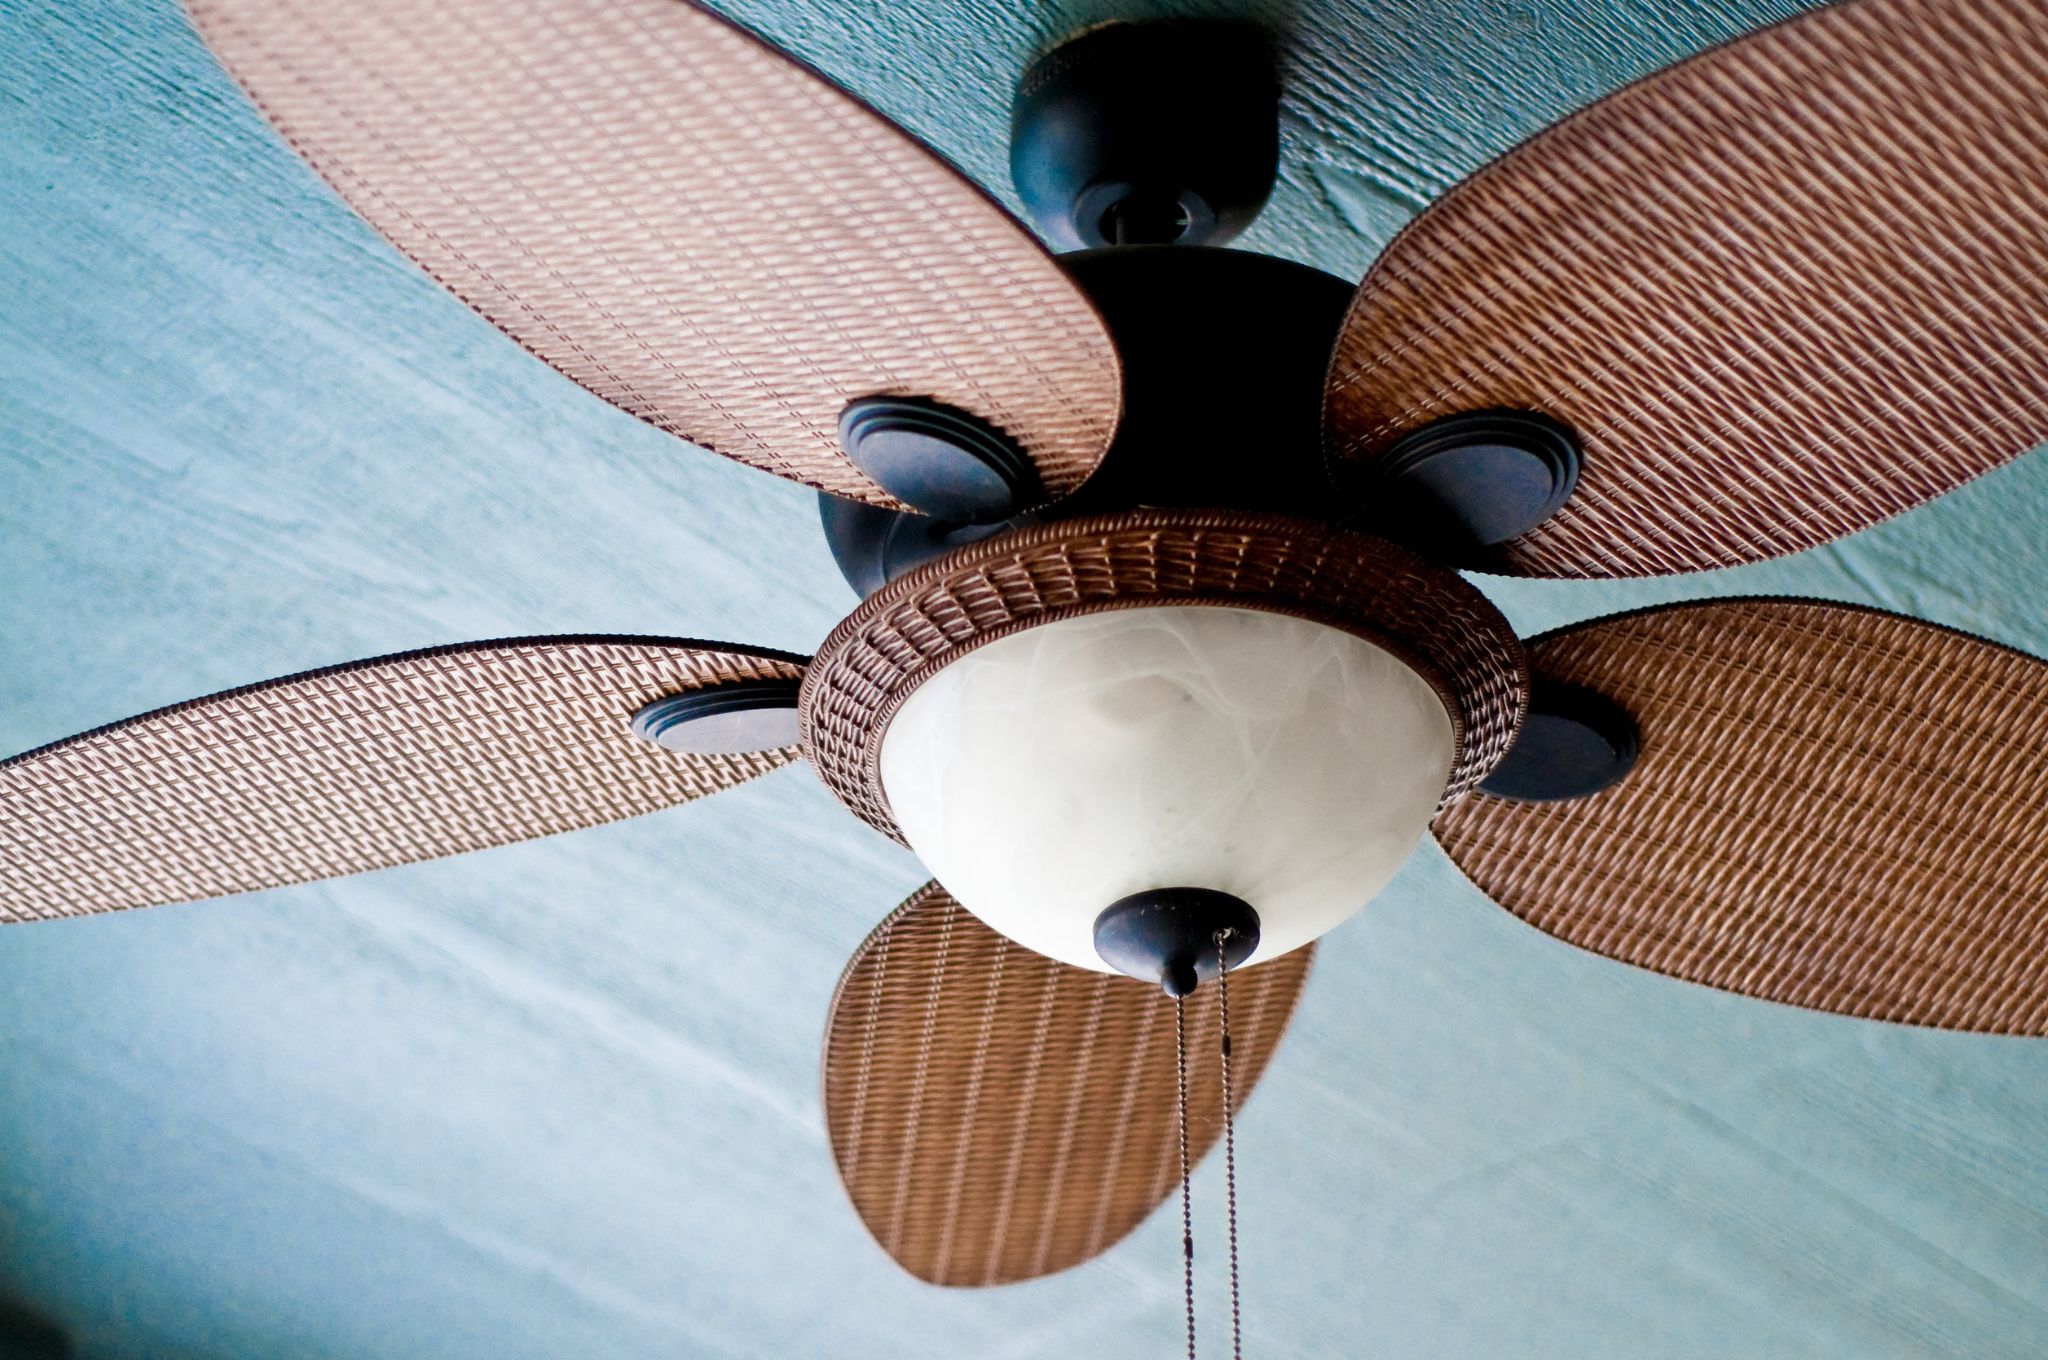
Ceiling fans are used almost everywhere these days but they were originally designed for people living in warmer climates or who wanted to take advantage of the breeze that comes from being outdoors during the summer months.

Using one indoors has always been more effective than air conditioning because it circulates warm air upwards rather than blowing cold air around and making you feel colder as a result (in turn costing you extra money). You can also use them outside for this same purpose- especially on patios, balconies, and by pools where there is usually no other way for this air to move around.

#7. Coffee Grinder

Coffee grinders are used almost every day by people who drink coffee regularly and they are actually more helpful than you may think. The basic idea is that you put your coffee inside, turn it on, and wait for it to come out in small pieces so that the flavor of the beans can be extracted all the way through them rather than just at their surface.

This means stronger tasting coffee with less bitterness overall because of how thoroughly everything has been ground up- perfect for making iced or cold brews as well as drinks that will be served hot later on (like after dinner). They also work better than normal coffee makers when preparing espresso thanks to their ability to produce small amounts at a time rather than needing to make larger batches.

#8. Deep Fryer
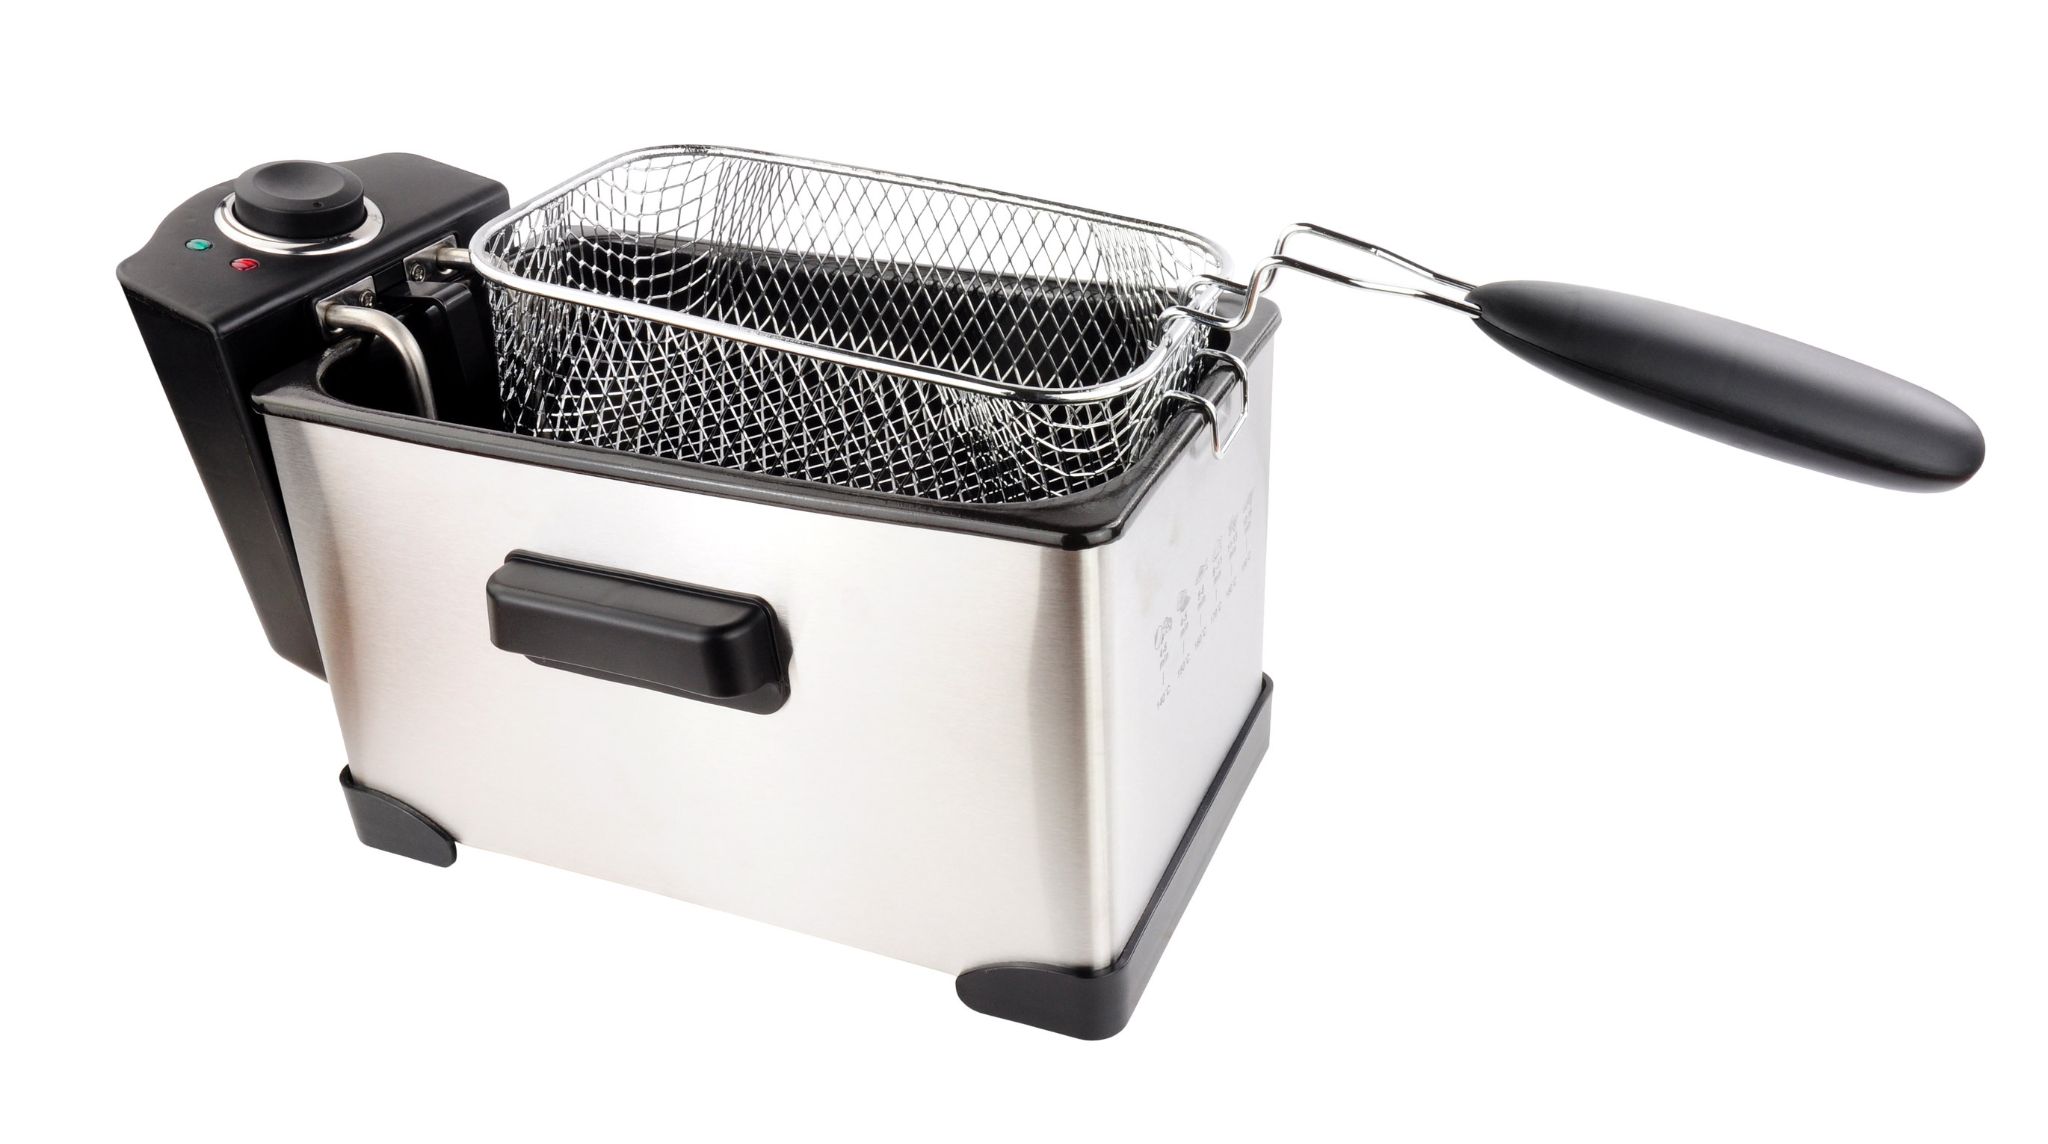
Deep fryers are an easy way to fry food without having to use large pots on the stovetop which can be dangerous and very difficult to clean afterward. Instead, deep fryers use less oil than you might expect (usually just enough for one serving) and cook everything more evenly all the way around because of gravity.

It’s fast, convenient, and requires little effort or attention if you want to prepare something like chicken wings or french fries- even desserts like funnel cake. Just remember that it is best used in moderation since too much fried food isn’t healthy for anyone who eats it regularly.

#9. Dehumidifier

Keeping a dehumidifier in your home or office is helpful in more ways than one. It prevents humidity from running high during the summer months and causing mold to grow so if you live somewhere with harsh weather for most of the year it’s a good long-term investment.

But, there are also certain things which can be dried out much faster when using one such as wet clothes after getting caught in the rain, used rags and towels after doing dishes, shoes after being worn outside without socks, etc. It helps remove excess moisture from the air so everything around you feels more comfortable overall- especially at night while sleeping since it can cut down on stuffiness before bedtime.

#10 Dryer

A dryer is a very common appliance most people own in their homes and it’s used to dry clothes after washing. It has a number of different settings which adjust how long the items you want to dry will be left inside for increasing or decreasing their overall warmth through heat coming from an element that needs to be replaced a few times throughout its lifetime.

They usually have at least two types of speed control so you can choose between using hot, warm, cool, etc if something comes out feeling damp when all is said and done although this depends on what kind of dryer you have/how old it may be.

#11 Food Dehydrator

Food dehydrators are similar in function to food processors but they use gentle heat instead of blades to remove water from food and keep it at a low temperature. This is useful for making certain types of snacks like beef jerky or fruit roll-ups because they can all be prepared quickly and taste much better than what you would normally buy since they were made the same day without additives.

It’s easy to do yourself and doesn’t take much time, effort, or money- especially if you already have a dehydrator (which aren’t expensive) and other ingredients on hand to use as well as fruits, vegetables, and meat which need to be consumed soon before going bad.

#12 Food Processor
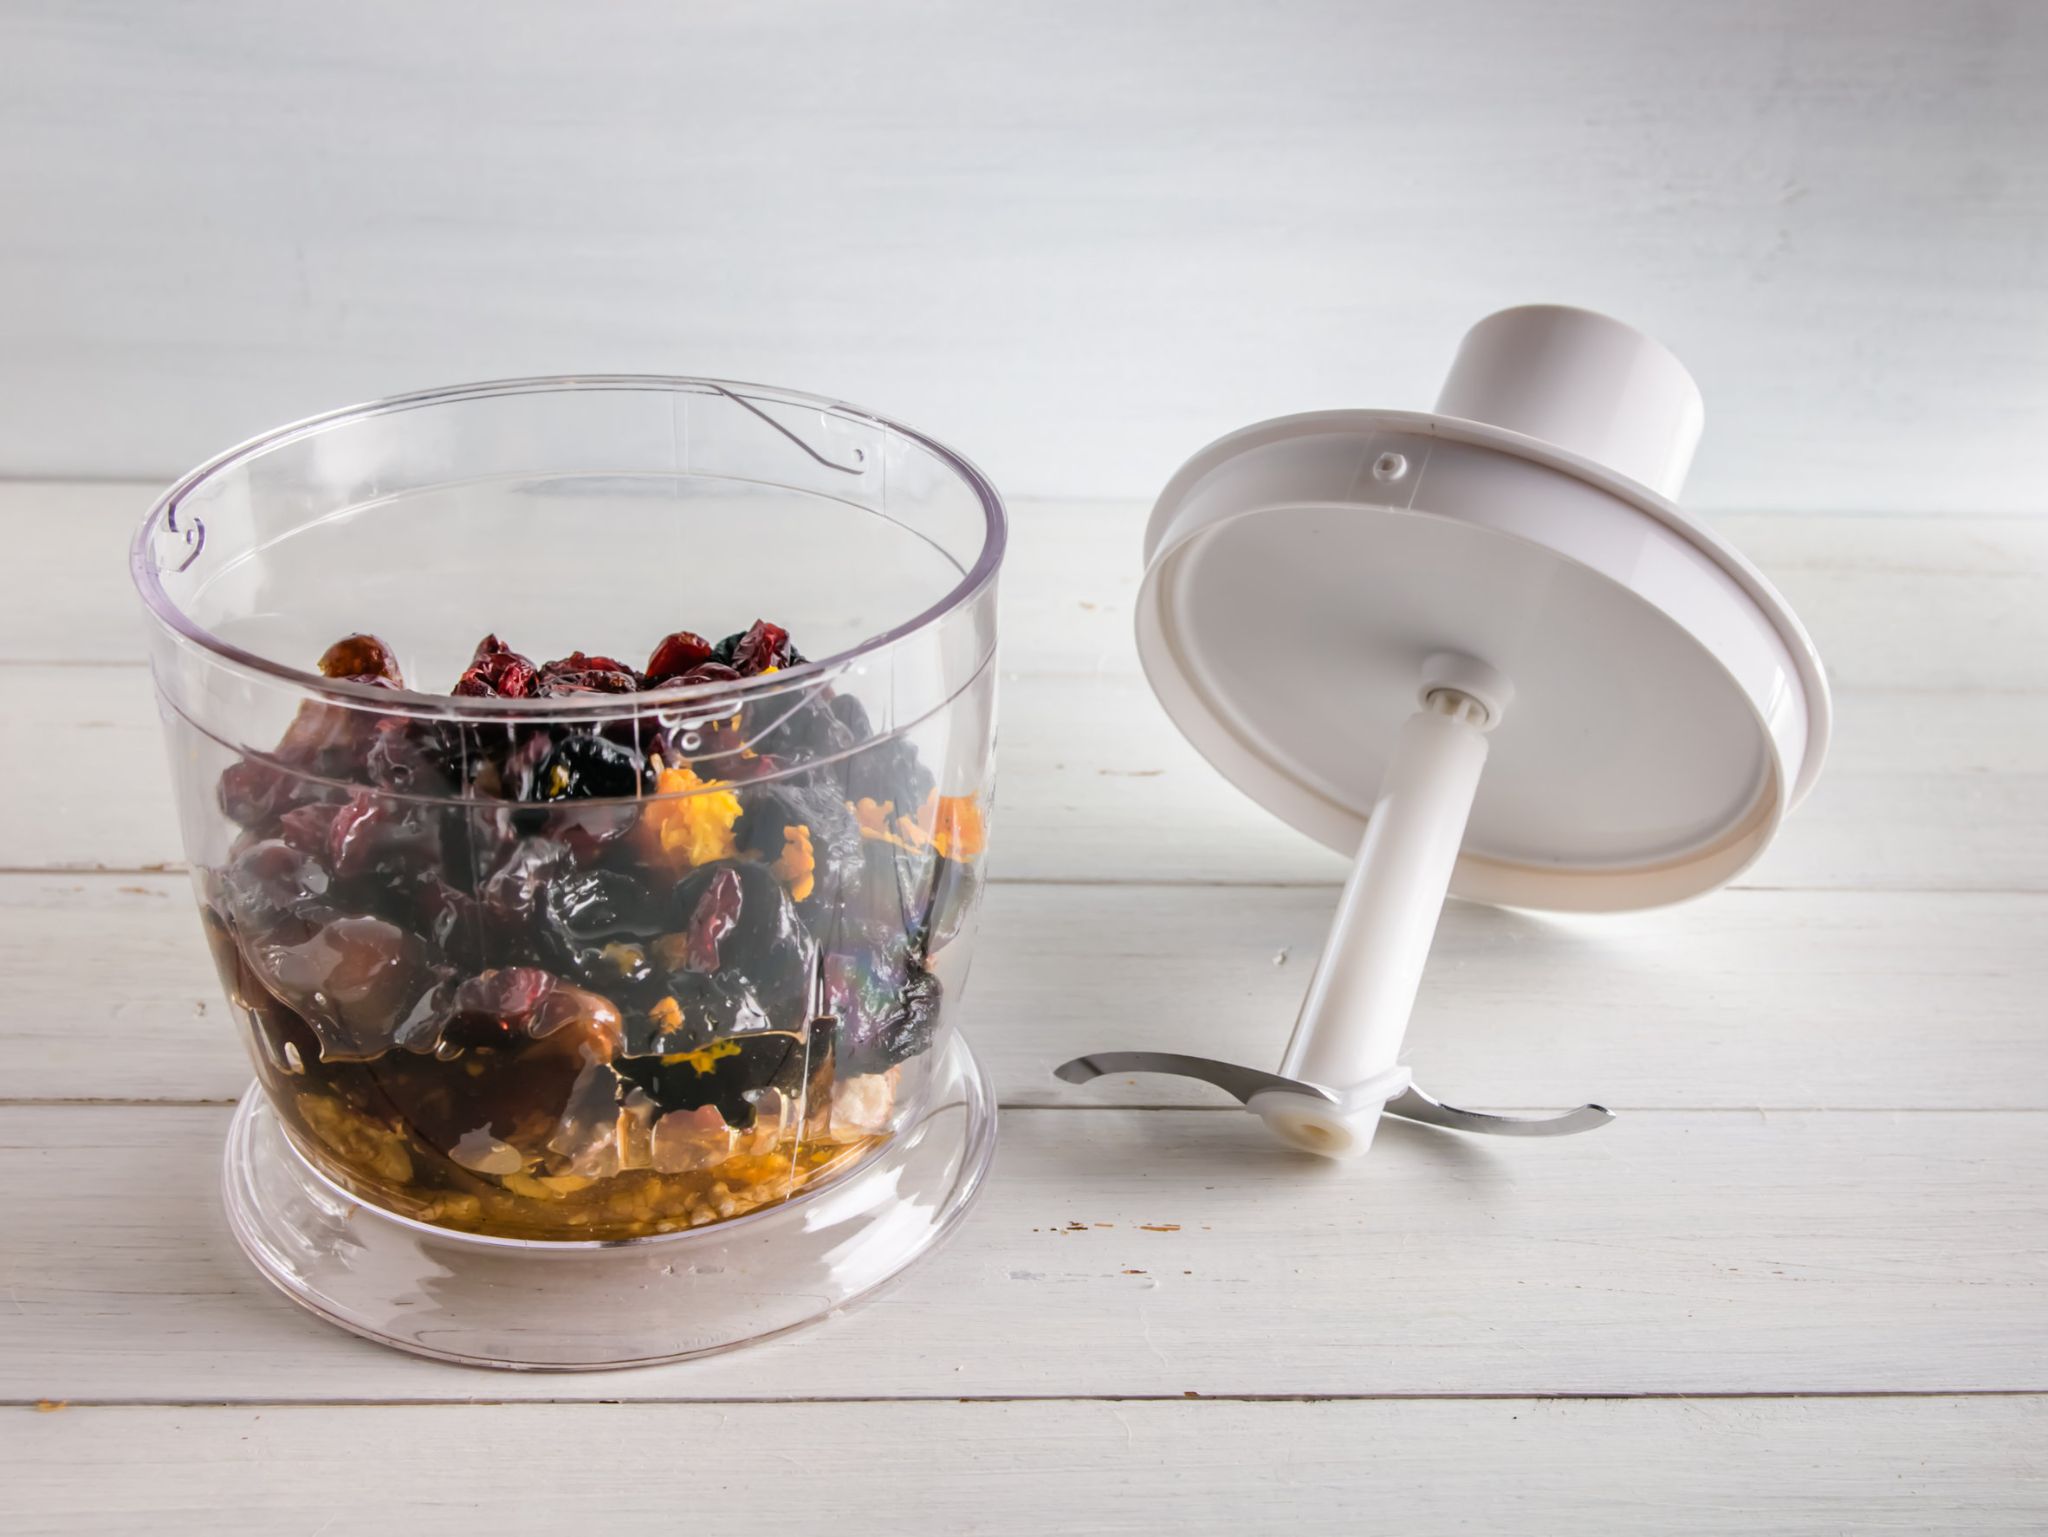
A food processor has many uses in the kitchen but most people think of it as an appliance that can help them in making a lot of different types of dishes- including dips, sauces, and spreads. It’s also helpful for creating doughs or pastries when making things like pizza or croissants by kneading the ingredients together just enough to achieve the desired consistency without overworking them (which will make them tough instead of flaky).

Although it isn’t an absolute necessity for cooking, it can be nice to have if you enjoy experimenting with new recipes on a regular basis because it lets you try out more unusual ones which may prove difficult using other appliances such as having to chop everything into tiny pieces before placing them in the oven.

#13 Freezer

A freezer is especially useful when buying food items that were on sale because it lets you stock up on more than you would normally buy at a regular price so you don’t have to go to the grocery store every day. It preserves food by keeping it cold so it stays fresh for longer, which means less frequent trips to your local grocer since everything in there was bought from them during the last trip and will be used before anything from a different store is added to the mix.

Since most appliances need electricity, gas, or propane to run properly which can rack up a large electric bill during each month of using one, a freezer will let you reduce that cost because nothing needs constant reheating or defrosting when it comes time to eat which wastes energy compared to leaving everything inside until needed instead of opening the door to find out you have no room for something.

#14 Garbage Disposal
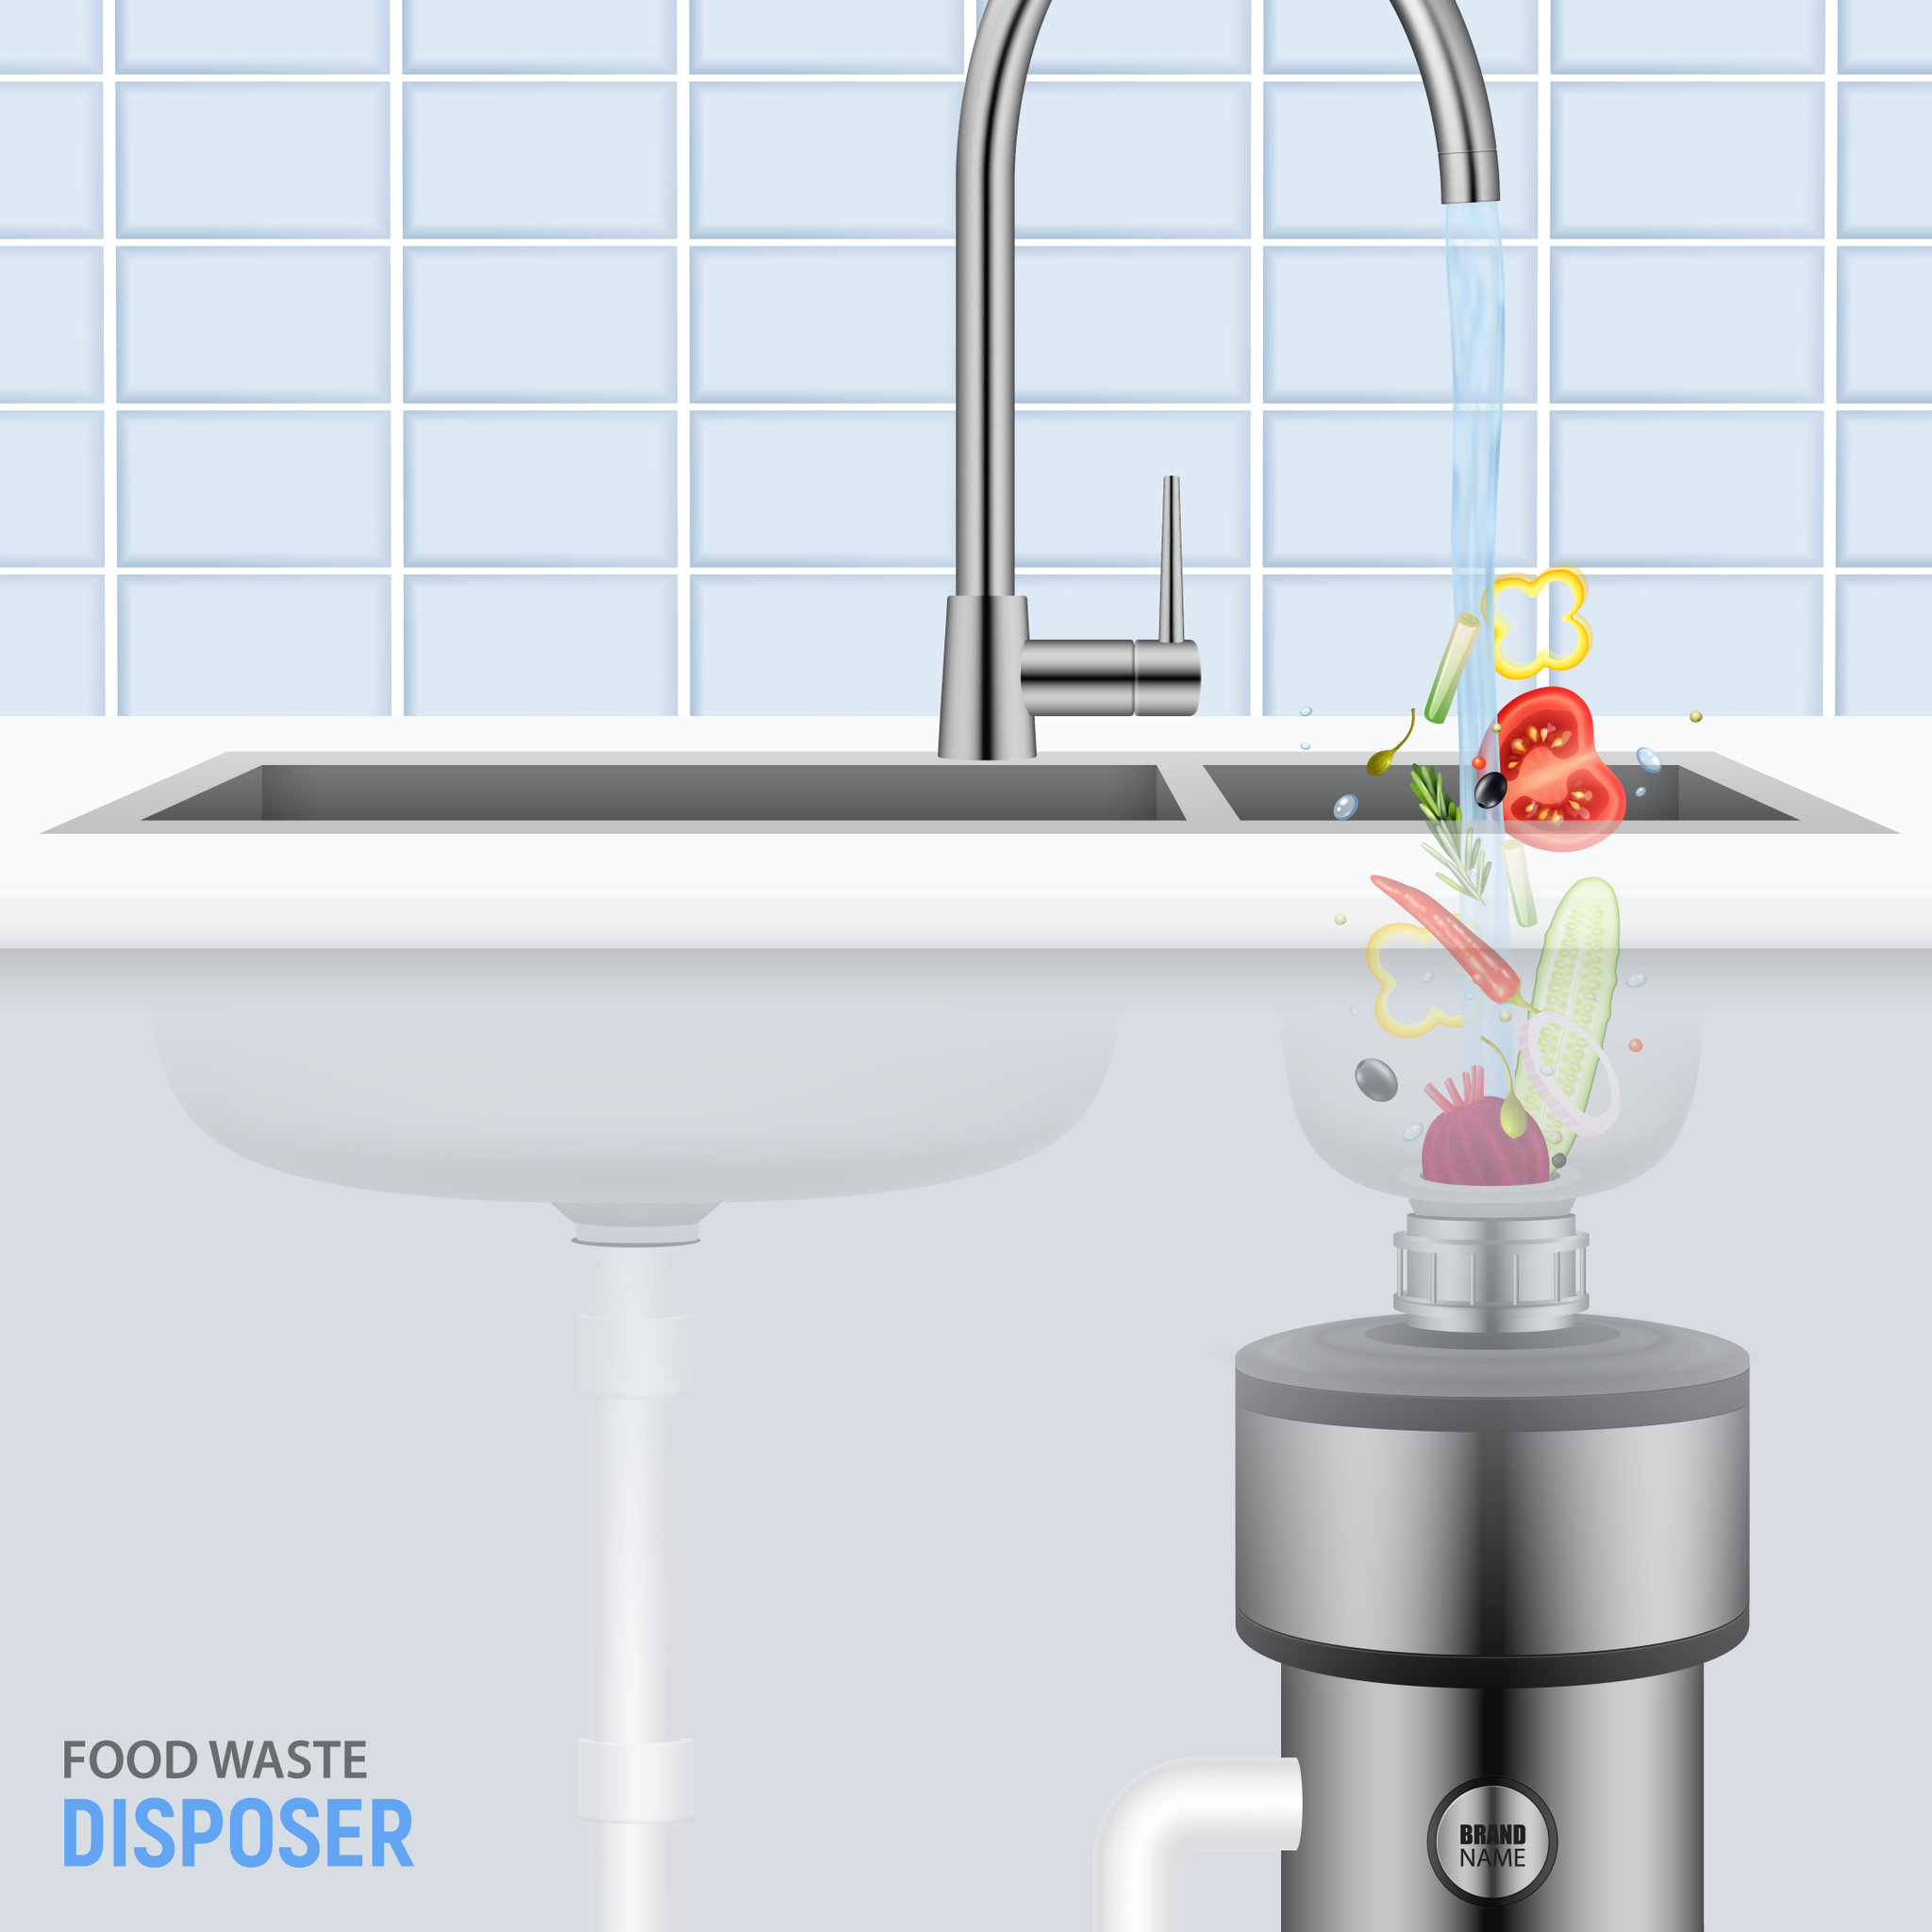
A garbage disposal is a helpful appliance which many people don’t think about, but it does make life easier when you can dispose of your food waste quickly with one simple twist of the disposal itself. It typically consists of spinning blades that grind up whatever was placed inside before it gets washed away by water from an attached pipe leading to a drainage system in most homes unless there is a need to install a septic tank for sewage instead- with some even coming equipped with two separate systems so they can work alongside each other without becoming damaged or clogged.

If you throw away too much at once, that will cause trouble but if you use them correctly they can make cooking and cleaning easier by creating fewer piles of dishes to wash when you’re finished.

#15 Generator
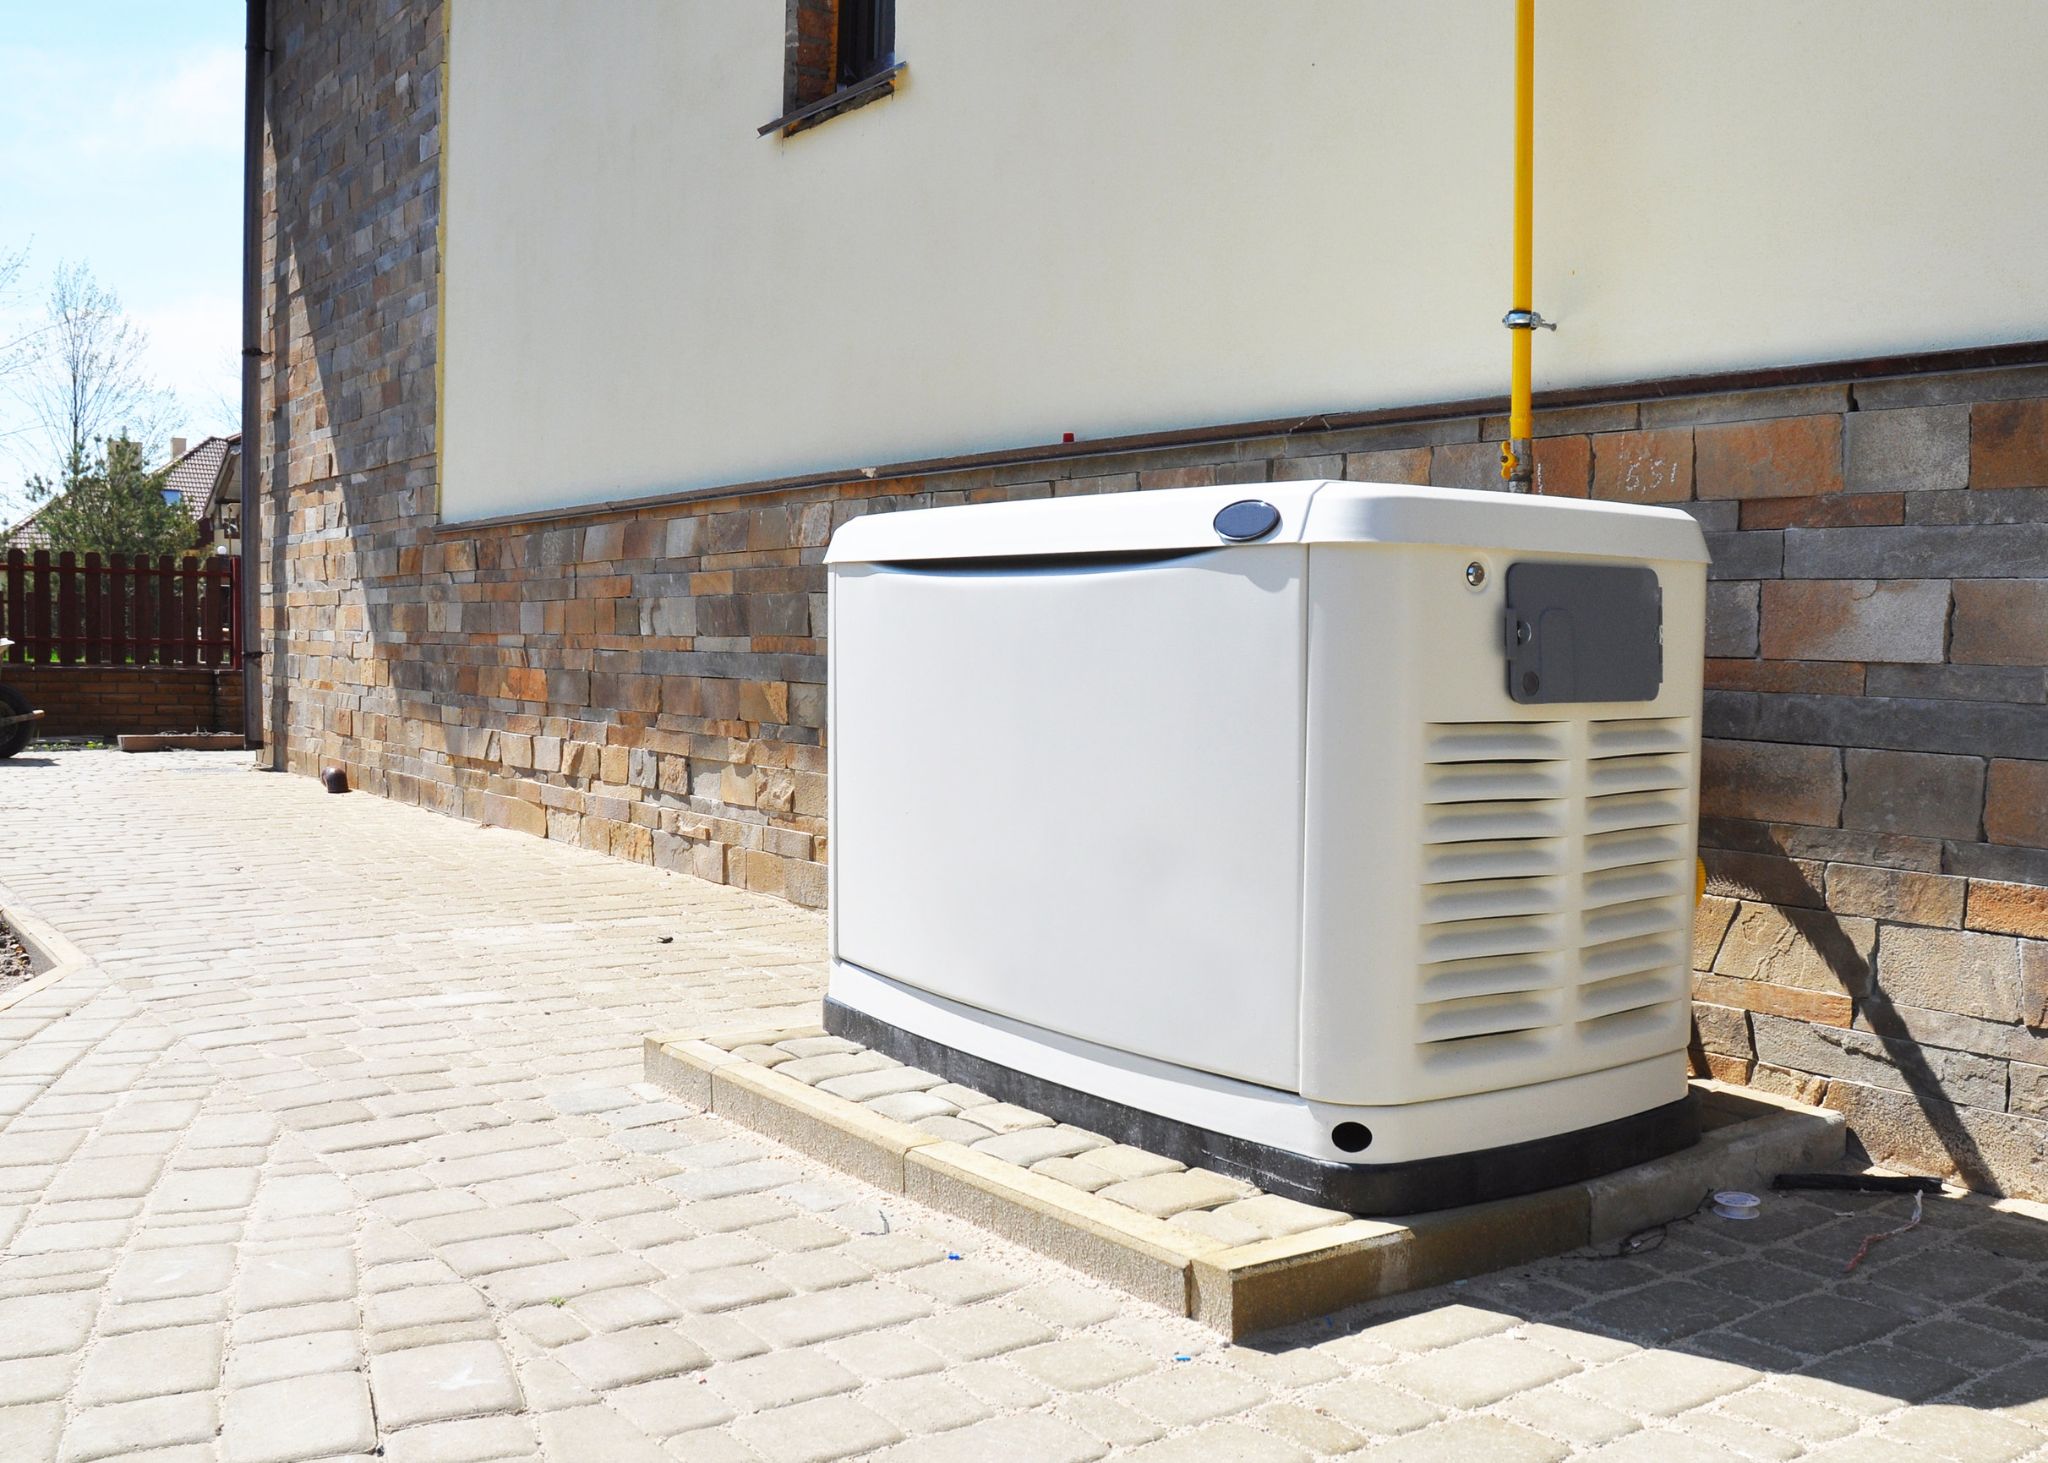
A generator is a great appliance to have because it can help you power your home after the electricity goes out which—unless you live in an area that gets hit by hurricanes or tornadoes- will probably happen during either winter or summer when the weather conditions are cold enough to cause ice on wires, tree branches falling over, and other electrical problems.

If it’s not used properly though, there’s always the potential for it to become dangerous so make sure everyone who lives in the house knows how to use it safely because there should be extra safety measures taken if children are present.

#16 Humidifier

A humidifier makes the air feel less dry by adding more moisture into your surroundings so you won’t have to breathe as deeply to get the same amount of fresh air as you would be able to during colder weather, and since it’s an appliance that needs electricity to run- unless you go with a water-powered one instead- it can generate excess humidity if not used properly.

If someone accidentally leaves it on overnight (or for several hours after everyone has already gone to bed), there is a higher chance that the humidity levels could rise too much and create mold because it’s near impossible for homes in some areas to stay dry enough without help from one of these appliances.

#17 Ice Cream Maker
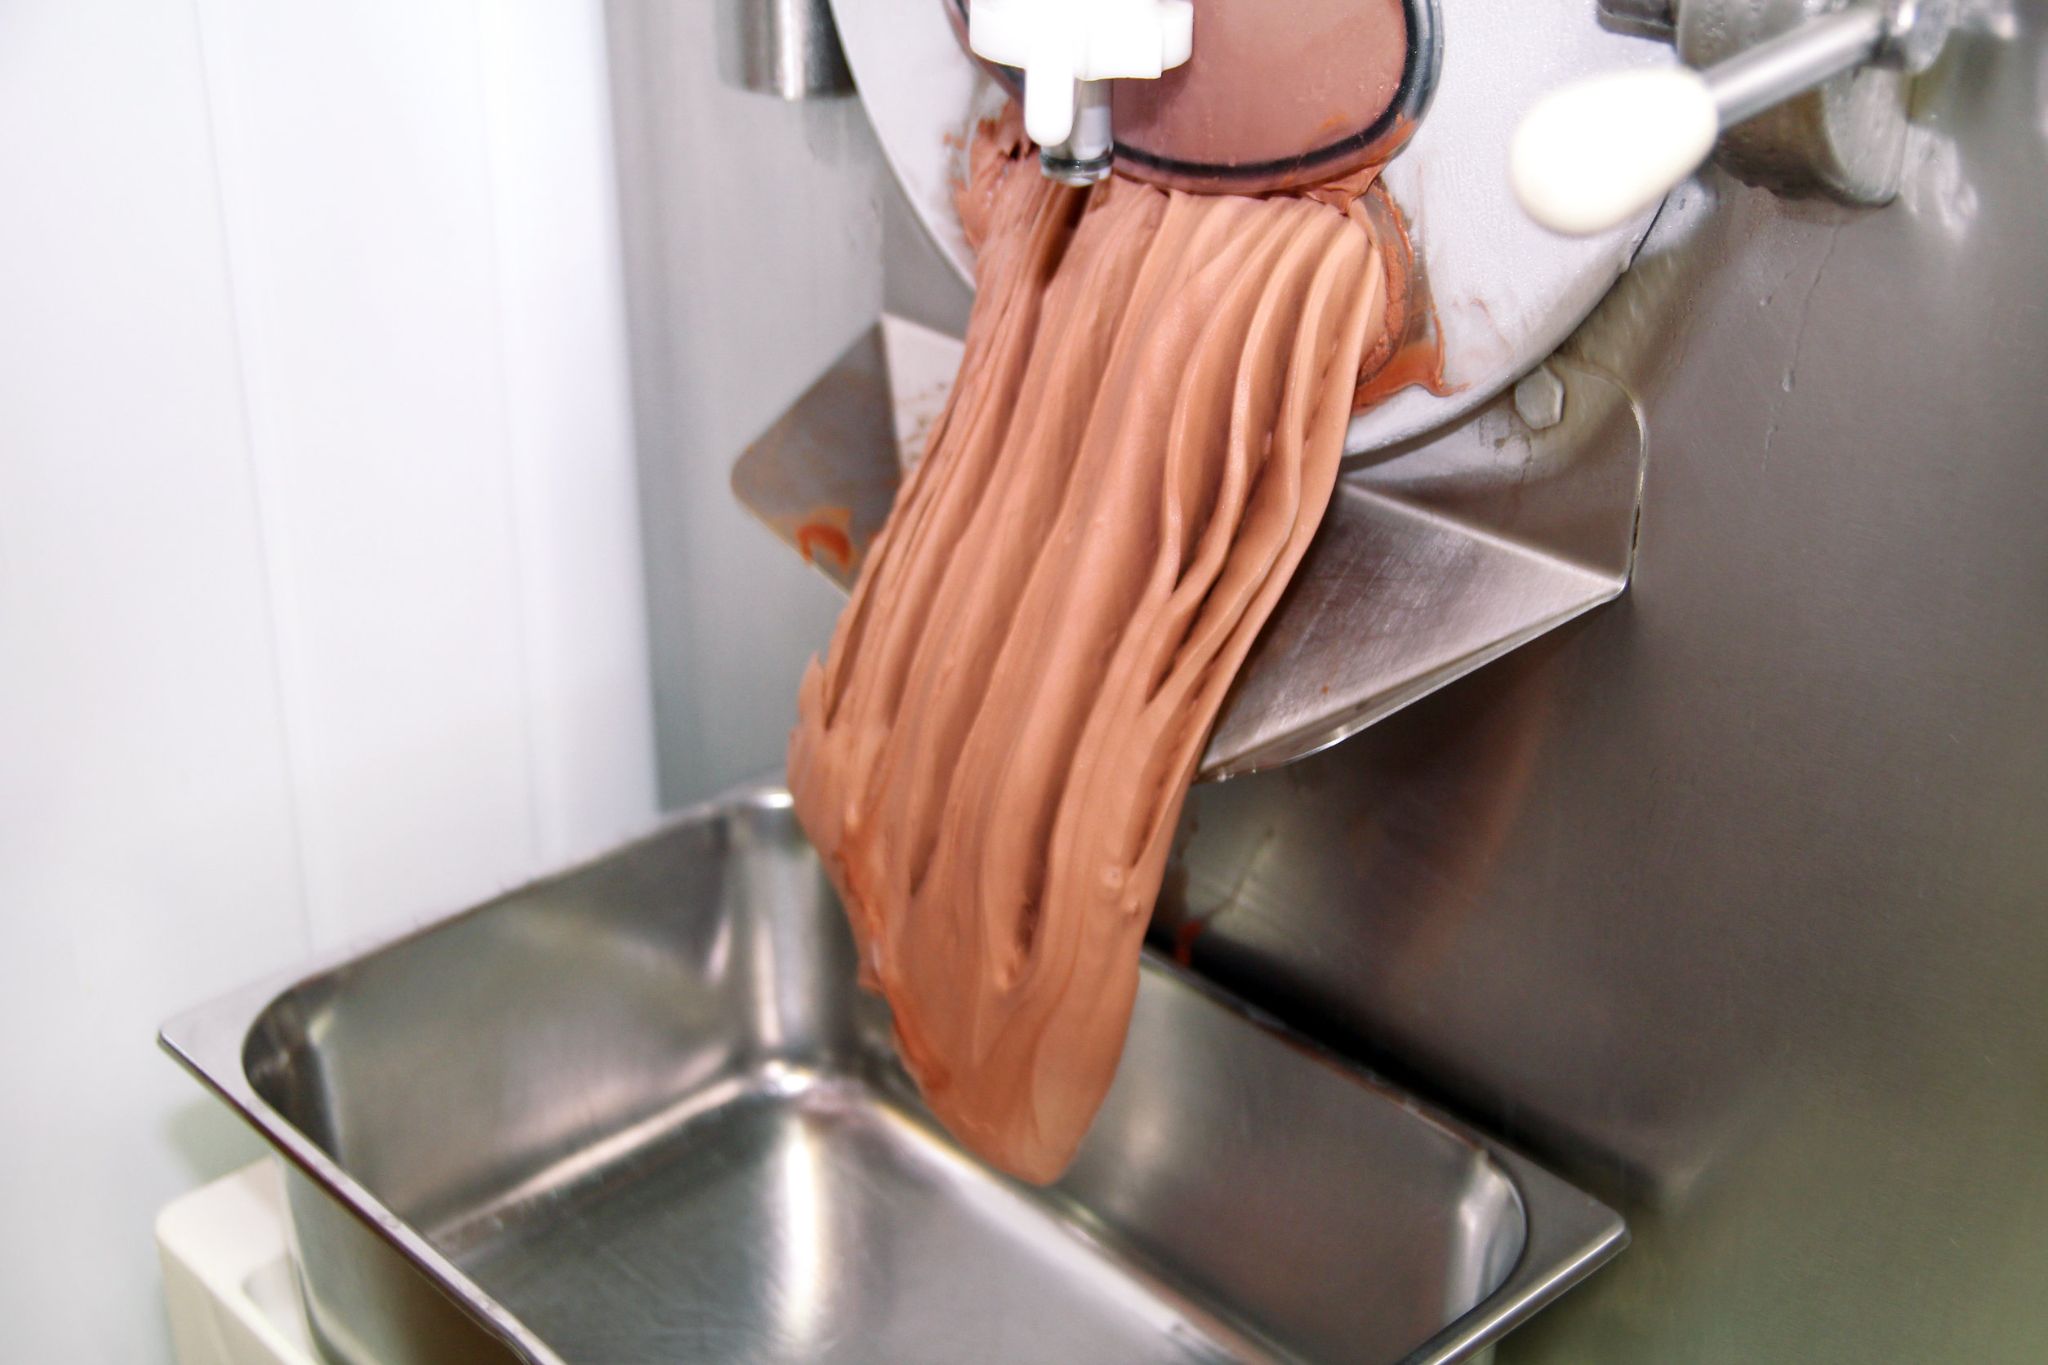
An ice cream maker is a fun appliance to have around because it can make some tasty treats that the whole family will enjoy after a busy day of work or school. You can choose from a variety of flavors using ingredients you already have in your home, and since the majority of these machines don’t need many parts to run they are very easy to clean afterward as well.

That makes it more likely for everyone to use one whenever desired without worrying about taking too long to clean up so they won’t be able to start making things again right away- though mixing by hand can take less time than this option does.

#18 Instant Pot

An Instant Pot is a good appliance to invest in because you can quickly cook food using it, and since there are several different parts that go along with making one of these works- such as the inner pot, sealing ring, cooking rack, and lid- there’s plenty of room for various foods or liquids.

It also has easy-to-read screens and buttons on the front which makes it even easier to operate than most appliances because finding out how they work can be difficult without proper instructions if you don’t already know what to do previously.

#19 Iron
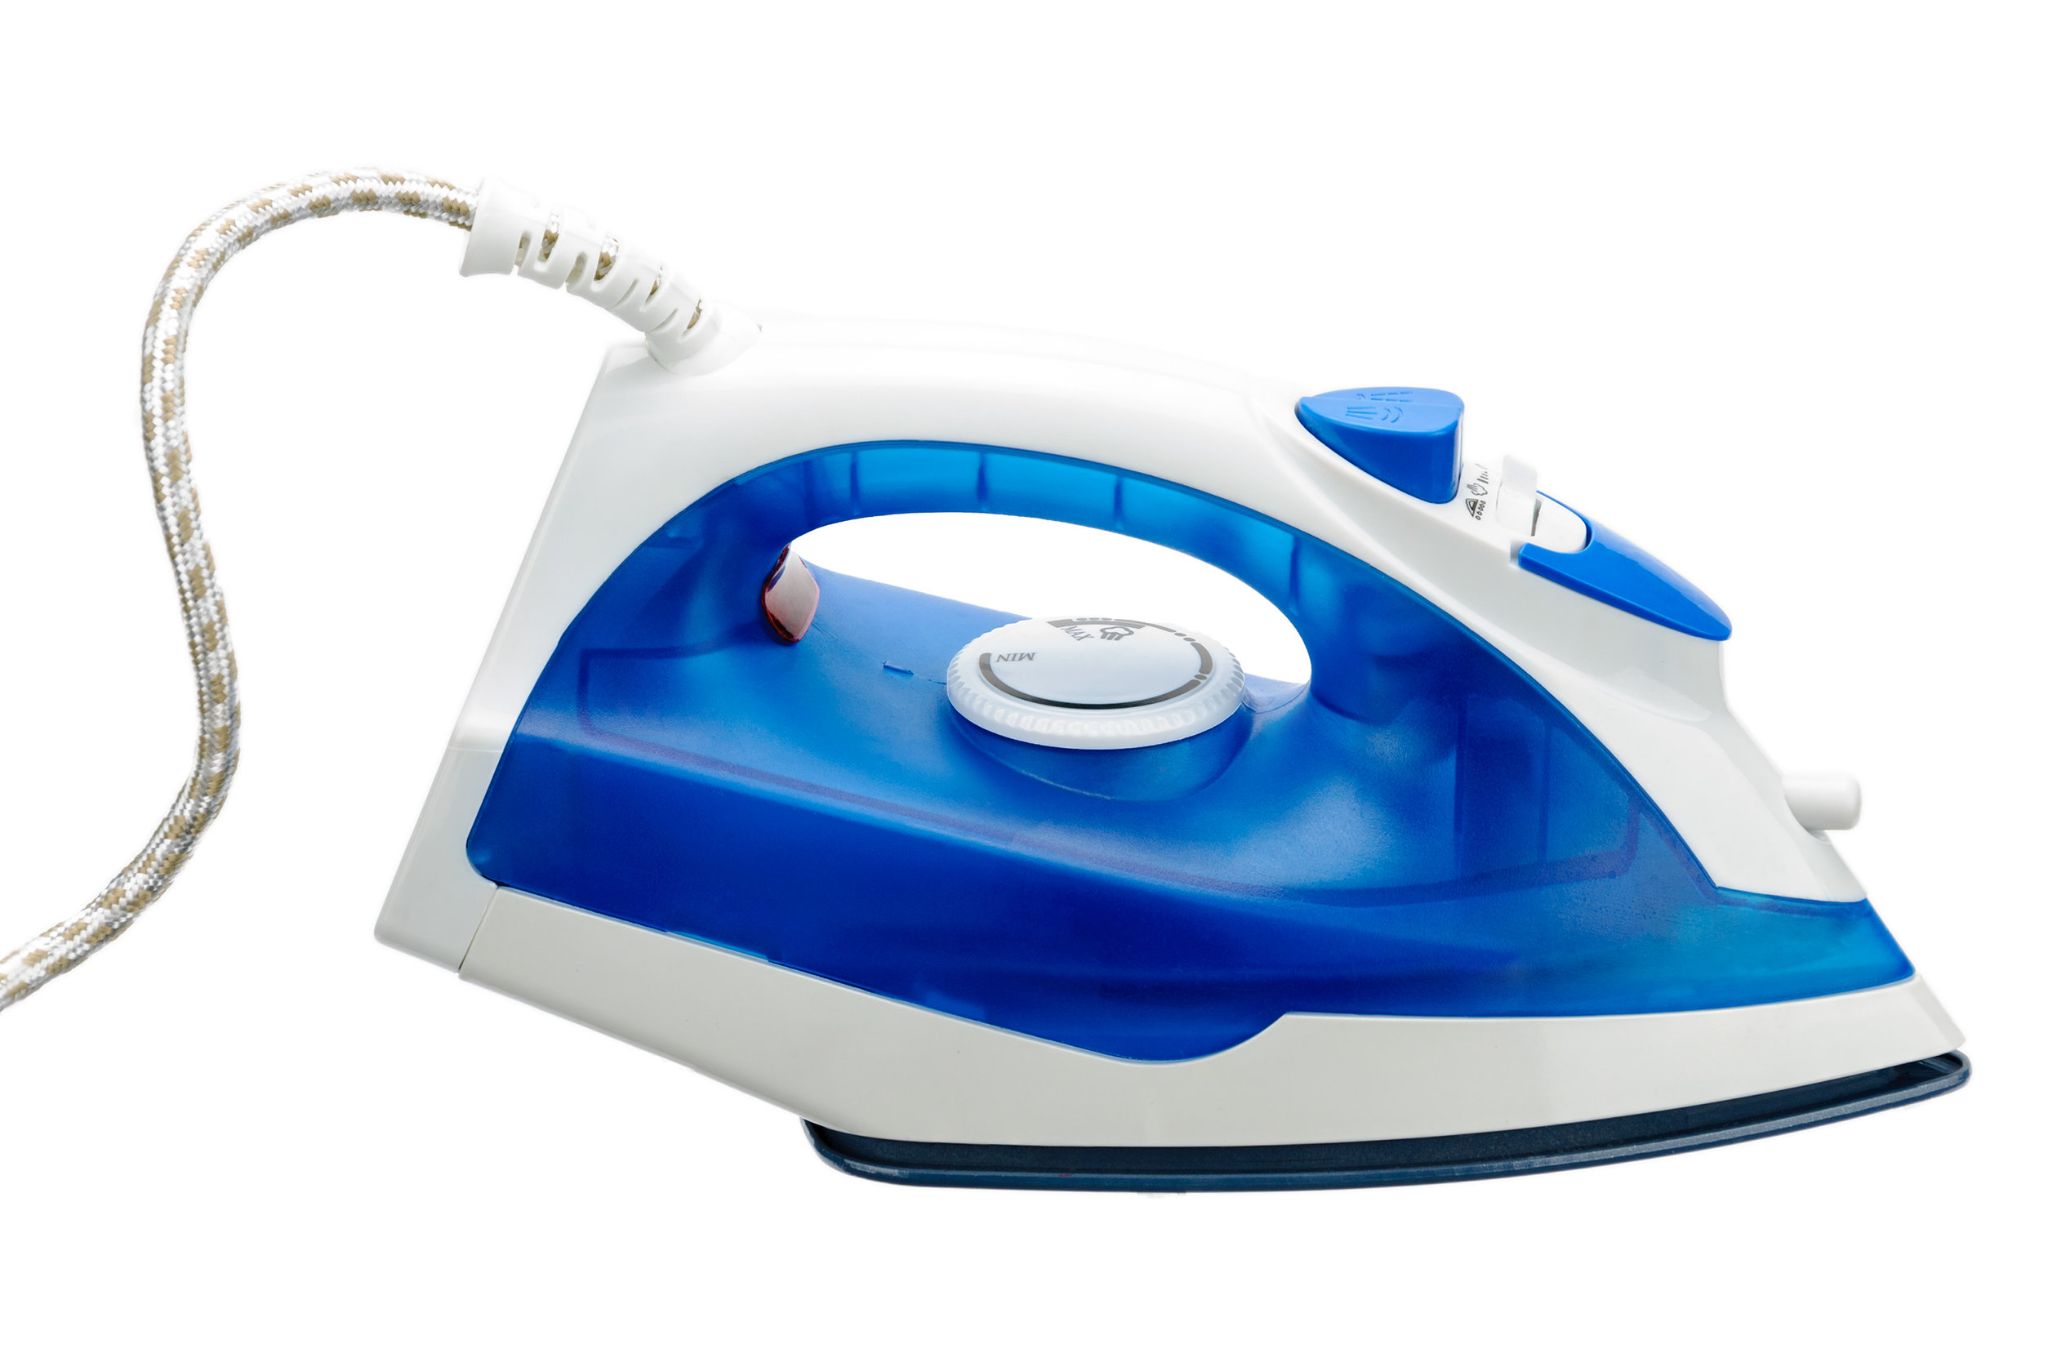
An iron is a great appliance that many people may not think about owning but it makes short work of any wrinkles that clothes might have picked up during travel by using steam that makes the clothes easier to fold and look like they were carefully ironed by a professional.

These appliances also use electricity, and if someone accidentally spills water on them, there’s a risk of getting shocked or electrocuted- which is why we often advise other people not to forget about safety first whenever it comes to using appliances in general.

#20 Juicer

A juicer is an appliance that can take the pulp from different fruits and vegetables after you juice them with another piece of equipment such as a blender or food processor then separate out all the juice that came from those ingredients so it can be either drank right away or saved into containers that can be kept in the refrigerator until later when more is needed for whatever you plan on making.

#21 Microwave

You probably already know what a microwave can do but it’s still worth mentioning here because having one in your house means you don’t have to worry about getting electrocuted when using one of these appliances- unless someone accidentally spills water or food inside of them, that is.

It heats up foods quickly without the need for anything other than electricity, and though they’re easy enough to clean with soap and water- especially if you don’t spill anything inside of them- they still require more effort than many other smaller appliances would take to get back into working order again after extensive use.

#22 Oven

Ovens are another appliance that most people probably know how to use properly since kitchens usually come equipped with them in restaurants these days.

They make things like pizzas, breads, cakes, and other foods that are baked at certain temperatures for a certain amount of time because the proteins in the food are broken down properly after being heated up correctly.

#23 Panini Maker
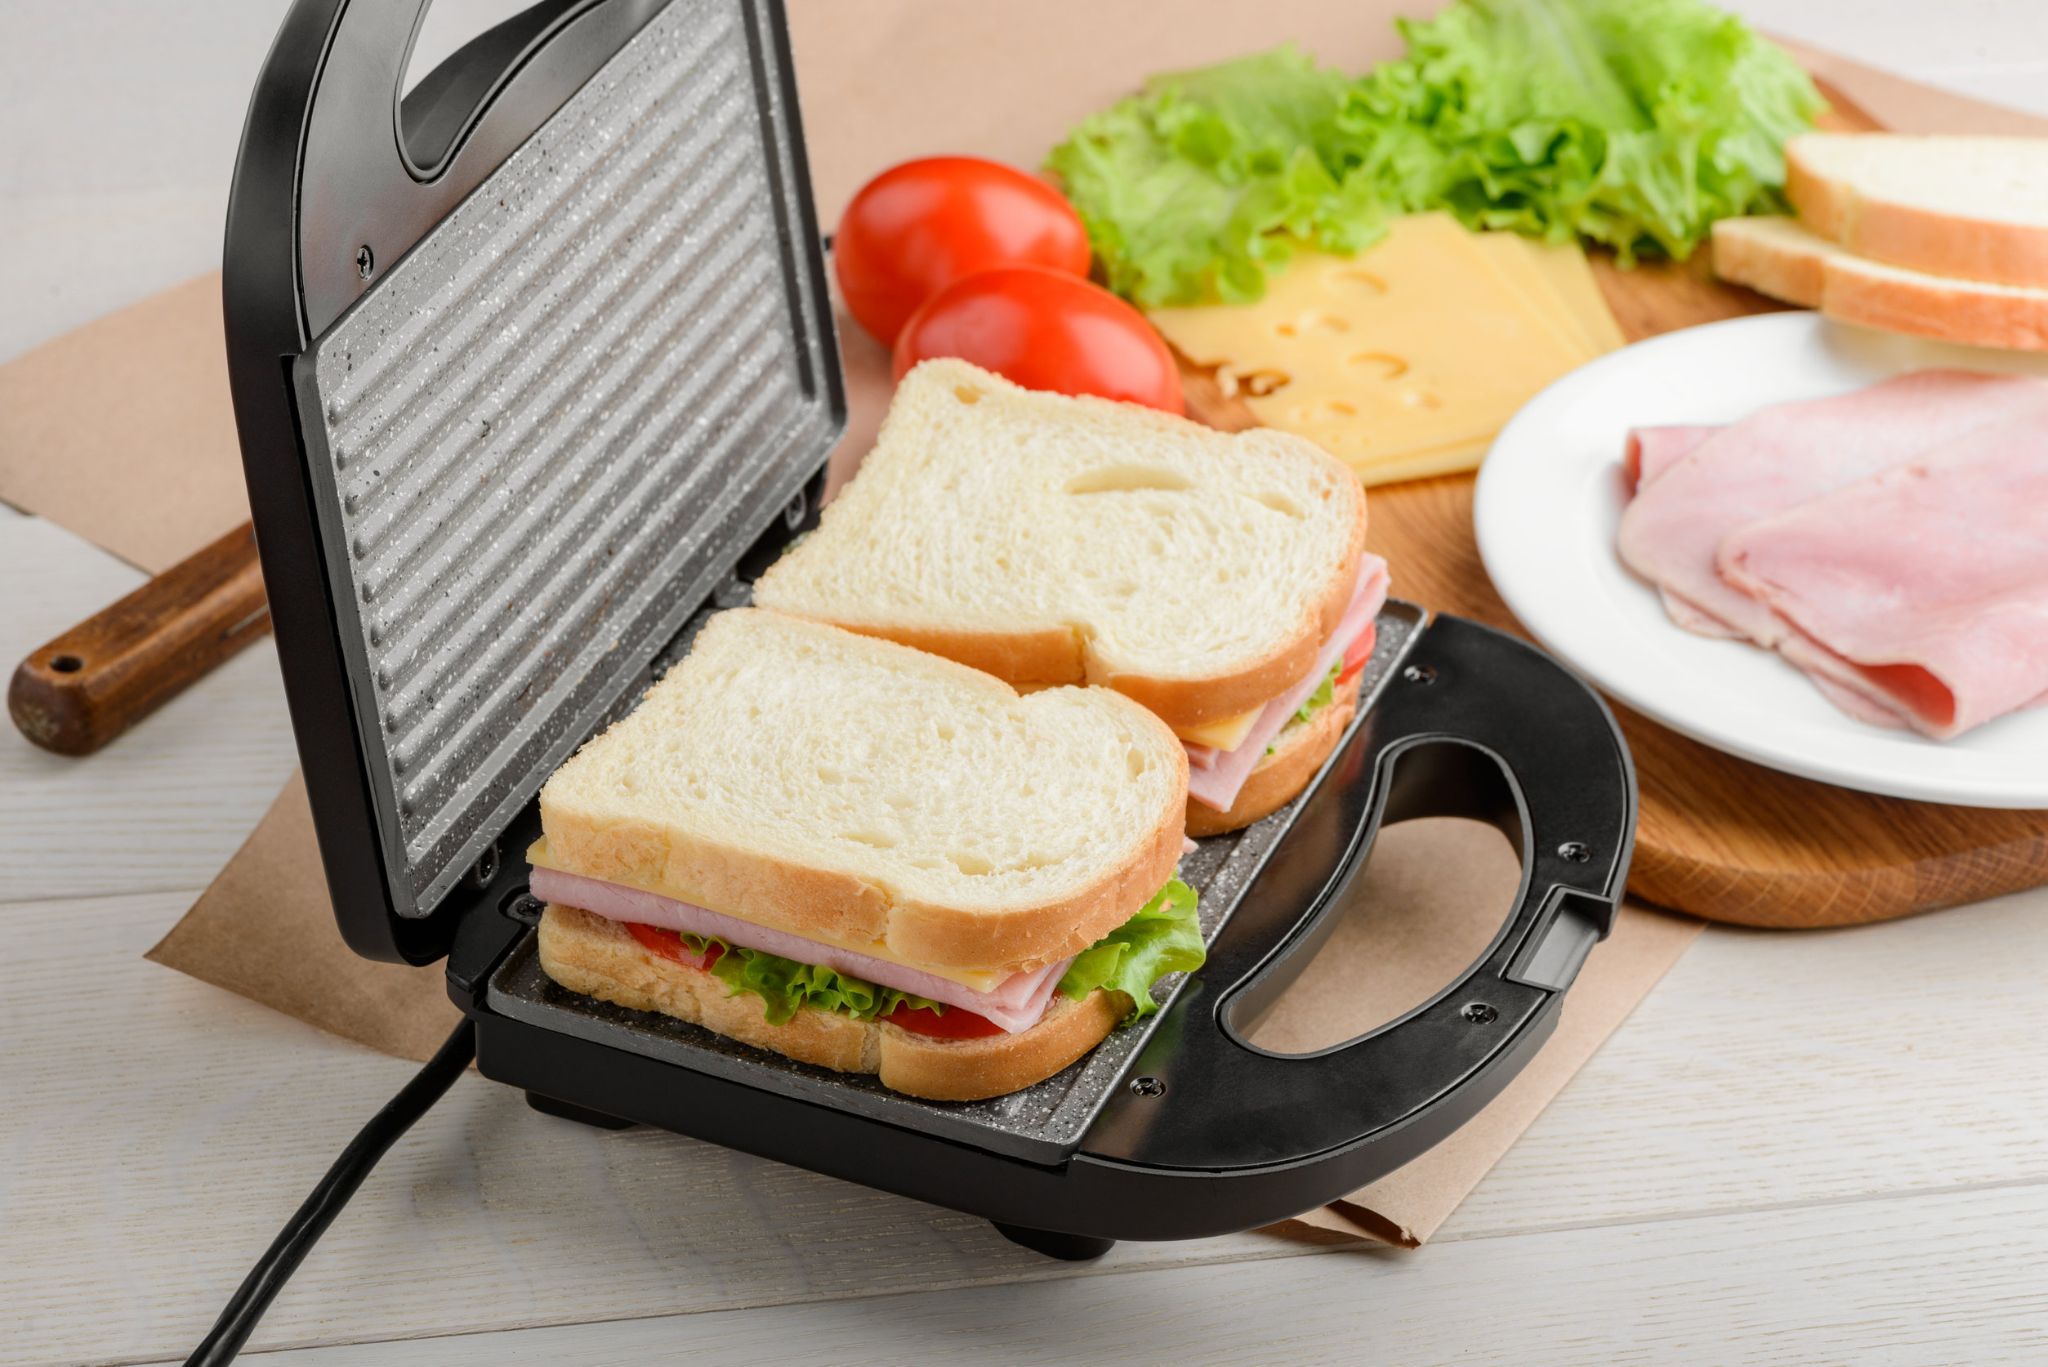
A panini maker is another kitchen appliance that can come in very handy when it comes to making quick sandwiches that still have enough taste to them but not much effort is needed on the part of the person using this tool.

You just have to place various ingredients inside then close it so they get cooked evenly with each other based on how long you keep it closed before removing something from these appliances when they’re finished cooking.

#24 Popcorn Machine
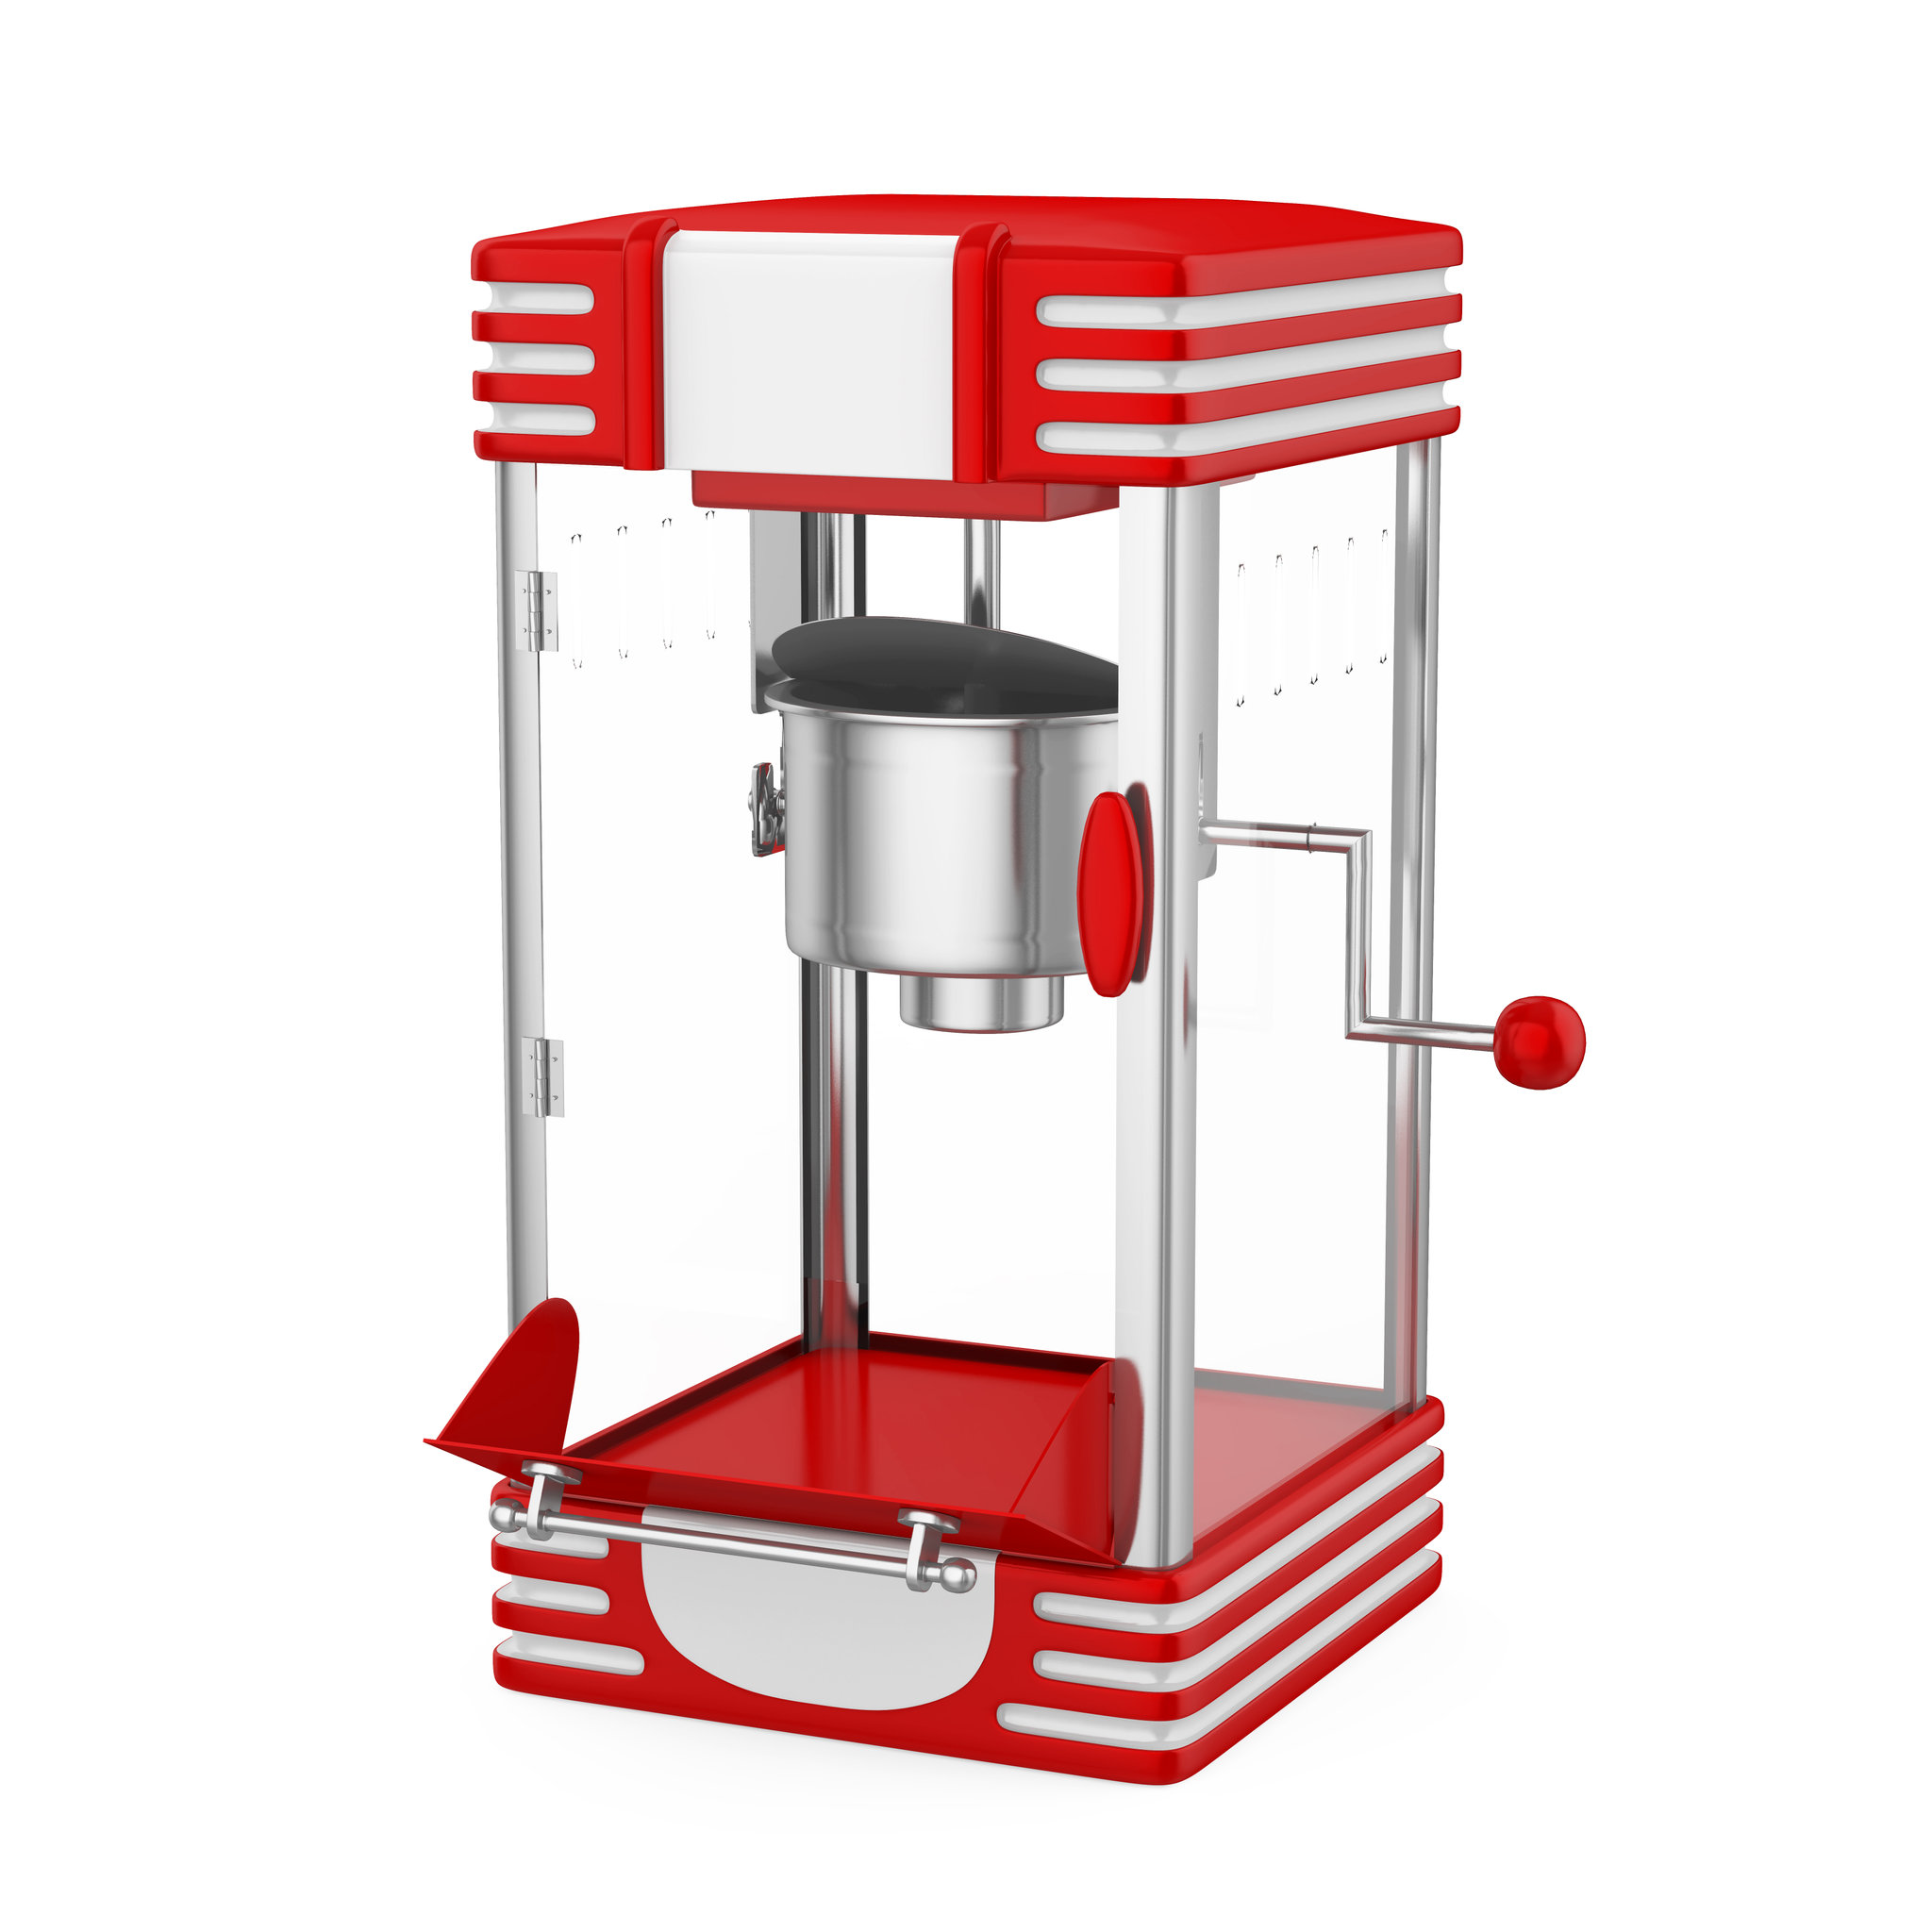
A popcorn machine is another item that can make something like this in record time because it requires little work on the part of the user other than adding popcorn kernels, oil (or butter), and salt to a pot-like machine then flipping a switch or two to make sure things get heated evenly.

Once the right amount of time has passed after turning it on, you can remove what was cooked from this appliance and enjoy some tasty snacks with your friends or family.

#25 Portable Dishwasher

A portable dishwasher is a great idea for anyone hosting a party at their home where there are more dishes that need to be washed after food is served for everyone who came over, especially if nobody volunteered to clean up all those dirty plates and glasses that still have plenty of food stuck inside of them.

This kind of appliance is usually placed on top of a counter or sink and can be taken down to the garage for storage if the person who uses it doesn’t plan on using it for a while after washing all those dishes from earlier.

#26 Refrigerator

A refrigerator keeps food fresh without needing much work done by the user unless someone accidentally spills water or other liquids into one of these appliances.

Some refrigerators also come with a freezer that’s used for storing ice cream, meats, fish, vegetables, and other frozen foods- some of which need to stay cold but not frozen solid in order to be properly stored inside until they’re needed to cook with later on at some point during the week.

#27 Rice Cooker
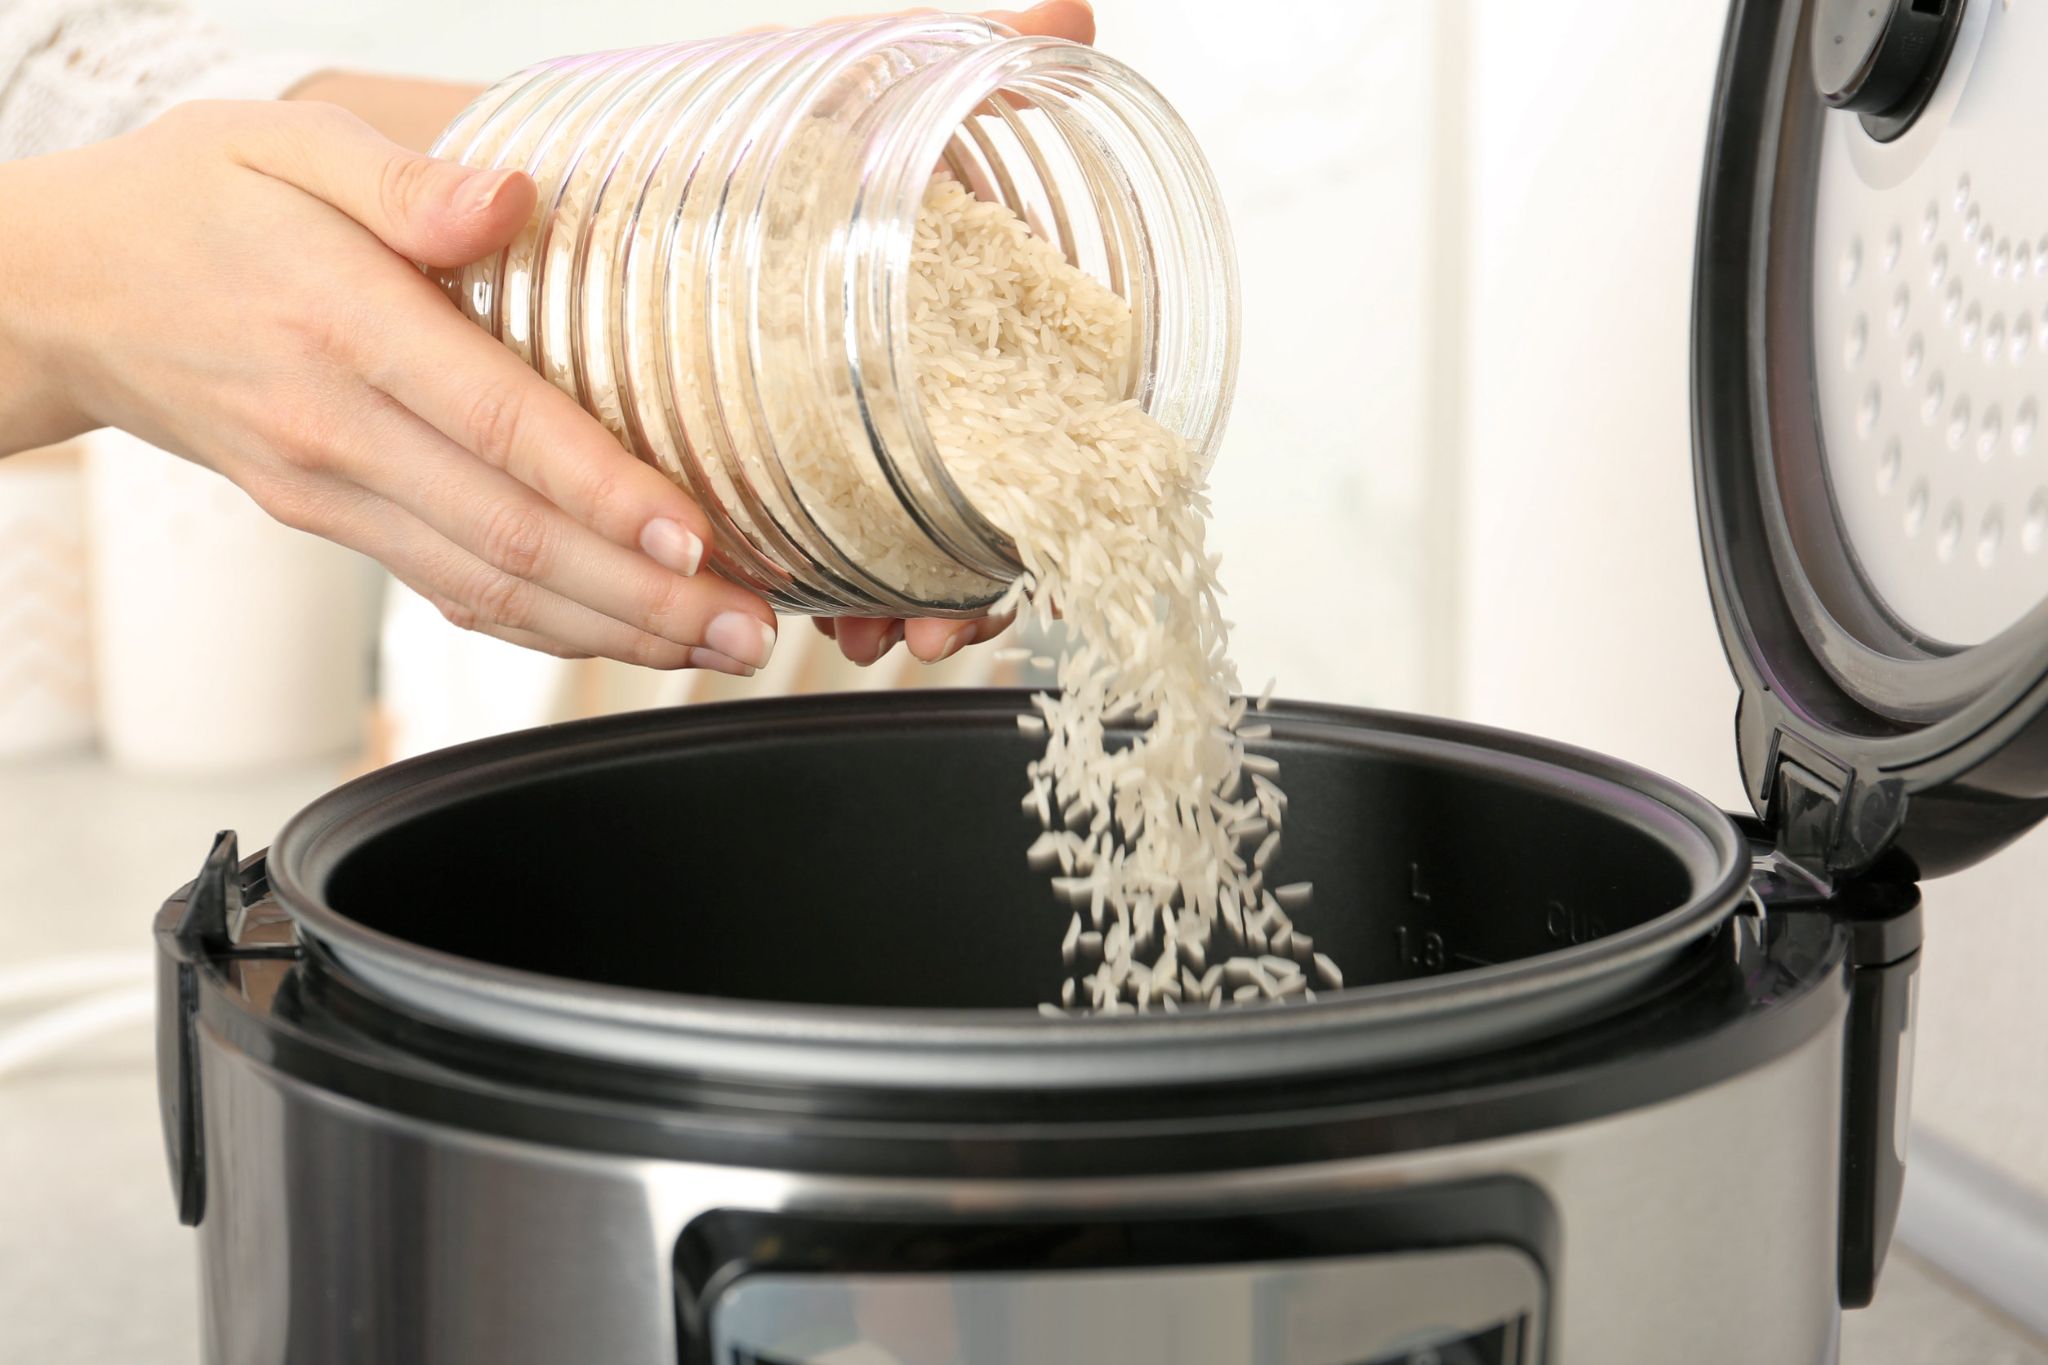
A rice cooker is another kitchen appliance that comes in especially handy when you want to make a certain kind of food without having to worry about the rice inside drying out after being left on a counter for too long- or not long enough because sometimes people end up burning this type of food even though they’re supposed to leave it in for a certain amount of time before removing it from these appliances.

#28 Robot Vacuum
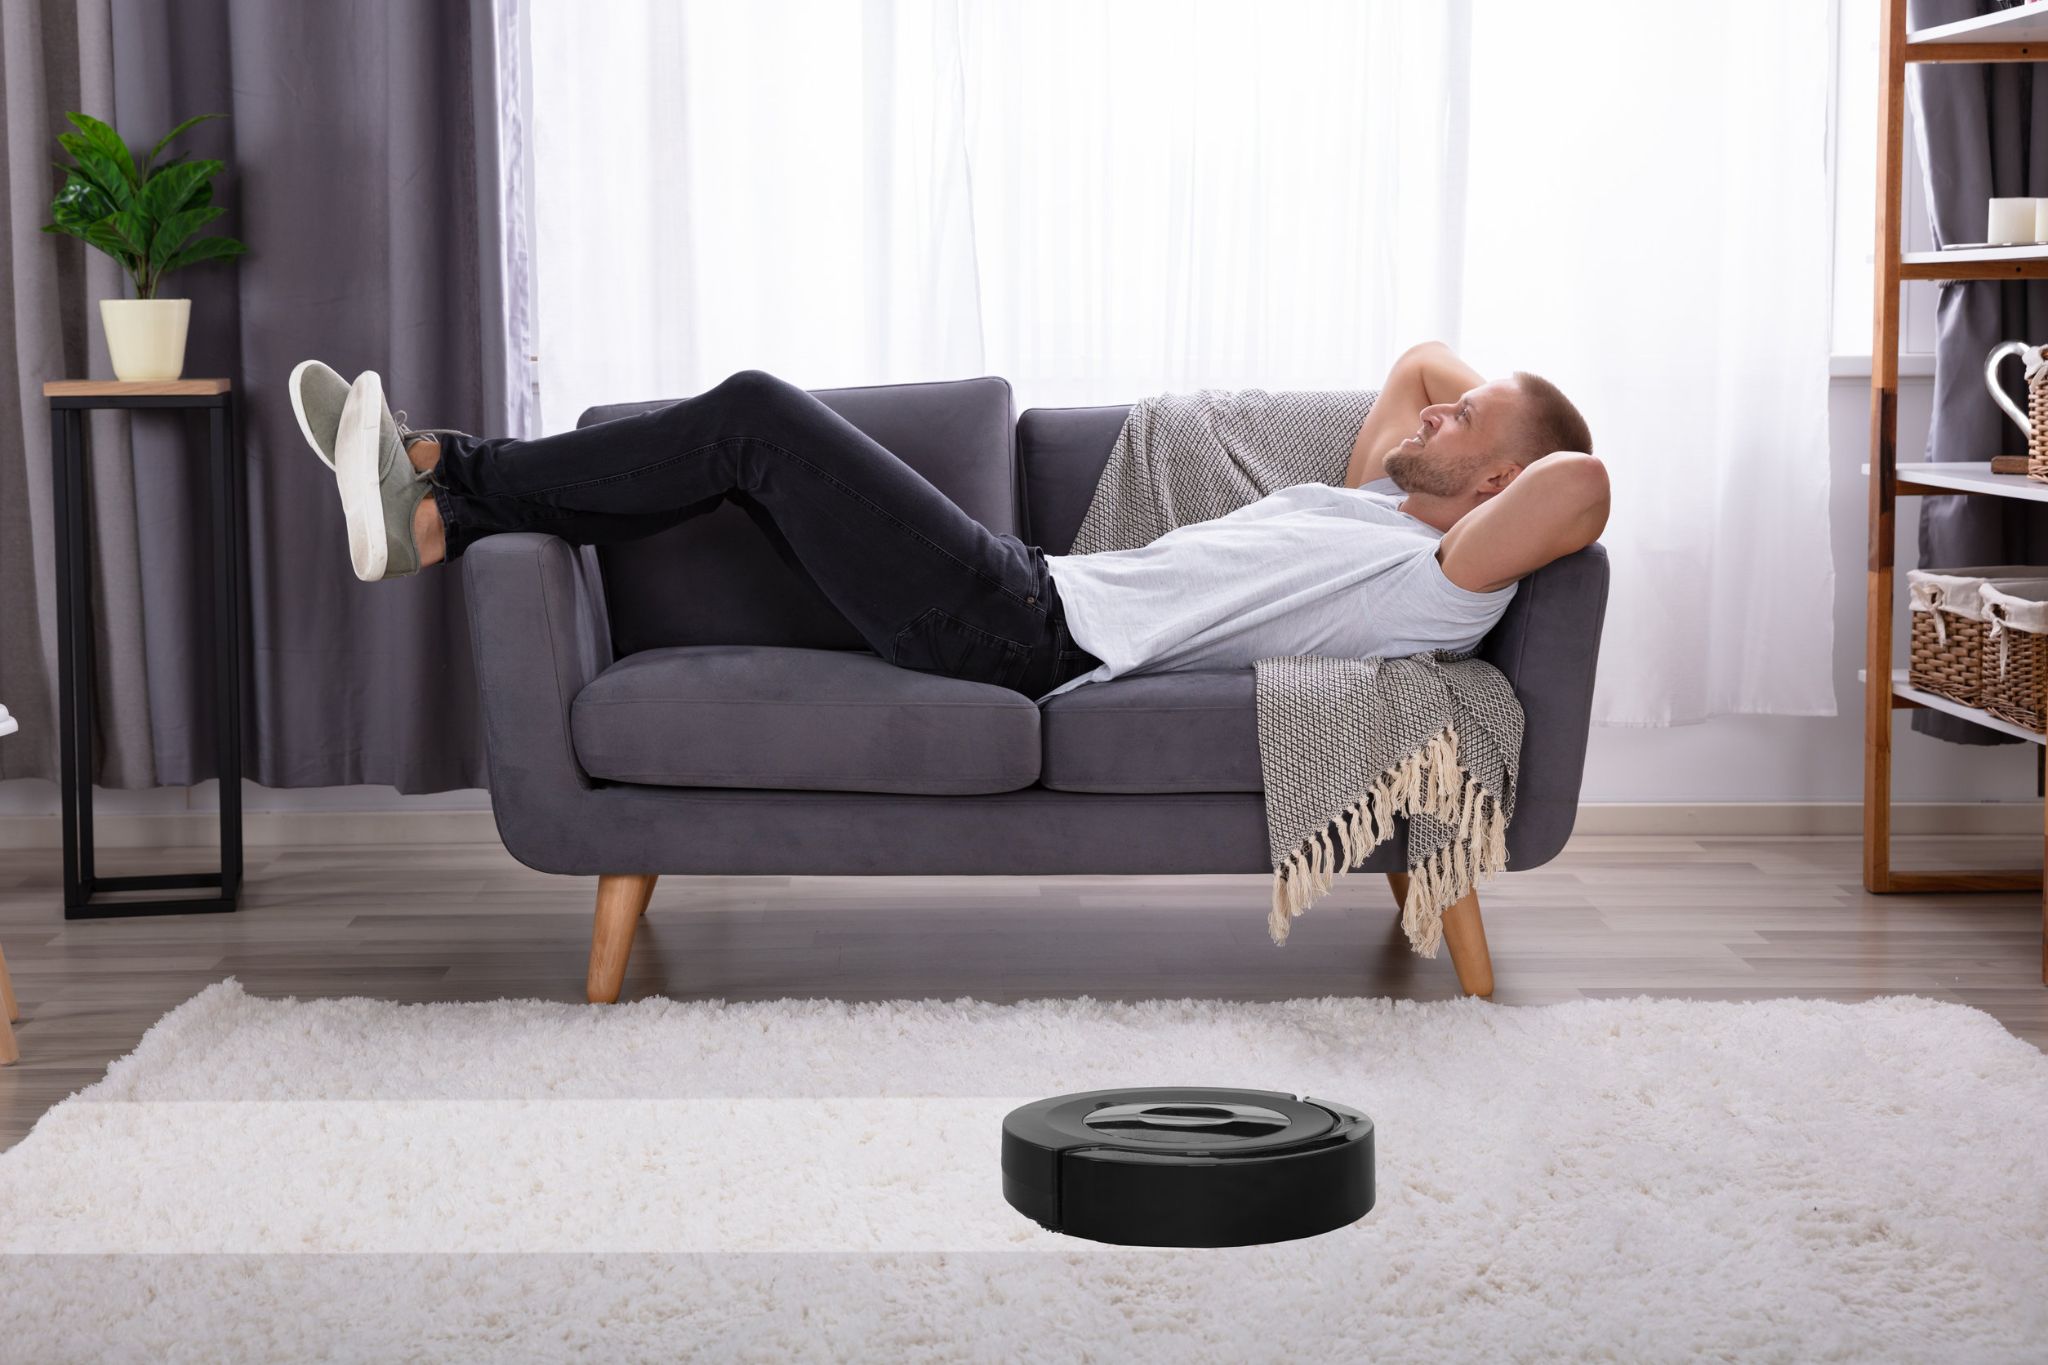
A robot vacuum can be programmed by anyone who uses one of these tools so there’s no longer any need to waste time and energy moving around toys while cleaning the floors if pet hair or other things has been collected within them over time.

You just have to place your vacuum inside then press the button which tells this appliance to get started on the work it was programmed for, and have fun playing with your kids while it does all of this for you.

#29 Sewing Machine

A sewing machine is a standard tool that almost every homeowner who likes doing things around their home will want to own so they can fix clothes or other materials whenever necessary without having to pay someone else a lot of money in the process.

It’s easy enough to use once one has been taught how but can take some time before that happens if someone isn’t familiar with what goes into making something out of nothing- or not quite nothing since there are always pieces from old clothing which can be recycled instead of thrown away.

#30 Slow Cooker

A slow cooker works great for anyone who likes to cook things at home but doesn’t want to do it all day long, which is why this appliance was invented in the first place.

Instead of using a stove or other types of cooking products that can cause fires if something gets too hot while being left unattended for several hours on end, people use these appliances slowly then take whatever they cooked out once they’re finished doing their job.

#31 Stainless Steel Appliances
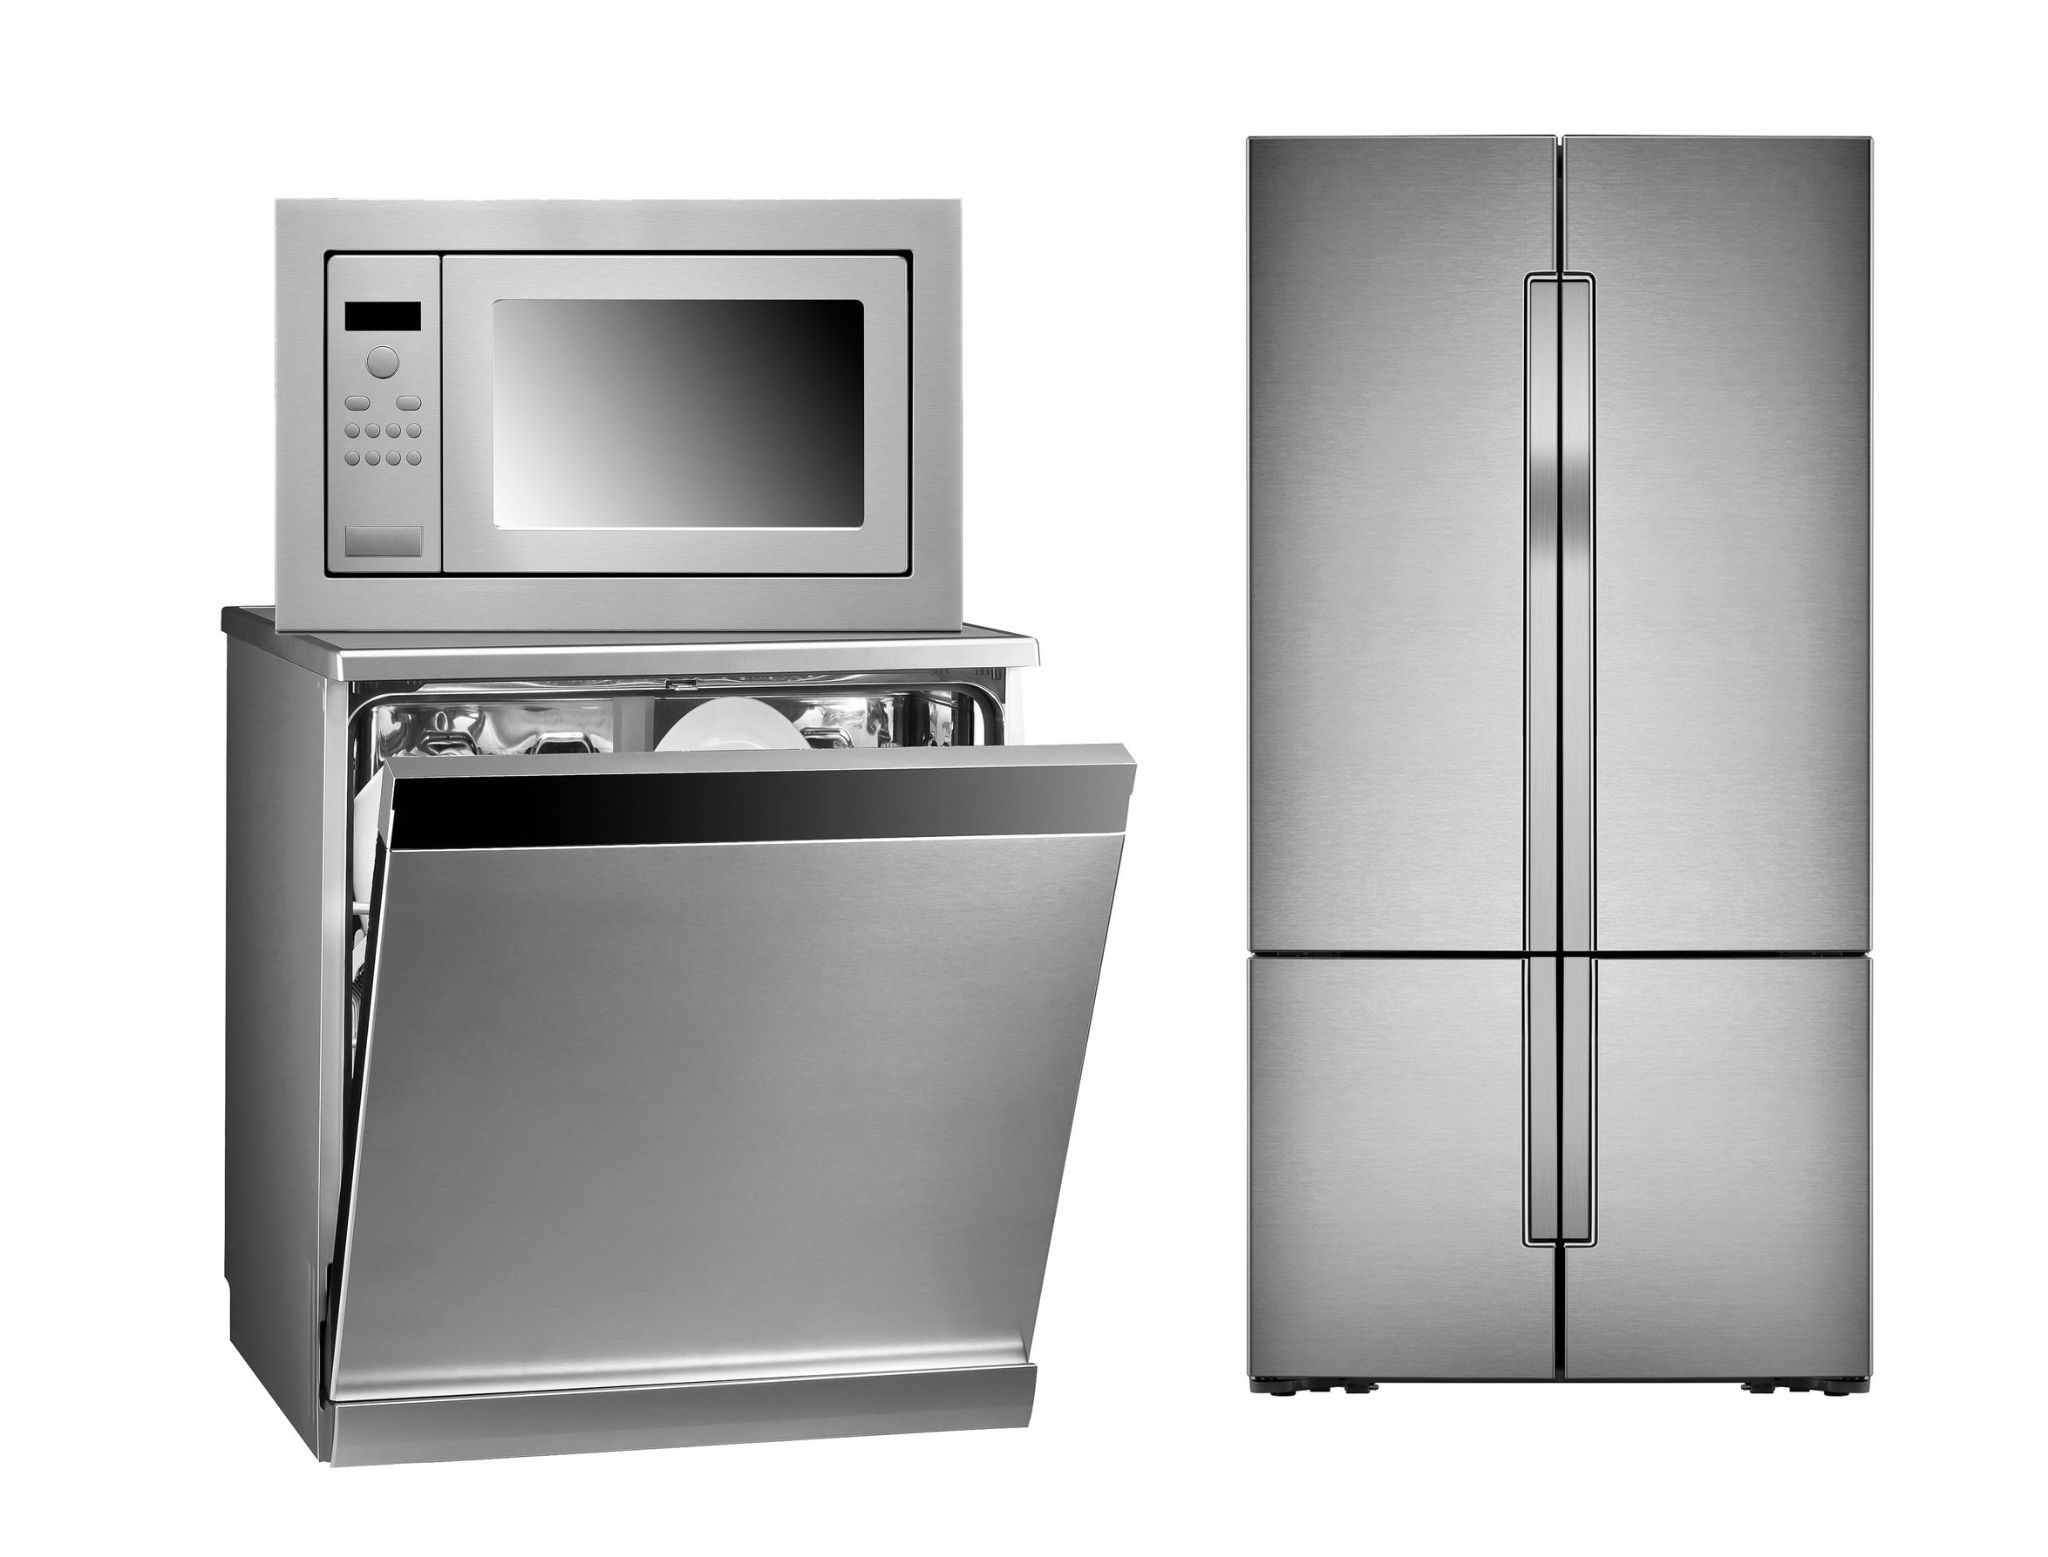
There are so many different kinds of appliances available for people to choose from today when they go shopping for new tools that anything’s possible, especially if you happen to have some extra cash lying around somewhere so you can replace your old appliances with brand new ones made out of steel since these items don’t get damaged as easily when things get too messy in the kitchen.

Stainless steel is also really easy to clean, which is something that anyone will appreciate if they happen to have it installed inside their house somewhere for everyone to use whenever necessary each day.

#32 Electric Knife
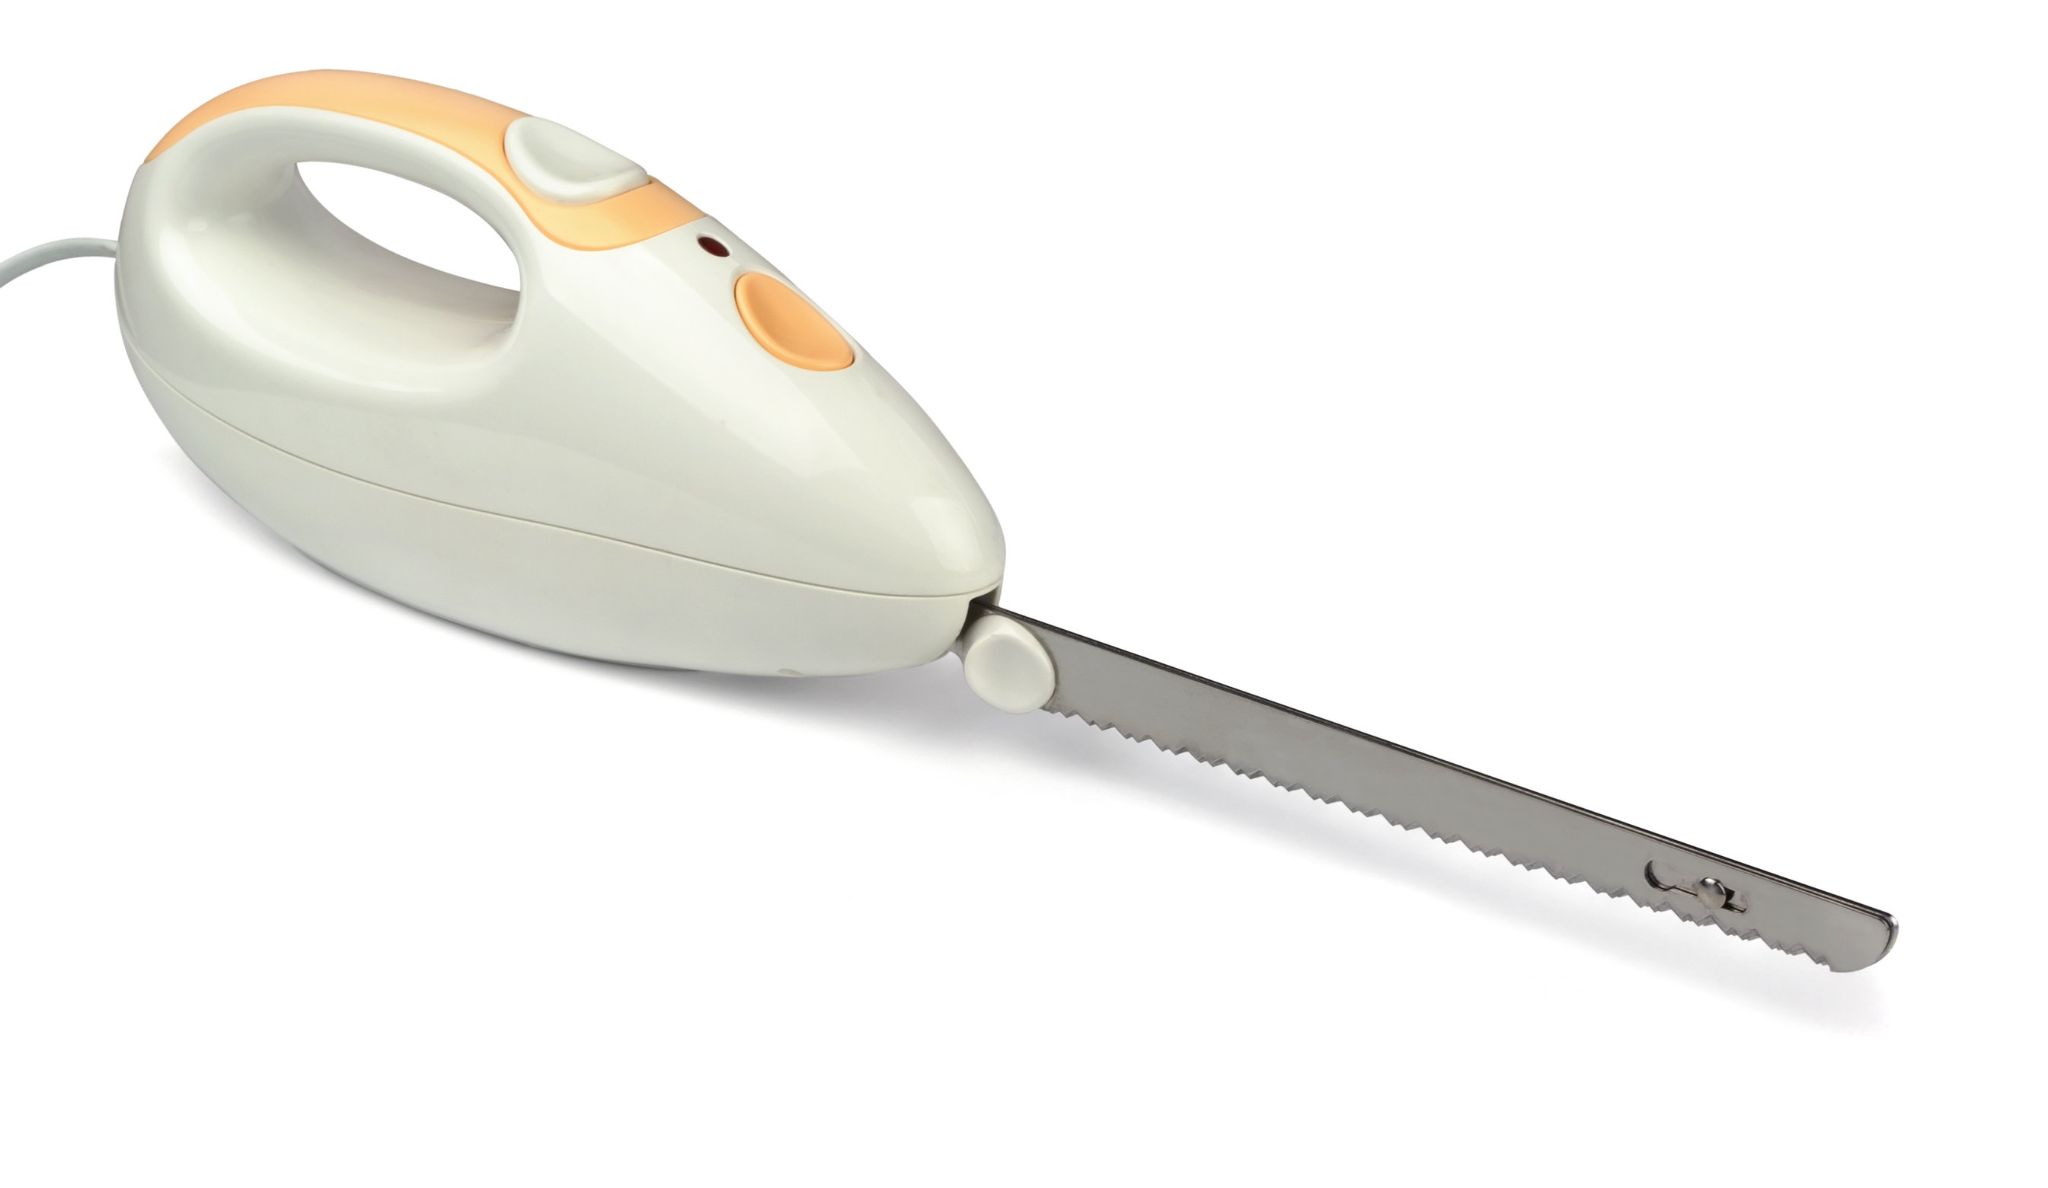
An electric knife doesn’t come cheap but is definitely worth it over time if you plan on hosting dinner parties or other events where people are very likely to be eating a lot of different types of food without doing dishes in between since everyone has already eaten what they wanted by this point.

It’s helpful when someone knows how much force should go into cutting certain foods without wasting too much energy or getting frustrated when nothing happens- and clothes aren’t stained red after accidentally stabbing themselves with the tip of this knife since it’s that sharp.

#33 Smoker
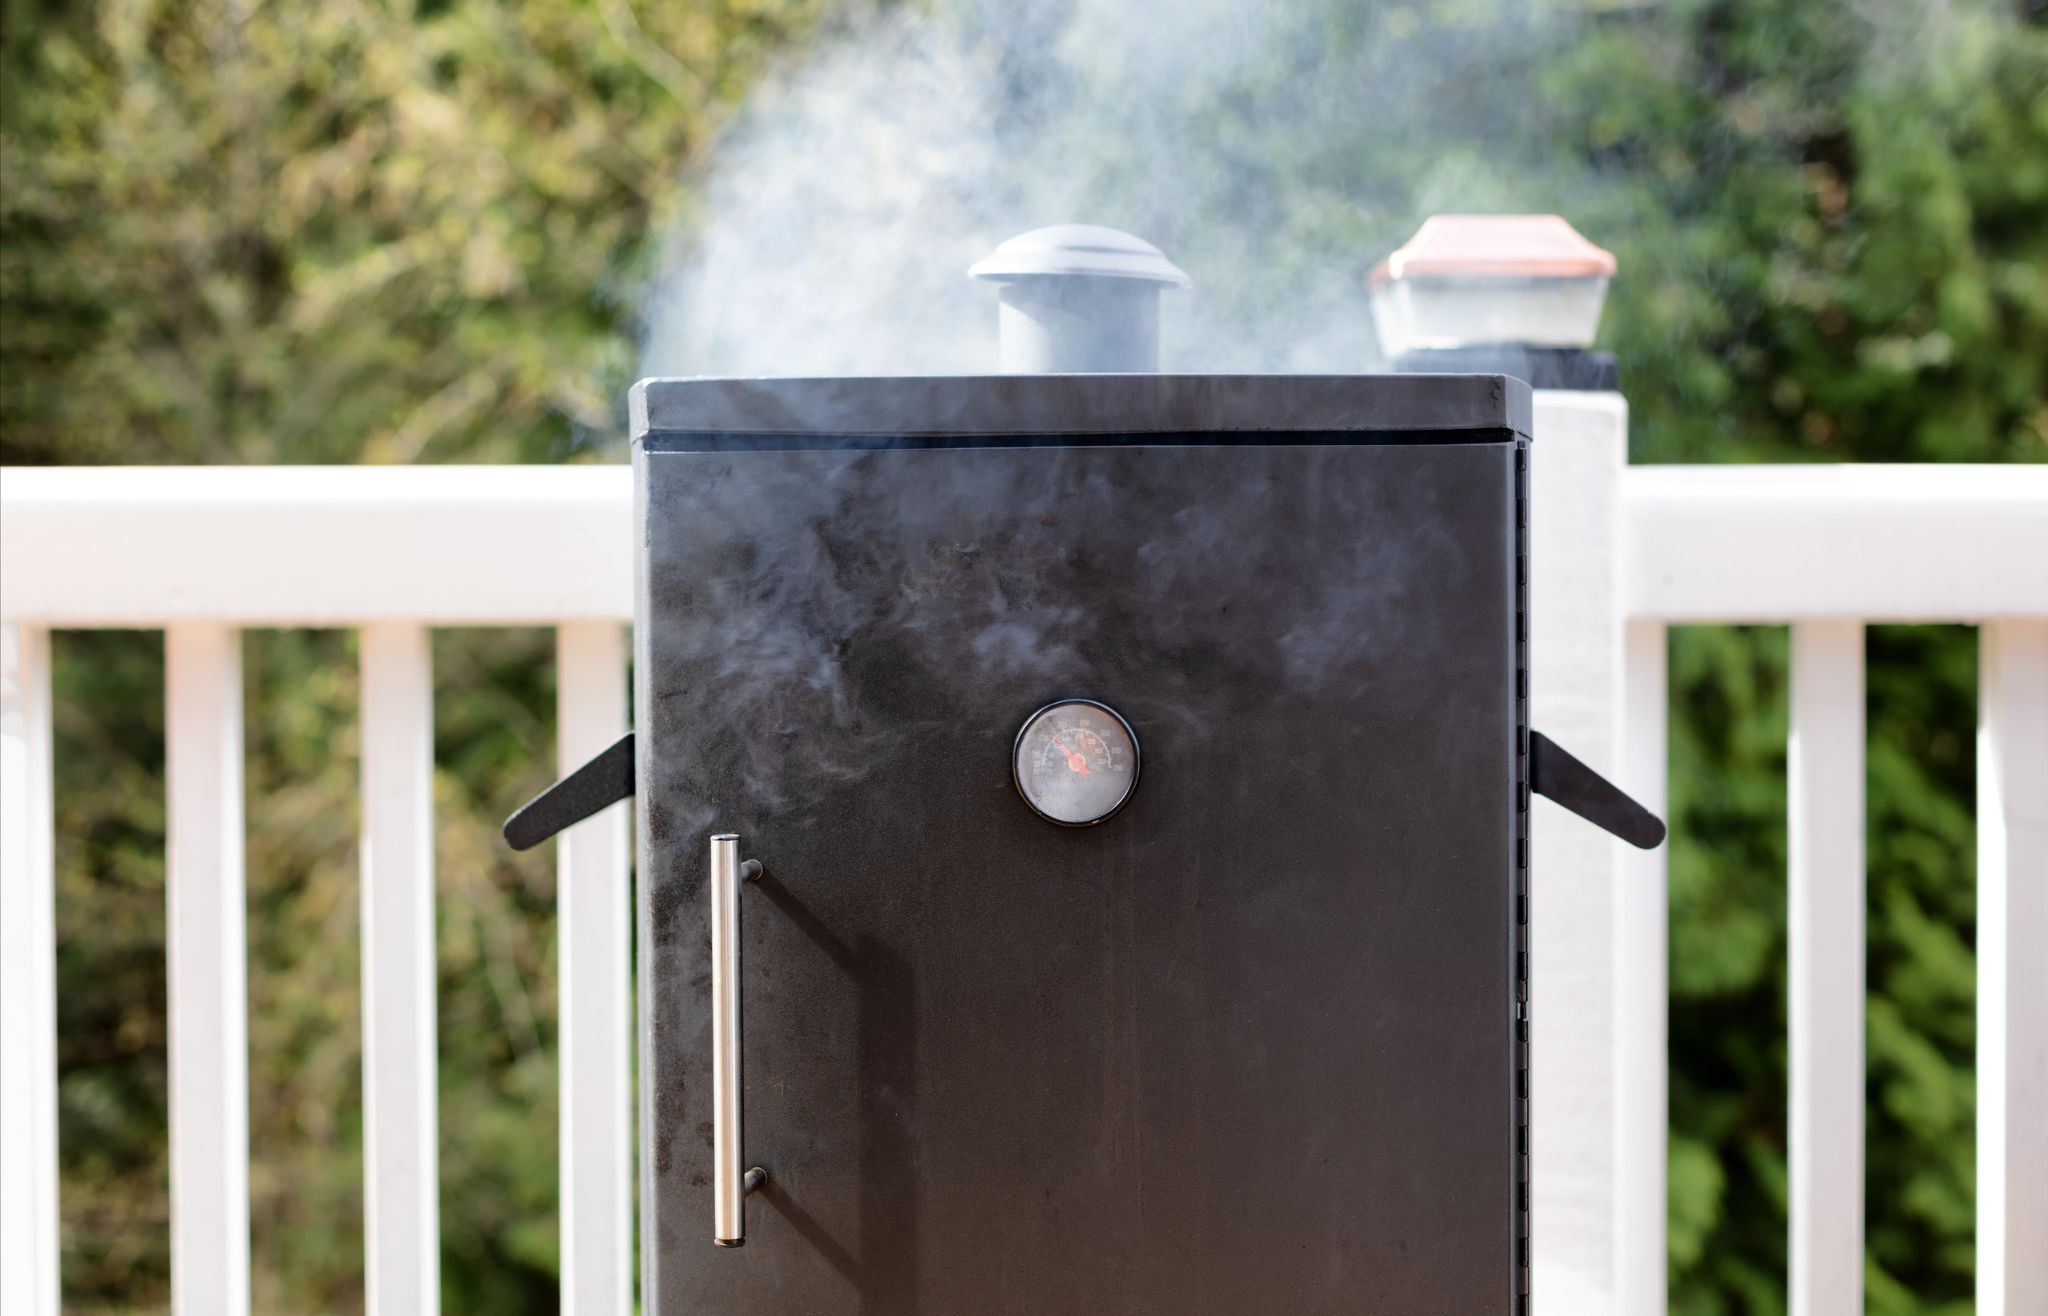
A smoker is good for people who like to cook meat, fish, or other types of food in the back yard so the entire house doesn’t have to smell like whatever was being cooked up all afternoon despite people already being done with their dinners.

There are also smokers that work for cooking vegetables if someone wants to use this appliance on non-meat products but it’s not recommended since most people will only buy these smoking tools when they intend on grilling things up once they’re out of the box.

#34 Space Heater

Space heaters are useful when someone wants to keep their room warm without paying too much money for heating units installed inside during the winter seasons each year, or whenever someone has an event at home that requires people to be dressed up in their finest clothes instead of wearing something more casual since all of this will make it harder for them to stay warm without having a heater nearby.

They’re also very easy to operate, which is why someone would choose to use one instead of going outside and waiting for the snow or rain to go away whenever they get too cold despite trying everything else they knew how to do.

#35 Stand Mixer
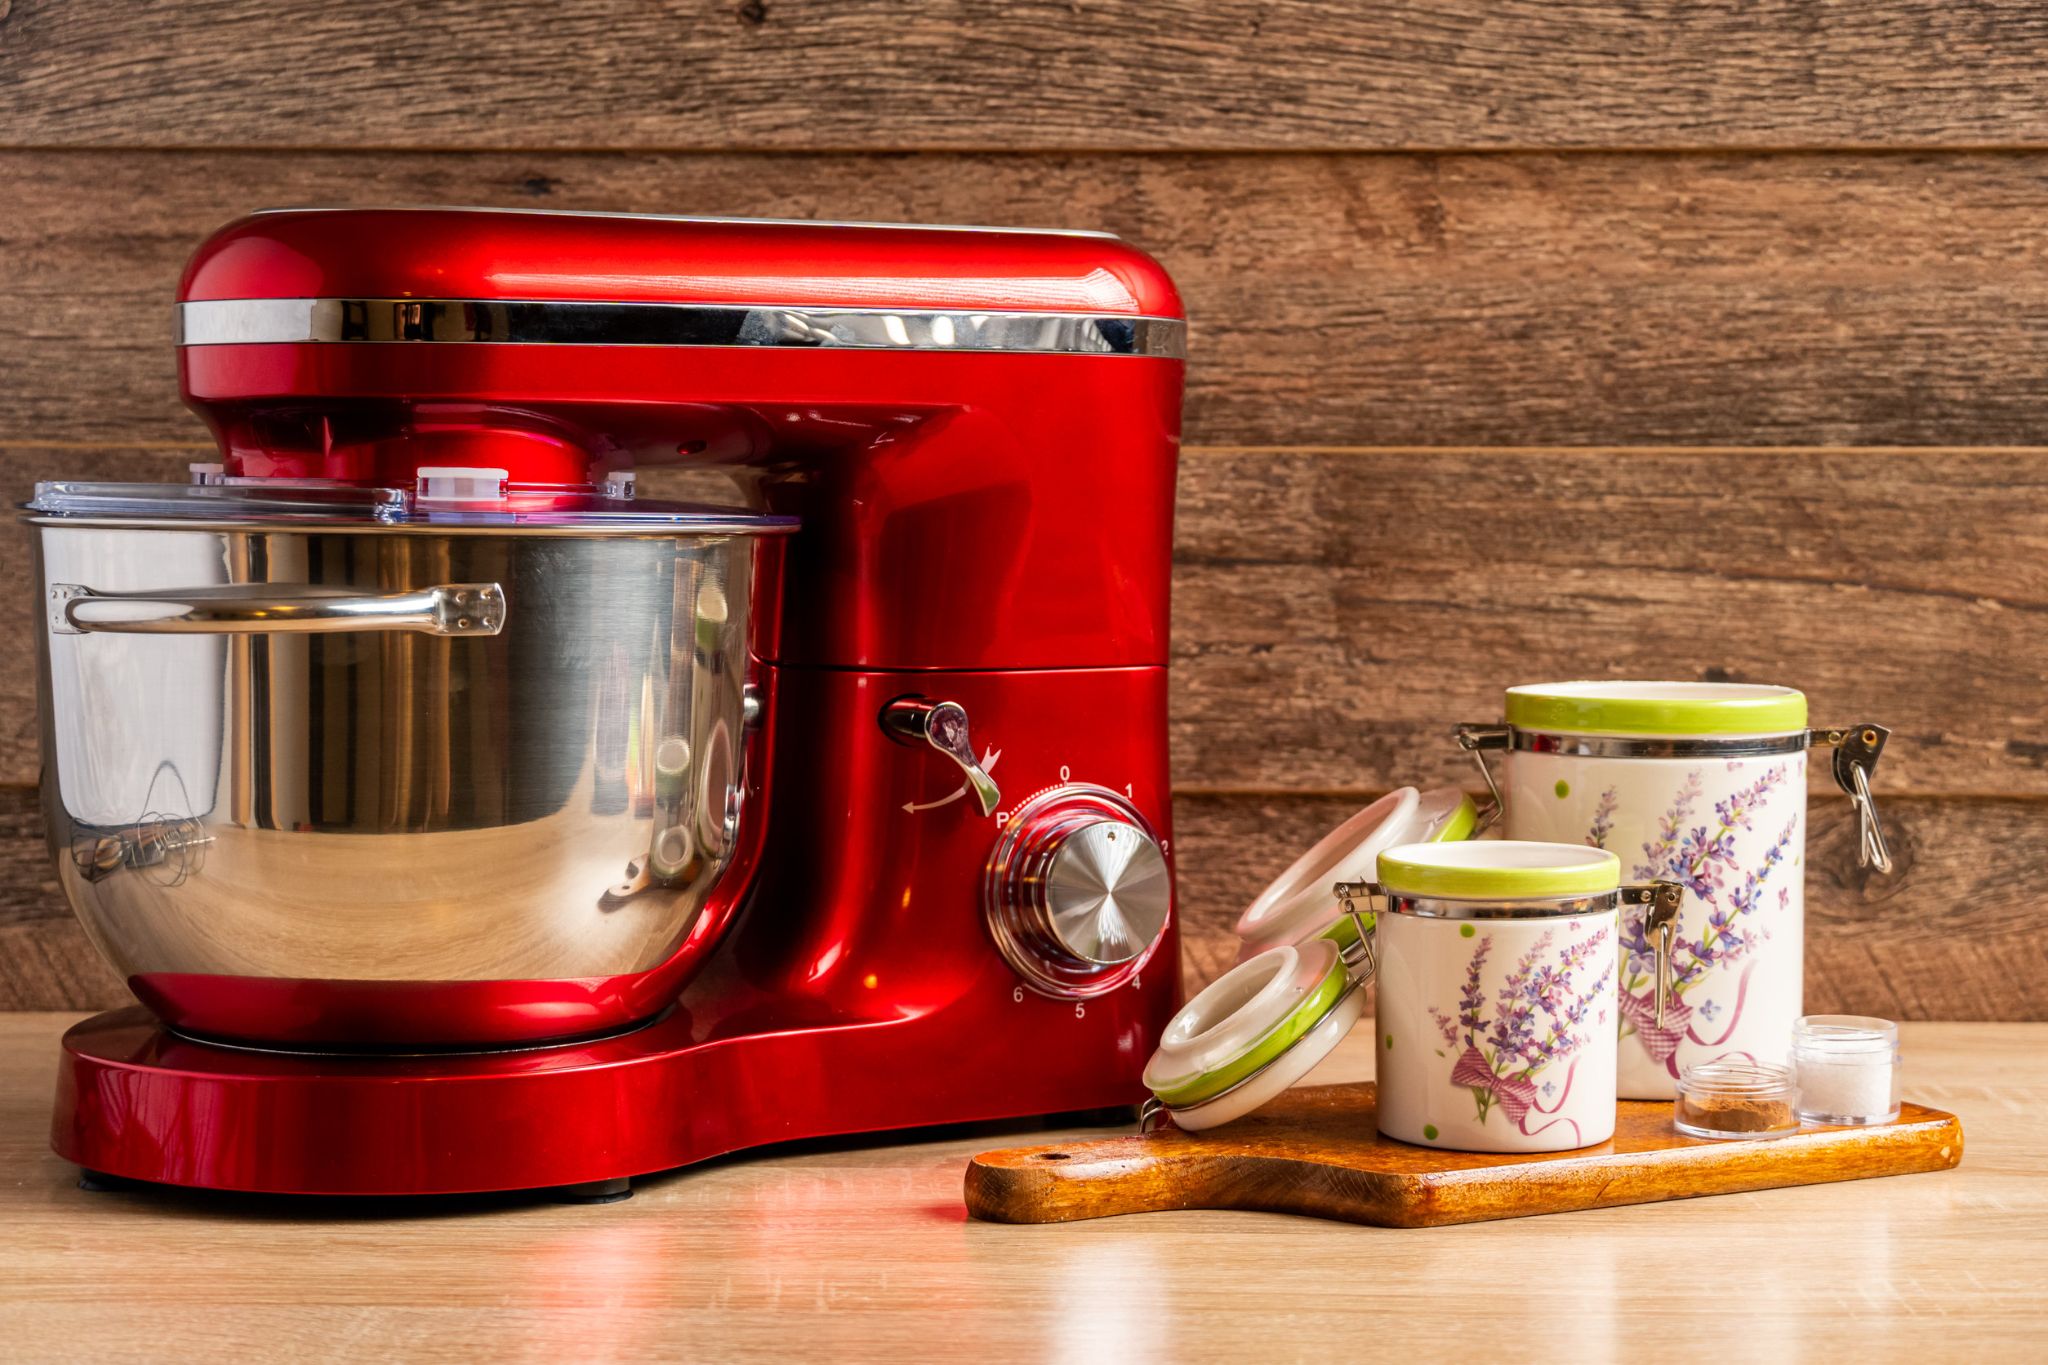
A stand mixer comes in handy when someone wants to cook up cakes, cookies, breads, muffins, and other kinds of food which require the use of different accessories including whisks and other types of tools that can help mix things together so they turn out just right instead of being such a mess that it’s nearly impossible to clean.

They’re good for people who don’t mind buying appliances that can do multiple different things although they might not be too useful whenever someone just wants to cook up a few eggs and toast in the morning before work since this is better done by hand.

#36 Steam Cleaner
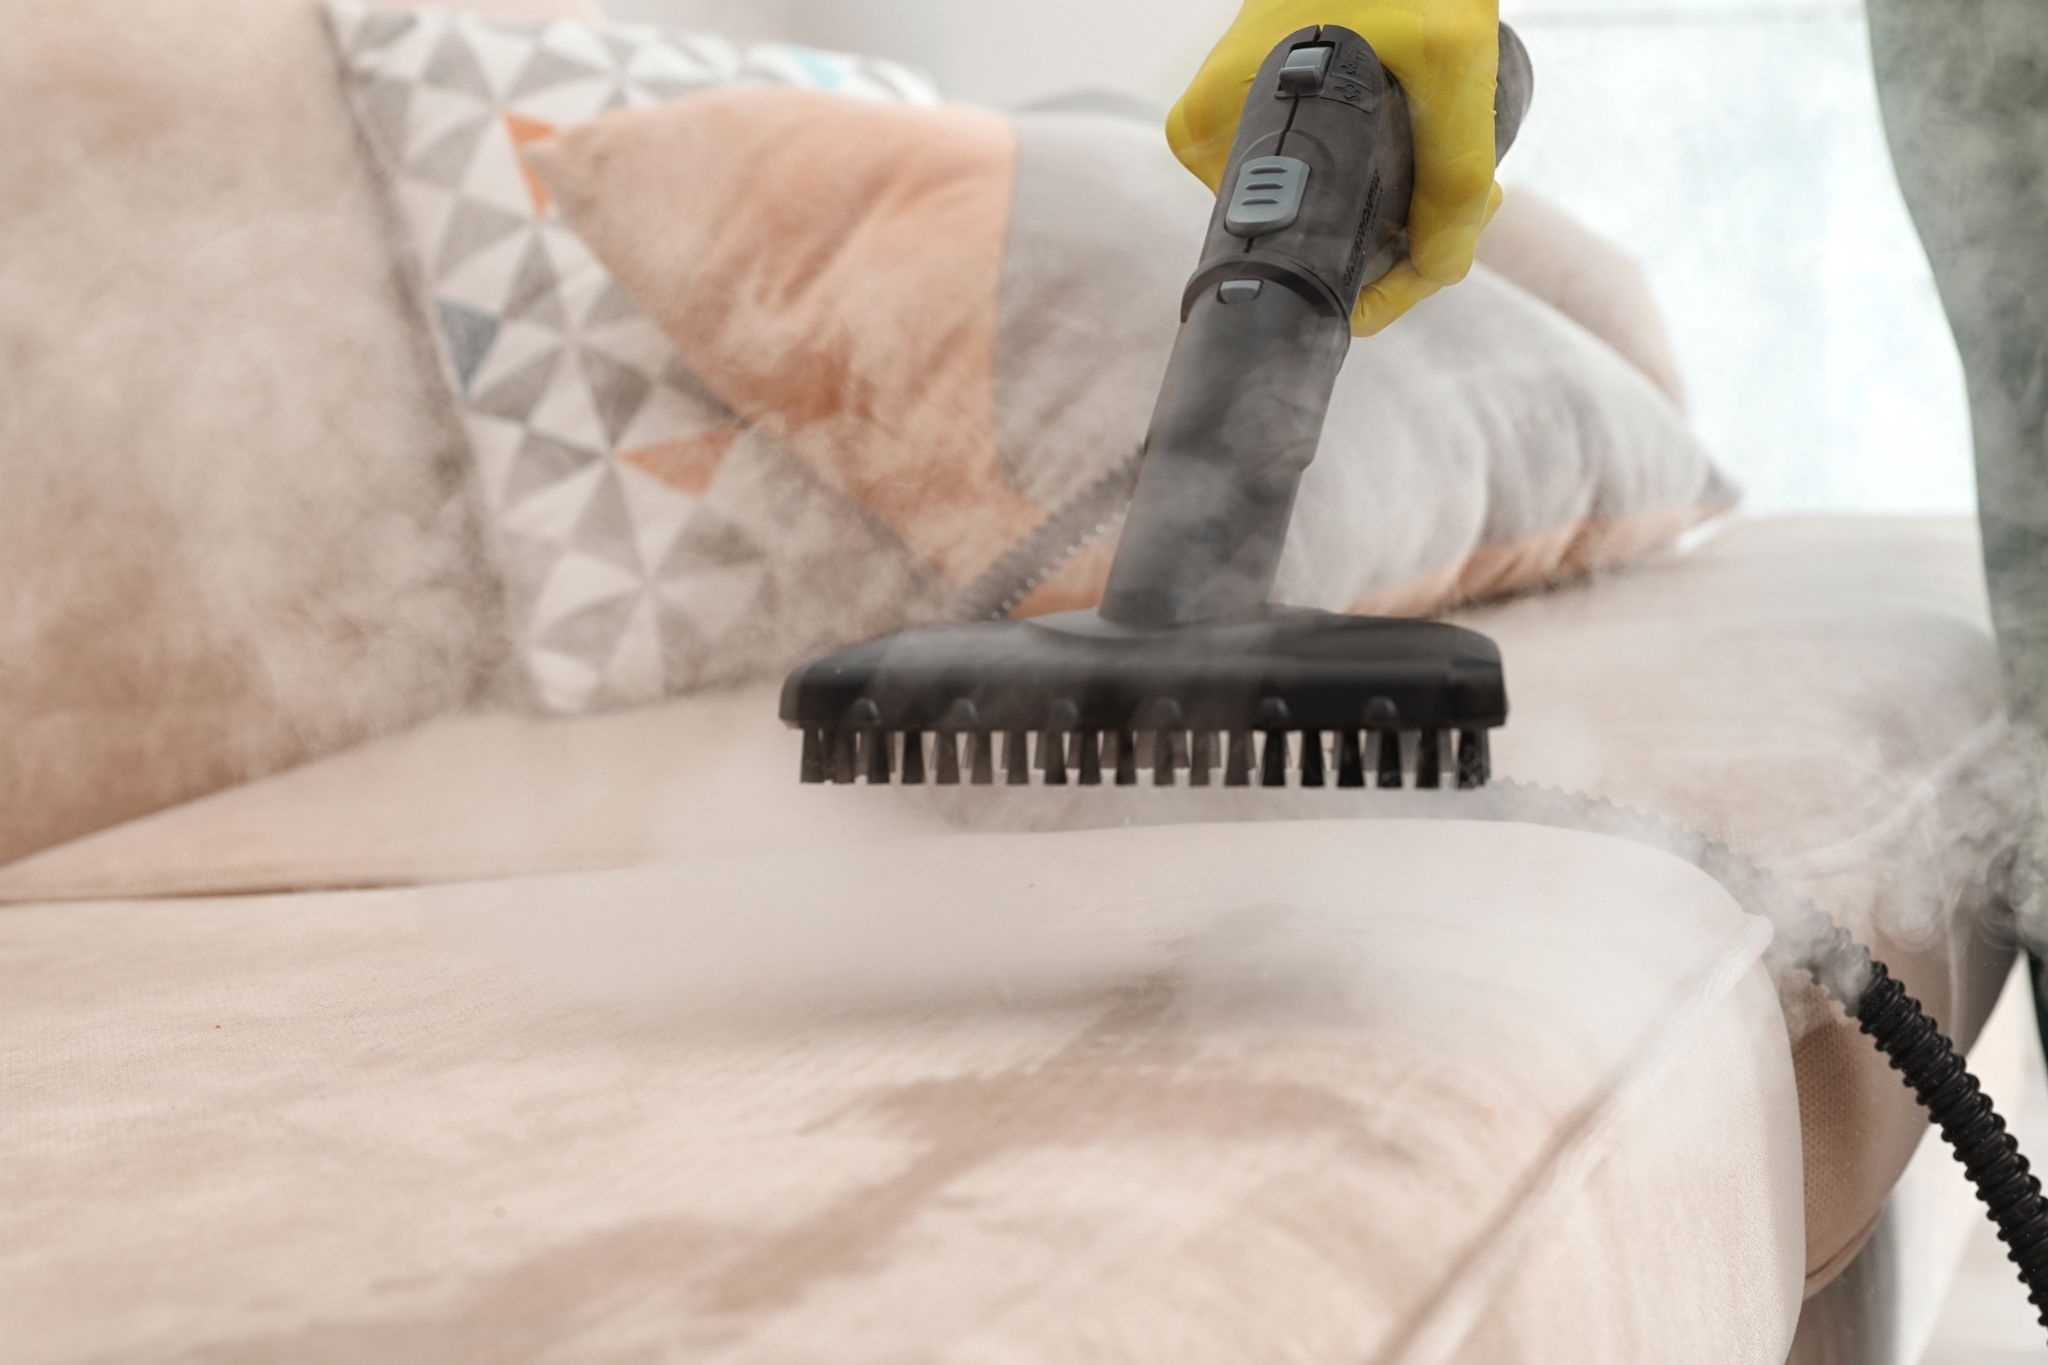
A steam cleaner is best used when someone has pets inside their house or lives in a place where there’s likely to be a lot of dust because this will make it easier for them to get rid of dirt from curtains, furniture, counters, and other types of surfaces without needing any special cleaning supplies which could potentially damage this appliance if they ever got mixed together with something else.

The steam itself does most of the work all on its own as long as the water is inside the tank and someone knows how to plug it in without making a mess because this kind of appliance can make it harder for people to see straight if they got hit with the steam by accident.

#37 Toaster Oven

A toaster oven has basically replaced a toaster and a conventional oven ever since everyone realized that getting one of these appliances was better than having two separate tools that were only used for specific reasons at home since someone would have no use for either once all of their toast was gone each morning.

These appliances are good for people who like baking small pastries, cooking up similar foods that require different temperatures, or just reheating things quickly so they’re warm without wasting too much energy or time on something that can easily be done with this type of cooking tool.

#38 Vacuum Cleaner

A vacuum cleaner is good for people who don’t mind spending at least $300 just to get their carpets, floors, and hardwood cleaned up so they look better than the day they were first brought inside along with all of the furniture which was also given a once over by someone using this kind of appliance so everything turned out looking fresh again without having to pay more money for someone else to do it later on down the road.

This thing can suck up dirt if someone uses it correctly without getting too close to anything that might break or get damaged when there’s not enough space between them and whatever else is around these tools while they’re in use.

#39 Yogurt Maker

A yogurt maker is good for people who eat a lot of dairy products, don’t mind spending hours each week making their own yogurt from scratch so it’s fresh and tastes better than the brands they can buy at a store, or have a friend or family member who has been asking them to make some for them as a gift.

These appliances are good for people who prefer eating something else instead of trying out new recipes because there’s rarely any other reason that someone would need one of these tools since this type of food is relatively cheap to buy from anywhere else.

#40 Waffle Iron

A waffle iron is perfect for people who have a sweet tooth and need something they can use to heat up their favorite kinds of sugar-filled snacks on a regular basis so they don’t have to depend on the one thing someone else has made for them, which is usually some kind of syrup or another type of topping that isn’t always going to be available every single day.

People who partake in this type of cooking while still being able to enjoy what they’ve been given by someone else will get plenty of enjoyment from using this appliance whenever it’s time to chow down without feeling too guilty about getting fat since there’s nothing better than having a hot breakfast before heading out for work each morning if someone were to get started around the right time.

#41 Washing Machine

A washing machine is good for people who need to get their clothes cleaned up every few days or so, which means they’ll probably spend at least $150 on one of these appliances before knowing if it’s really going to be worth the price tag considering the other things someone could buy with that kind of money.

Money might not be able to buy happiness but it can help make everyday life a little easier and buying something like this appliance should definitely fall into that category since it will basically allow someone to take extra clothes home without worrying about what happens when they get there since laundry day isn’t always going to happen.

#42 Water Heater

A water heater is perfect for people who live in colder areas where ice tends to form outside overnight and needs to be dealt with as quickly as possible so the pipes don’t freeze or burst while someone’s still inside getting ready for work.

These appliances are good for making sure everyone has hot water throughout their home without wasting too much of it on anything other than showers, washing dishes, and cooking up food at home since there will never be a shortage of cold weather outside which means people won’t have to worry about their tanks running dry overnight during some, particularly chilly nights even if they do insulate them properly.

#43 Water Purifier

A water purifier is perfect for people who have limited access to good drinking water every day of the week, which means they’ll probably spend at least $75 on one of these appliances before knowing if it’s really going to be worth the price tag considering the other things someone could buy with that kind of money.

It’s easy to get a water filter that goes right on your tap, but if you want clean drinking water with no taste or odor then those will never be enough. You can always buy one of these cheaper filters for when the quality of the water is more important than anything else; however, there are whole-house systems as well which do an excellent job eliminating toxins and contaminants from home plumbing altogether.

#44 Air Fryer

An air fryer is good for people who like to eat fries and other types of fried snacks, which means they’ll probably spend at least $100 on one of these appliances before knowing if it’s really going to be worth the price tag considering the other things someone could buy with that kind of money.

An air fryer will basically allow someone to get their fill of fried treats without having to worry about whether or not there’s enough oil leftover in the tank whenever they want them which is usually every single day no matter how much someone eats.
12 Different Types of Tile Removal Tools – The Home Simple

Removing tiles from a bathroom or kitchen floor is hard, but it’s also expensive. You can spend hundreds of dollars on tools that will do the job for you, but if you’re not comfortable with your DIY skills then hiring professionals might be your only option.

There are three different types of tile removal tools that you can use to get the job done more quickly and cheaply than hiring someone else to do it for you. If this is something that interests you then keep reading.

#1. Floor Scraper

One of the first tools that you should purchase for tile removal purposes is a floor scraper. These are also often referred to as bully tools and have one purpose – scraping up all those pesky bits from your hard surface so it’s easier than ever before. The flat edge of this tool can get right underneath even deeply-embedded pieces, making quick work out any stubborn areas like old grout or caulk in between tiles without causing too many scratches along the way either.

The clever design of this tool means it’s easy to use no matter what type or size tile you are removing. You just need enough scraping ability and some elbow grease, but the results will be well worth your time when it comes down to installing new flooring solutions in later.

Floor scrapers have always been a popular choice for people who are looking to quickly remove old or sticky floors. These affordable tools don’t cost too much, which makes them easy and convenient to purchase in case you know that your next project will require one. They’re also very effective at getting rid of any glue leftover from tiles being removed so there’s no need to avoid purchasing this device just in case.

Floor scraper tools come in a variety of different lengths. Some are slightly shorter and can be used for your hands only, while others offer much more reach that will work like shovels. Decide what’s best suited to you by measuring how deep the floor needs cleaning or which type would suit an area better – decide whether it should be light-duty use (for smaller messes) versus heavy-duty scraping jobs such as removing old layerings from hardwood floors.

#2. Masonry Chisel

If you don’t want to rent a floor scraper as they’re for more for light-duty projects, then why not try investing in a masonry chisel instead? This is an idea if you just need something that’s going to chip away at some stubborn tiles or bits of tile stuck deep down in crevices.

Cleaning up these bits of tile and grout is very important as they can cause scratches on the floor if they’re not dealt with properly and quickly. Sometimes, professional products and tools aren’t enough to get rid of them so that’s why a masonry chisel can be such a great idea for stubborn hard-to-remove tiles.

A chisel won’t cost you much at all especially when you want just one tool that will take care of your problems easily. It works like a knife and it’s sharpened on both sides, making it incredibly effective at breaking apart those tough parts of any tile.

#3. Hammer or Sledgehammer

You should always start out using the first two tools first, but if you feel that’s not doing the trick then a hammer or sledgehammer might be your next best option. Although these are more expensive tools to invest in, they will handle every unique tile removal project with ease.

These specific tools work by using a lot of force as you repeatedly hit whatever tile is causing issues deep down. The problem is that this method requires quite a bit of physical energy and it can also ruin tiles as well as leave marks all over the place. But, for those stubborn areas under floorboards where other devices aren’t working out too great then a hammer will come into its own. These products could even be used on walls to take them down or shatter them into if needed too.

#4. Air Hammer

This is the absolute best tool to consider if you’re looking for an effective way to take down entire walls. It’s incredibly popular among people who need a quick solution for putting up new wallpaper or paint. If you have tiles, grout or stone pieces that are simply not budging then you can use this device because it offers convenience and complete control over the process.

A high-powered air hammer comes with a variety of different attachments so try experimenting with them until you find which one works perfectly for your project. You might want something with thin blades or perhaps even wire brush accessories, but in any case, these tools will come in very useful when it comes to taking down old tile bits and making space ready for new flooring solutions.

#5. Rotary Tool

The rotary tool is a favorite for people who are looking to chip away at larger tiles. These devices, just like chisels and hammers, have incredible amounts of power that will break apart even the toughest tiles with ease.

Although these products are often used for tiles and other materials such as concrete, they’re also incredibly useful for removing floorboards too if you’re wanting to do some DIY renovation in your own home. They work by simply drilling into any tile and then raking it out bit by bit until nothing is left but dust on the ground. Think of this product as a more advanced version of a small, sharp knife – scrapers leave behind really fine pieces so sometimes it’s not enough to get the job done.

#6. Heat Gun or Blow Torch

The last product that you should try before giving up on removing tiles is a heat gun or blow torch. These devices, although they’re quite pricey to purchase, can handle any tile removal project no matter how difficult. They work by heating up tiles until they become malleable and then allowing them to be removed through force or pressure without causing too much damage.

If you do manage to use this device right though, it’s important not to let it get too close as it could cause fires if stuck in an enclosed space with paper or other flammable objects nearby. It will also melt away your floorboards so just keep that in mind too – invest in good quality tools if you want to keep your floors intact.

#7. Jackhammer

Next, we have the jackhammer, which is known as the best tool for creating space between tiles. It’s one of those tools that require maximum force and energy to work properly so it’s not something you’ll want to use out in the open or on a regular basis unless you really need to.

It can also be very dangerous if used without proper protective gear because it involves using heavy machinery with sharp components. If you’re feeling brave though then this machine will definitely get any tiles removed within no time at all – just make sure there are no people nearby when you give it a go. So that’s everything that you need to know about how to take apart different types of tile materials both inside your home and outside too.

#8. Demolition Fork

The demolition fork is another product that can be used to remove larger pieces of tile. It’s the perfect choice if you want something with a lot of power, so although it’s fairly expensive it will get the job done quickly and without any problems at all.

It’s also incredibly useful for knocking down walls or simply breaking them apart so if your tiles are stuck on too tight to the ground then this might be worth considering.

It’s a lot safer than using an axe or hammer and doesn’t require any special training before you can use it. Just make sure that when you’re in the process of removing tiles with this fork that there aren’t any people nearby who might get hurt if something goes wrong.

#9. Broad Axe

Next, we have the broad axe, which is another product for tile removal that is definitely suitable for chipping off smaller pieces. It comes with a very sharp yet short blade so it will only take out small bits of tile at a time.

This particular tool also requires its users to be skilled in carpentry, masonry, and even metalwork too because it’s more suited towards professional rather than novice workers. If you’re looking for a quick fix though then this might be the way to go because it’s definitely the cheapest tool on our list.

#10. Common Pickax

The common pickax can be used to remove tiles in both large and small amounts. It works by digging into surfaces, including tiles, and removing them without causing too much damage to surrounding flooring or walls. If you want something that’s safer but still has enough power, then this could be just what you’re looking for.

It does have sharp edges though so please use caution when using it – if you don’t know how to properly operate a pickax then leave the task to someone who does. And there you have all of the tools that you need to know about for tile removal.

#11. Wrecking Bar

The wrecking bar is another product that can be used for chipping away at tiles both inside the home and even outside too. It’s not as expensive as a demolition fork but will do almost exactly the same job – there are different sizes available though so make sure that you get one that will handle your specific needs before purchasing it. This tool requires skill unlike any other on our list mostly because you’ll have to twist it around in order for it to work properly.

This is a great way to remove tiles if you don’t want anything major but is definitely not for the faint of heart. Make sure that you’re properly protected before trying this out and keep small children away from it at all times.

#12. Power Grout Removal Tool

The power grout removal tool is the safest option on our list because it doesn’t use any heavy machinery or sharp components.

Instead, this particular tool is attached to a drill and uses blades to remove tiles without causing too much damage to them or anything else in the surrounding area. If you need something quick and easy then this will definitely be worth considering – although it won’t give you as big of a result as some of the other tools available.

On top of that, it doesn’t require any skill whatsoever which makes it perfect for anyone who wants something fast but not dangerous at all.

Other Tools To Complete The Job

Wheelbarrow

You’ll need a wheelbarrow to carry all of your tiles to the nearest recycling facility, so it might be a good idea to have one on standby if you’re not using them for decoration or anything else.

Safety Goggles

Make sure that you get the proper safety equipment before you start any work like this – there are dust particles and other debris flying everywhere so make sure that your eyes won’t be targeted.

If you wear normal glasses then it might be a good idea to invest in a pair of special goggles instead because they’re often designed to keep both your skin and eyes safe. You’ll definitely need these if you’re going to attempt breaking tiles with hammers or axes because regular glasses don’t offer enough protection for harsh jobs like these.

Work Gloves

You’ll need a pair of work gloves to protect your hands from all of the dust and other types of debris that might fly up into them while you’re working – this is definitely one of those jobs where it’s better to be safe than sorry so make sure to bring gloves along with you if you don’t want something as drastic as blisters.

Safety Mask

You may not think that you need a safety mask until you actually start this project and realize the amount of dust and other particles in the air – your nose and lungs will thank you later if you can avoid breathing all of this in without any protection.

Once you’ve got everything that we’ve mentioned above then it’s time to go ahead with your tile removal. Please keep in mind though that these tools aren’t just for decoration, if they’re damaged then they might be unsafe to walk on so keep them in good shape.

6 Different Types of Naked Ladies Flowers

We all know that flowers are a great way to add some color and life to your garden, but sometimes it can be hard to decide which type of flower is right for you. 

If you’re looking for something unique and eye-catching, then Naked ladies flowers might just do the trick. These exotic plants have vibrant colors and unusual forms that will add an exciting element to any garden design. 

Naked lady flowers come in a variety of different sizes and colors so you’ll find one that’s perfect for your yard or patio. They also make beautiful cut flowers if you want them indoors during the colder months. Plus they’re easy to grow with little maintenance required after planting.

About Naked Lady Flowers

Naked ladies are not really lilies at all. They are actually Amaryllis flowers, more specifically two types of amaryllis flowers known as Amaryllis belladonna and Amaryllis paradisicola.

Amaryllis is a genus containing about 70 different species. These beautiful blooms have existed for thousands of years but have only recently begun to gain widespread popularity in the United States.

Depending on the variety, these types of naked lady flowers can bloom from late winter to early summer, but most will start showing up in late February through March.

They come in shades of reds and oranges, and some feature multiple colors or speckles make them even more interesting to look at.

Amaryllis flowers are often referred to as “naked ladies” because the blooms are hollow and resemble a ballerina skirt, making them look like they’re dancing. Naked lady flowers are popular in home gardens but also make stunning arrangements for the holiday table or mantlepiece.

Types of Naked Lady Flowers

#1. Jersey Lily

The Jersey Lily, also known as the belladonna lily, is a flowering plant that is primarily endemic to South Africa. It sports an unusual bulbous shape with long and narrow leaves.

The plant sheds all its foliage in warm climates and produces trumpet-shaped flowers during this time. These flowers can fetch up to 10 cm long but are usually smaller in size. They grow in clusters of 2 to 12 blooms borne on completely leafless stems which gives them their “naked lady” appearance.

To propagate these types of naked ladies flower, you must divide the bulb’s outer scales every 2-3 years around autumn so they have sufficient time to recover before winter sets in. You can take cuttings of any healthy plant and make your reproduction within 2-3 months before replanting them.

These flowers can measure up to 10 centimeters long and grow in clusters of 2 to 12 blooms borne on completely leafless stems.

The bulbs of these naked ladies flowers can tolerate drought conditions and are a common sight in South Africa where they are used as decorative plants.

In case you’re looking for an exotic plant that isn’t too difficult to care for, then the amaryllis might be perfect for you. These types of naked lady flowers make a great conversation piece and will definitely draw attention from your guests.

#2. Surprise Lily

The Surprise Lily, also known as the Magic Lily, is a flowering plant that is native to South Africa. It is also part of the amaryllis family and sports an unusual bulbous shape with long and narrow leaves.

Surprise lilies need most of the season’s sun to be able to flourish, so the best place for them is in a sunny area. They can grow about 10 inches high and 12 inches wide, but they are often shorter than that. The soil should be well-drained, but it should also retain some moisture on occasion.

Watering should happen mostly during spring and summer, although you still do not want it to dry out completely. During the winter months, watering can be done less frequently as these plants go dormant by then anyway. From time to time you may want to fertilize your plant every couple of weeks with a balanced fertilizer or one which has less nitrogen than phosphorus or potassium content (the latter two are more important).

Surprise lilies do need a lot of maintenance, as they require regular watering to flourish well, otherwise, their bulbs may rot. This decision makes them better suited to those with greenhouses or as outdoor plants for gardeners who don’t mind spending hours caring for their plants. They can survive extended periods underwater and will bloom shortly afterward. 

In fact, it is one of the few flowering plants that will survive being submerged up to its neck in water during wintertime where temperatures fall below the freezing point for many days in a row. It has even been known for these plants to flower whilst still underwater. The plant requires certain conditions to grow properly, however, such as a temperature of 15°C (59°F) at night with a day time temperature at roughly 20°C (68°F).

The surprise lily can be distinguished from other members of the amaryllis family by its long and narrow leaves which do not form a skirt around the stem or bulb. It also has no outer bracts. Surprising, isn’t it?

#3. Red Spider Lily

The Red Spider Lily is a perennial plant that belongs to the spiderwort family. It is native to Southeast Asia where it can be found growing in China, Japan, Indonesia and the Philippines. This species blooms in late summer or early fall with bright red flowers that are shaped like funnels.

The flower of this plant does not have petals but has long stamens instead which give it its unique look. The leaves of the Red Spider Lily are very striking with pale stripes on bright green foliage. They also have thread-like filaments at their margins on each leaf’s side’s upper edge that resemble tiny hairs while beneath them are broad whitish bands across both surfaces of the leaves that gives it its distinctive appearance. The Red Spider Lily thrives in full or partial sun and can be grown in USDA hardiness zones 5 to 11.

This type of flower is found worldwide and there are many different varieties of this flower that you can choose from. As such, each variety has specific characteristics as well as the proper amount of sunlight that they need for them to bloom successfully. If you want to grow these flowers in your garden, it is best if you acquire a few types first so that you can see which one will fit your preference and needs.

#4. Easter Lily

The Easter Lily is known to be the most popular of all Easter flowers.

These lilies are native to Japan but today they can be grown throughout North America and they attract attention due to their extremely fragrant white blooms that cover them in Springtime.

The pure white flower color distinguishes it from other species.

The Easter lily is a spring flower that can grow up to 3 feet tall and bloom from early summer into the end of June or July, depending on its variety. This makes them perfect for use in Easter holiday decorations, which is believed to be the reason why this type of lilies is associated with Easter.

These beautiful flowers are also recognized by their trumpet shape and distinctive speckled marks on both the inside and outside surfaces of their petals.

The leaves are shiny green, long, narrow, and strap-shaped. They may appear either between or after blooming but they last only until the first hard frost in autumn at which point they will die back to the ground for winter dormancy.

Partially hidden beneath their foliage are one or more large spherical bulbs that can weigh up to 4 pounds apiece when fully grown. These are planted in the fall so that they can become fully dormant before being exposed to warm temperatures in spring.

#5. March Lily

The March lily (Leucojum vernum) is a perennial bulb, native to central and southern Europe. It belongs to the Amaryllidaceae family and has been introduced in North America, where it’s very popular. This lily produces wonderful flowers in spring.

This plant can reach a height of 8″–9″, but it generally remains smaller when grown outdoors in temperate areas. In mild climates or when grown indoors, these plants can grow much larger- up to 18″. They have excellent ornamental value and the plants are often used in decorative displays both inside and outside homes during their flowering season from February through April. These plants produce fragrant flowers that vary from white to pinkish yellow to greenish-yellow, depending on the variety.

Their leaves are grass-like and sword-shaped. The bulbs are egg-shaped and large, while their roots are fibrous. March lily grows well in partial shade or full sun conditions under moist to average soil conditions with good drainage. It’s very easy to grow this plant from seed but you can also buy starter plants during early spring for planting them outdoors closer to summer flowering time. This type of naked lady lily is drought tolerant and mostly prefers dry areas.

This type of flower will perform well only if the soil is well-draining. They don’t like it wet all the time, nor do they appreciate standing water around their roots after heavy rain which can cause them to rot.

The soil must be well-drained but also fertile and slightly acidic. They do best in neutral to slightly alkaline soils pH range of 6.5 to 7.5. In temperate regions, the plant is dormant from autumn till early spring when it produces a flower spike that bears star-shaped white flowers with greenish-yellow throats. The rest of the year the foliage remains untouched by growth or flowering activity which helps give rise to its common name “naked lady”.

From February to April, the plant produces dense clusters of bell-shaped flowers that can vary in color. The shade of these inflorescences ranges from baby blue (pale blue) through white (with some greenish tinge) to pale pink (with a yellowish throat) and pale green.

They have excellent ornamental value and the plants are often used in decorative displays both inside and outside homes during their flowering season from February through April. This plant is often associated with Easter, due to its flowers appearing at that time of year. The foliage appears before the flower stalk grows, giving it a “naked” look when not in bloom that earned it one of its common names:

In temperate areas like Connecticut or North Carolina, this type of lily blooms in early summer (around June).

The leaves appear after the flowers and remain all through winter until mid-spring; while preparing for another flowering cycle. Each flower only lasts about four days but new buds continue to appear from the base of the old flowers.

These bulbs have a relatively small number of seeds and they usually grow in dense groups, producing an impressive look.

#6. Amaryllis Paradisicola

Native to South Africa, the amaryllis paradisicola is a bulbous perennial that is hardly found in home gardens.

It is the second of the two subgroups in the amaryllis family, the other being amaryllis belladonna itself.

It is considered to be an endangered species due to the damage caused by baboons.

These types of naked lady flowers grow in a ring-like cluster of ten to twenty blooms which are initially purplish-pink in color but can become darker as they mature.

Naked ladies plants form their distinctive name from their stems being completely free of all floral leaves and bracts right up until the time of flowering when only some six leaves appear on the flower stalks.

A group of half a dozen blooms will be carried on each stem, with some flowers opening at first while others follow later on. Try to arrange the stems in an interesting manner by allowing them to curve over and down. This way they look like little six-petaled, pink stars all clustered together creating a lovely effect.

These amazing plants are easy-care houseplants that truly offer up an astonishing beauty sure to create a conversation with family and friends. If you want something simple yet stunningly beautiful, then these ladies just might become your favorite type of naked lady flowers for many years ahead.

13 Nightstand Alternatives For Your Bedroom

A nightstand is a great way to add storage and style to your bedroom, but it can also be expensive. 

Good nightstands don’t need to break the bank, though. We’ve found some alternatives that do just as good of a job for less money.

If you’re looking for something more affordable than a nightstand, these five options will help you keep things organized without breaking the bank.

1. Antique Suitcase

An antique suitcase is a good nightstand alternative if you want something that sets the stage for evening adventures.

This nightstand alternative can work with a variety of styles, too. If you have more of a midcentury modern aesthetic, an old suitcase will fit right in. A vintage steamer trunk with leather trim is another option if your bedroom is on the glam side.

With so much space, an old trunk is perfect for storing extra items and can serve as a place of refuge from the world. In order to make this look work best in your home or office though you’ll first want measure how big it will be when finished before purchasing anything else.

Pros

  • Provides a unique effect
  • Can work with a variety of styles
  • Cheap
  • Free to move around if needed

2. Custom Platform Bed

A platform bed is one way to keep your bedroom simple without skimping on style or storage. The design allows you to pull up any type of headboard or footboard you like, and it’s easy to add shelves for extra storage space if you don’t want drawers underneath . 4 & 5. Floor lamp lamps are great nightstand alternatives, especially if you want to read in bed.

They provide great ambient lighting without taking up too much space, and they can help keep your nightstands tidy.

The built-in custom platform bed with a nightstand surface is an amazing design. However, it’s not cheap and will be a permanent fixture in your bedroom decorating scheme – on the whole, I think this would make for some really fabulous furniture pieces that you can use over time rather than one bulky piece that takes up too much space during installation.

Pros

  • Provides ambient lighting
  • Doesn’t take up much space
  • Cheap

3. Floor Lamp

A floor lamp is a great nightstand alternative that won’t take up any space at all. A small table can be a perfect place to put a cup of water and a good book, but one of the best things about using a floor lamp as an alternative to nightstands is how easy it is to reposition.

Pros

  • Can work with a variety of styles
  • Doesn’t take up any space at all
  • Provides great ambient lighting

The perfect solution for those who want to keep their living space as organized and uncluttered as possible, this light-filled idea offers a nice alternative. It’s perfect if you don’t need the extra storage that some organizers offer but still appreciate having things neatly lined up in one place instead of scattered all over your house or office desk.

4. Baskets

If you want your bedroom to have more of a rustic vibe, consider natural materials such as wicker or wood. You can use baskets to hold anything from books and magazines to extra blankets.

Magazine baskets are an excellent alternative to bedside tables, coming in both whimsical wicker varieties or more modern designs with sleek metal. Sometimes it’s nice to have home decor that can be used for multiple purposes! One of the best things about using a basket as your catchall is how easily pickable they make themselves; whether you need something immediately like books and charging cords – just grab ’em up from where ever they’ve been left without having to search through clutter first–or if we’re talking knitting needles versus reading glasses (you know who usually has those), there will always be room at hand no matter what situation arises.

Pros

  • Baskets are a great alternative if you want your bedroom to have more of a rustic vibe
  • Can hold anything from books and magazines to extra blankets
  • Cheap
  • Easy to move around

5. Wall Hooks

Nightstand alternatives don’t get much simpler than wall hooks for your bedroom. They’re the perfect way to add storage for your favorite items while helping keep the space looking open and airy.

Wall hooks are an easy, stylish way to display your most prized possession. You can choose from classic wooden designs or mix it up with a more eclectic style for the ultimate in personalization and design options that will work well whether you’re going for traditional or modern- update their look every now and then by hanging new quotes around them whenever inspiration strikes.

Pros

  • Wall hooks are an inexpensive way to add storage for your favorite items

6. Wall Shelves

Wall shelves are a great option if you want something that looks more polished than wall hooks or baskets but still provides easy access to smaller items.

They also have the benefit of having railings on each shelf so nothing falls off, which is nice for bedrooms with children.

A clean and clutter-free home is the way to live. Whether you’re a person who loves their space, or just want more room in your bedroom; floating shelves are an easy solution for any size of living area! You can also use these as decoration pieces if needed by storing prized possessions like photos or aromatherapy candles on top they’ll make them special again even after being stored away all this time. Keeping things uncluttered will give us peace when we walk into our own personal domain so consider using what works best: shelving instead of furniture which often takes up too much valuable real estate where there could’ve been another storage option available.

Pros

  • Provides great storage options for small items
  • Easy to move around, especially if mounted on a rail or dowel 7. Bookshelf

7. Stool

A stool is an affordable nightstand alternative that offers all the benefits of a side table without taking up too much room. You can even use it as extra seating in your bedroom if you have guests over.

If you want an easy and cute way to add some extra height in your kid’s room, the footstool is a great option. Not only does it provide them with another seat they can use while playing games or watching TV but also doubles as an unstable kneeling stool for reaching those top drawers that are out of reach! Plus there’s no harm done by using old furniture because we all know how much landfills love our broken toys – so buy used ones instead if possible (or even repurpose them).

Pros

  • Offers all the benefits of a side table
  • Great for extra seating in your bedroom if you have guests over
  • Cheap
  • Easy to move around if needed

8. Plant Stand

You can definitely consider using plants as nightstand alternatives, though be sure to choose plants that won’t need a lot of sunlight. You can use an indoor cactus or some greenery in a beautiful pot for the same effect without worrying about finding the perfect spot for both your plant and its nightstand.

A plant stand is a great option if you need more than just the basics. The surface might be too small for people who want to store lots of things, but some will appreciate its practicality and space-saving measure nonetheless.

Pros

9. Stump

Other than looking rustic, stumps work as side tables in any type of bedroom.  This alternative offers plenty of storage and is surprisingly affordable depending on what you find at your local home goods store.

Pros

  • Looks rustic
  • Provides plenty of storage space
  • Incredibly affordable depending on what you find at your local home goods store
  • Can be repositioned easily if needed

10. Bookshelf

If you want somewhere to keep items like chargers and backup batteries, there’s no better place than a bookshelf. Since they’re generally under-the-bed storage you don’t see them unless you’re laying in bed, so they don’t take up too much space.

Stationing bookshelves next to your bed and putting an aromatherapy candle on top will give you the perfect place for reading, studying or just taking a break. The peaceful mood it creates is sure to make any task easier.

Pros

  • Great for storing items like chargers and backup batteries
  • Inexpensive

11. Floating Shelves

Floating shelves are great nightstand alternatives that are incredibly versatile in their uses. They’re especially helpful if you have limited space since they require no brackets or hardware to install.

Pros

  • Inexpensive
  • Can be easily rearranged if needed
  • Great for limited space
  • Provide great storage and display flexibility

12. Toolbox

This option isn’t exactly glamorous, but it’s great for keeping smaller items organized. A toolbox is a slim alternative to nightstands and can be easily tucked away under your bed when you’re not using it.

Do you have an old toolbox that’s just sitting around? Well, it can double as bedroom furniture! You might not know this but there are plenty of ways for the inside to be used. Not only will your storage space get bigger with all sorts of odds and ends stored in each nook-and-cranny; these boxes also add some cool industrial touches too like rustic iron handles or steel latches on their covers which makes them perfect pieces if the modern style is what matters most when designing kid’s room décor (or any other type really).

Pros

  • Slim design
  • Easy to reposition if needed
  • Gives you easy access to smaller items in your bedroom when you need them

13. Wall Shelves

If you want somewhere to keep items like chargers and backup batteries, there’s no better place than a wall shelf. Since they’re generally under-the-bed storage you don’t see them unless you’re laying in bed, so they don’t take up too much space.

The best way to keep your bedroom clean and organized? Floating shelves. Even small spaces can benefit from a clutter-free space, so consider shelving rather than furniture in the room. You’ll feel more at peace with yourself when looking through mementos or pictures on these precious pieces of wood instead.

Pros

  • Great for storing items like chargers and backup batteries
  • Inexpensive
  • Easy to rearrange if needed
  • Gives you easy access to bedroom items when you need them
  • Can help keep your bedroom looking clean and open

16 Different Types of Stairs Measuring Tools

We all know that measuring your stairs is important, but doing it right can be hard.

If you don’t measure the height of each step accurately, then you could end up with a staircase that doesn’t meet the building code or isn’t safe for people to use. 

The good news is there are many different tools you can use to measure your stairs quickly and easily.

#1. Tape Measure

A tape measure is the most common tool used to measure different types of stairs. What makes it different from other tools is that the measurements are not only taken in inches but also in feet, making it much easier to take measurements without needing a calculator.

As one goes up the stairs, they use the rise number as their height at each step and then count how many steps there are before finding out their run measurement for this set of steps.

Once these two numbers have been calculated, you can use simple arithmetic to find measurements, which will be necessary if someone has passed away due to an accident or accident on stairs or if you want to check whether or not your construction meets building codes. If you’re just doing something like taking out the trash or putting groceries away, then this is not necessary.

There are many benefits to using a tape measure for stair measurements. For example, it will be easier to calculate measurements if someone has passed away or had an accident on stairs. It is also more accurate than other tools because you use feet instead of inches.

#2. Laser Tape Measure

If you’re working on something that requires taking measurements of steps that are high up or behind walls, then a laser tape measure might be the best type of stairs measuring tool for your needs. You also can’t beat how accurately it measures and how easy it is to use.

As long as you’re able to push the button, then you’ll be able to take accurate measurements. You can find these types of measuring tools at places like Home Depot or other stores that sell construction materials and they start out around $50.

One of the best benefits of using a laser tape measure is that it’s really accurate. This means you don’t need to worry about the measurements not being right and whether or not your stairs will be safe for people who walk on them.

Another thing is that it’s really easy and quick to use and all you need to do is push a button and you’ll get an accurate measurement. You can find these types of measuring tools at places like Home Depot or other stores that sell construction materials and they’re usually around $50.

#3. Stair Gauge

A stair gauge is a tool designed for carpenters who work on stairs all day long, but it’s also good for anyone who wants an easy way to measure the height of their steps without having to manually count each one. This type of stairs measuring tool can come in either electronic or non-electronic forms, with the non-electronic form being much cheaper than its electrical competitor.

One thing about using this particular tool is that you have to remember to take the measurements from the top of the step going down, which will give you an accurate number. However, if it’s on a high staircase or one that goes on for a long time then it can be easy to get confused and start taking measurements from the bottom up.

There are many benefits to using a stair gauge, including the fact that it’s accurate and easy-to-use. You can find these types of measuring tools at stores like Home Depot or other places that sell construction materials. The only downside is the price, which starts at around $50.

#4. String Line

Using a string line is very similar to using a laser tape measure in some ways, but rather than using lasers and electricity, one uses their eyes and some measuring tapes instead. The benefits include not having to worry about recharging batteries and its ease of use while moving around; all you do is attach it somewhere secure and make sure both ends are even with each other before your stair measurement tool on stairs, then mark it.

The downside to using a string line is that you need to have some eyesight in order to use it correctly and accurately. Using this type of stairs measuring tool is also not very practical when taking measurements on high or wide stairs.

One of the best benefits of using a string line is that you can take measurements on stairs that are high or wide, and you don’t have to worry about recharging the battery on your measuring tool. Plus, it’s pretty easy to use and all you need to do is make sure both ends are even before attaching it somewhere secure and marking it.

#5. Stair Ruler

A stair ruler helps with laying out staircases by showing carpenters and other construction workers what each step will look like before starting any actual construction work on the wooden staircase pieces themselves. This tool is good for checking your measurements, but since it’s so small and skinny, it can be easy to lose track of where both ends are located once you start moving around and checking different sets of steps or trying different layouts of your staircase design ideas.

There are many benefits of using a stair ruler, including the fact that it is good for measuring any staircase design ideas before building starts. This tool is great for checking measurements and can also help find mistakes made in measurements if they’re not accurate. Since the stair ruler is small and skinny, it’s easy to lose track of where both ends are located when you first start measuring or moving around to different sets of steps.

#6. Ultrasonic Sensor

Used by surveyors, architects, and engineers, ultrasonic sensors are very accurate when trying to measure out rooms or just anything that isn’t necessarily “flat” ground. However, there are certain types of stairs that can cause this type of measuring tool to give inaccurate measurements and it will only work on flat surfaces. It’s also another thing you need to worry about keeping charged and keeping track of while moving around.

An ultrasonic sensor is great for taking measurements that are not flat at all, like rooms or anything that is uneven. These types of stair measuring tools are very accurate and versatile, but because it can’t be used on anything that isn’t flat, it might not work right if you’re trying to measure stairs. You also usually need to keep track of batteries and charge this kind of stair measuring tool so you don’t run out in the middle of your project.

#7. Yard Stick

A yardstick is not a super new or unique stair measuring tool, but it still gets the job done if all you’re looking for is an easy way to get a rough estimate of how tall your staircase is going next to be (something between 6″ and 8″). You can even use floor tiles or multiple small steps as a substitute in order to get the height measurement needed for designing purposes. The downside is that they’re very difficult to use and read because the measurements on them aren’t very accurate.

One of the benefits of using a yardstick is that it can be used to get an approximate measurement for designing purposes. Plus, if you want to get the height measurement needed, you can measure the staircase next to be using floor tiles or multiple small steps. The downside is that they’re difficult to use and read because the measurements on them aren’t very accurate.

#8. Ruler

A ruler is one of the most basic and easily affordable tools you can get. Just remember to measure every stair tread individually instead of just assuming that they’re all the same size since there are some small variances in between them. That being said, this really isn’t made for any other purpose except for measuring stairs so you’ll have to look into getting something else if you need it for anything else.

Rulers are one of the simplest and easiest ways to measure stairs without needing any other tools for them. They’re also relatively affordable, just remember to measure each stair tread because there might be some small variances in between them. If you’re looking for something else that can help with measurements, try another tool.

#9. Slope Meter

This is kind of like using a yardstick but with more bells and whistles because it has an actual screen on it where you type in your desired measurements. Once finished, all you have to do is hit ‘enter’ for the slope meter reading (in decimal) to show up on its screen. The only downside is that you have to have a basic understanding of math or be able to use a calculator in order to take accurate measurements from it.

The benefits of using a slope meter are that it measures things accurately and has an actual screen where you type in your desired measurements. Once finished, all you have to do is hit ‘enter’ for the reading (in decimal) to show up on its screen. The slope meter only has one downside which is that you have to have a basic understanding of math or be able to use a calculator in order to take accurate measurements from it.

#10. Stair Tread Gauge

This is another one of those measuring tools that only take the rough measurements needed for stairs. The upside to using a stair tread gauge is that it’s super easy to use and straightforward because all you have to do is line up the numbers with your steps while going down, then once finished just read off how many inches deep each riser and tread will be from its little window.

The benefits of using a stair tread gauge are that they’re super easy to use and straightforward because all you have to do is line up the numbers with your steps while going down. Once finished, all you have to do is read off how many inches deep each riser and tread will be from its little window.

#11. Square

Using a square isn’t necessarily “high tech” but it is very accurate because it calculates the exact angle needed for you to use when laying out your staircase. You can either set up your square to completely horizontal or vertical, then just use that as a visual reference point before cutting any wood pieces. The downside is that you have to actually be careful not to break your square if you’re measuring anything near walls or other obstacles where the corner of the square will collide with them which could chip off some of its paint finish.

The benefits of using a square are that it calculates the exact angle needed for you to use when laying out your staircase. You can either set up your square to completely horizontal or vertical, then just use that as a visual reference point before cutting any wood pieces. The downside is that you have to actually be careful not to break your square if you’re measuring anything near walls or other obstacles where the corner of the square will collide with them which could chip off some of its paint finish.

#12. Stair Step Scribe

A stair-step scribe is by far the most accurate of all stairs measuring tools. This one is more for professionals or people who do this kind of thing very often, but basically what it does is produce a mathematical layout for you to follow in order to get your measurements spot on. So you just start at the bottom and add up the depth and height of each riser and tread until it ends with you reaching your maximum desired height. Each level will be separately measured so that cuts can be made accordingly afterward.

The benefits of using a stair-step scribe are that they allow you to measure the exact depth and height of each riser and tread so that cuts can be made accordingly.

#13. Calipers

Calipers are a measuring tool that is very similar to using a ruler except it’s much more fast and accurate. It even has markings on it for you to line up with your steps so all you need to do is take measurements at both the depth and height of each tread then add them together afterward.

The downside is that they’re expensive, especially if you want one that has other features such as an LCD screen for displaying your measurements (which can be found here: LINK ). But either way, this will definitely make things go much faster and smoother when designing staircases.

The benefits of using calipers are that they’re very accurate and fast.

#14. Construction Calculator

A construction calculator is just like a regular calculator only it has some extra buttons so you can do specific calculations for things such as building staircases. It’s more of an expensive tool but if you need to constantly be measuring things on the go, then this would definitely serve its purpose well. The upside to using something like this is that it removes all unnecessary complexity from having to use math in order to get your measurements.

The benefits of using a construction calculator are that it removes all unnecessary complexity from having to use math in order to get your measurements. If you’re someone who needs the technology for your work, then this may be of interest.

#15. Digital Measuring Tape

Last but not least is the digital measuring tape which also displays your measurements onto its screen for easy reading instead of trying to look at numbers over numbers on a ruler or caliper that aren’t very precise anyway.

This one calculates both height and depth measurements for each step almost instantly, so all you have to do is stretch out the tape as far as it needs to go and read off your measurements from its LCD screen. This makes things so much easier over regular measuring tools because now you don’t have to worry about awkward angles or anything else that could potentially mess up your stair measurements.

The benefits of using a digital measuring tape are that it calculates both height and depth measurements for each step almost instantly, so all you have to do is stretch out the tape as far as it needs to go and read off your measurements from its LCD screen. This makes things so much easier over regular measuring tools because now you don’t have to worry about awkward angles or anything else that could potentially mess up your stair measurements.

#16. Level, Pitch, and Slope Tool

This is kind of like a circular protractor but it’s actually better than that because of how many different angles you can use. All you have to do is adjust the angle and then measure the distance between two points using its sharp point at one end, then just snap a pic, trace out the length of it on paper, and there you go – this will give you an accurate riser and tread measurement for designing your staircase.

This tool will allow you to measure the height and depth of every step. It also provides an accurate measurement for the slope on one side of the staircase. This is a very important aspect to take into account when designing any staircase because it allows for you to calculate how many steps are needed in order to reach whatever height you’re trying to design. The other thing that this tool will do is provide measurements on whether or not stairs are level or not!

The benefits of using a level, pitch, and slope tool are that it’s an easy way to measure your staircase’s height and depth, provides accurate measurements for slopes, and helps determine whether or not stairs are level.

Chalk Paint vs Milk Paint: What’s the Difference?

When it comes to choosing the right paint, you could be forgiven for thinking that chalk paint and milk paint are very similar. They are both versatile and cover the same number of applications, and both are environmentally friendly. 

But dig a little deeper, and there are significant variations between the two paints. We explain the differences between chalk paint vs. milk paint, and list the pros and cons of each type. 

What Is Milk Paint?

Milk paint has been around for thousands of years, but it was first made popular in the USA by early North American settlers. The paint was homemade, with ingredients that were easy to source, hence the reason why it was such a favorite. 

Today the look and feel of milk paint is largely regarded as the “colonial” look. Fast forward to 1974, and Charles Thibeau of Massachusetts hit upon the idea of replicating that classic colonial style in a tin by copying the original colors used in early American colonies.  

The truth is, milk paint has been used as far back as ancient Egypt, and the recipe has changed very little since those early days.

Homemade Milk Paint Recipe

Milk paint involves letting milk reach room temperature to start the curdling process. The milk should be 100 percent full-fat because it won’t work with low-fat options. 

The key is not to warm the milk because if the temperature exceeds 115 degrees Fahrenheit, the proteins in the milk break down. The next step is to add white vinegar to the milk when it reaches room temperature. 

The next part of the process takes about two days, as the milk and vinegar react. Basically, the milk is separating, creating milk solids that sit at the top of the bowl. This is known as curdling. 

The crucial part is not to stir the milk and vinegar because that stops the solids from forming. The next step is to add your pigment of choice. 

Powdered pigment is widely available from art shops and online, and when mixed with water, forms a color that can be used like ordinary paint. Once you pour the water in, let the pigment sit in the water for 5 to 10 minutes. 

Next, mix the pigment using a spoon until it forms a paste. Add 4 ounces of hydrated lime type 5 into a bowl and pour in 1.5 cups of water. Mix it until it forms a paste. 

You should wear a face mask while doing this because if you inhale the lime powder, it could cause damage to your lungs.

All you need to do next is strain the curds through cheesecloth to separate the whey and transfer the curds, or quark as it is now called, into an empty paint can. Add in the lime and pigment, and stir. 

For the smoothest paint consistency, filter the paint through another layer of cheesecloth, and it is ready to use. 

Milk Paint Pros and Cons

As with all decorating products, there are pros and cons. Nothing is ever perfect, and milk paint is no exception. 

Pros

  • Tried and tested.
  • All-natural.
  • Environmentally friendly.
  • Water-based, so easy cleanup.
  • Minimal surface preparation.
  • Creates a distressed look.
  • Works on walls and ceilings.
  • Can be thinned to make a wash.

Cons

  • Expensive to purchase.
  • Needs to be mixed.
  • Needs to be sealed.
  • Not effective on veneers.
  • Short shelf life.

What Is Chalk Paint?

Chalk paint is a durable matte paint that dries like a chalk coating. It was created in the 1990s by Annie Sloane and has gained popularity with those looking to give their surfaces that “distressed” look. 

Chalk paint should not be confused with chalkboard paint. The latter is designed to dry like chalk paint, but you can use it as a chalkboard to write on. Chalk paint doesn’t perform that function. 

It contains a thickening agent called calcium carbonate, which gives the paint its viscosity. The thickness is one of the reasons why the paint is so popular. It typically only requires one coat to get a smooth finish. 

Homemade Chalk Paint Recipe

There are three ways to make chalk paint, each containing a specific ingredient. Let’s take a look.

Chalk Paint With Baking Soda

This is the easiest chalk paint to make. You will need half a cup of baking soda, one cup of latex paint, and some water. Mix all the ingredients in a container, ensuring that the baking soda has dissolved.

Add a couple of tablespoons of cold water as you stir to help the solution become super smooth. 

Chalk Paint With Plaster of Paris

You can pick up plaster of Paris in most hardware and DIY stores. Mix 1-part plaster of Paris with water to get the lumps out. You are looking for a pancake batter consistency.

Don’t use paint containing primer because it affects how the paint mixes and makes it difficult to paint with. The advantage of using plaster of Paris is it helps the paint dry faster, plaster of Paris is easier to get hold of than calcium carbonate, and it is more affordable. 

It’s also better for when you need to store the paint away, as it stays in liquid form for longer, unlike some formulas that harden. 

Chalk Paint With Calcium Carbonate

For this recipe, you will need a cup of latex paint, 4 tablespoons of chalk calcium carbonate, a tablespoon of talcum powder, and water. 

Add the talc and calcium carbonate to the latex paint and mix them together for three minutes using a blender or by hand. Add the water a tablespoon at a time to reach the desired consistency. 

Chalk Paint Pros and Cons

Chalk paint is really popular, but there have to be downsides as well as advantages? Let’s take a look.

Pros

  • Zero prep time, including priming.
  • Covers easily, hiding many surface blemishes.
  • Easy to apply.
  • It dries quickly.
  • It requires fewer coats for a perfect finish.
  • Environmentally friendly.
  • Easy to clean up.
  • It comes ready mixed.

Cons

  • Chalk paint is expensive, at about $35 per tin.
  • Requires wax if you want to seal the paint.
  • Not really suitable for walls.
  • No way to customize colors.

Chalk Paint vs. Milk Paint: What Are the Real Differences?

At first glance, the two paints seem very similar, but scratch beneath the surface, and you’ll see there are distinct differences. So, what are they, and why do they matter? Let’s look at chalk paint first.

Chalk paint is as valued for its texture as it is for its appearance. It dries flat, so if you have furniture with minor blemishes, it will hide a multitude of sins. It generally covers in one or two coats and dries in double-quick time.

Chalk paint also has very little odor, so it is ideal for nurseries and other indoor spaces; plus, it has a low VOC count (volatile organic compounds), making it better for the environment because it emits negligible low-level ozone during the drying process.

The main difference between chalk and milk paint is the consistency and, therefore, how it covers. Chalk is pretty straightforward to use and covers as you would expect; milk paint is a little more unpredictable. 

The main difference between the two products are the ingredients. Milk paint contains milk, and chalk paint, you guessed it, contains chalk.

The other variation is that chalk paint comes as a powder and needs to be mixed with the pigment, whereas chalk paint comes completely mixed and ready to use.

Chalk paint is inorganic, whereas milk paint contains organic matter known as quark, which is the name for the curds created during the curdling process. 

Chalk paint has no real odors after application; meanwhile, milk paint has a faint cut-grass smell that lasts for about an hour after application.

What Are They Used For?

Chalk paint is the perfect product if you have furniture like chairs, tables, and smaller dresser units. It coats well and dries completely flat, hiding blemishes and imperfections on the wooden surface. 

You can create classic looks from high-end to shabby-chic, and they are safe to use in your child’s bedroom or nursery. Chalk paint is not suitable for large-scale projects, partly because of the speed at which it dries and the prohibitive cost of the paint.

Milk paint is also great for that distressed look, but it is harder to predict how the paint behaves because of the organic material in the formula. It is the perfect paint for larger projects like big pieces of furniture and even walls and ceilings.

Milk paint is also thinner, so it can be used as a wash when thinned further. It also has a slight sheen when it dries, so it isn’t completely flat like chalk paint. 

Top Tips for Using Milk and Chalk Paint

We’ve discussed the differences between the different paint types and the various pros and cons, but what are the best hints and tips when it comes to using them?

Less Prep The Better

With any other paint, you are advised to do as much preparation as possible. You need to sand, fill in cracks, and prime the surface. With chalk and milk paint, the prep work is minimal. 

All you really need to do is make sure the surface is smooth, and the paint does the rest. 

Let’s Get Creative 

If you want a solid matte surface, that’s fine, but with chalk paint, you can get creative. Use different brush strokes to create varied effects. Here are a few examples: 

Cross-Hatch

This brush stroke helps you create a fake linen effect. Use the brush in vertical strokes first and then use horizontal strokes. Be sure to work rapidly before the paint starts to dry.

Stipple

Lay the chalk paint on thickly and start dabbing with the bristles to create small peaks on the surface of your furniture.

Feather

Lay the paint down in a small area and then quickly and delicately work in parallel strokes to create a super-smooth finish. 

Distressed Look

You can make your furniture look aged by painting a layer of chalk or milk paint and gently rubbing it off using fine-grade sandpaper. Something around 220-grit should give you the best results. 

You can even go for a two-color distressed appearance using a layer of different color beneath the top layer. That way, when you rub away the topcoat with the sandpaper, you get more than just bare wood, and you create a distressed look with more depth. 

Don’t Forget To Seal

Chalk paint is easy to apply and goes on smoothly, and while it is durable, it can chip and scratch. So, the best way to protect your new paintwork is to apply a top layer of wax seal. It creates a protective coating that prolongs the life of the paint.

Make a Wash

Chalk paint can be thinned to create a more translucent appearance, but milk paint is much better if you want a wash effect. Plus, it covers a larger area and can be used on walls and ceilings, unlike chalk paint. 

To create a wash, all you need to do is add cold water to the mix and stir. Once you have the consistency you want, you’re ready to go. 

Use The Dry Brush Technique

When you want to blend an upper color with a lower color, dry brushing is an excellent way to achieve this look. Dip the brush so that the paint touches the end tips of the brush. Wait before applying it to the workpiece to let the paint reach a drier consistency. 

Now work the brush over the surface using a firm hand. The paint is semi-dry, so you won’t get drips. 

Paint Like a Pro

Whether you decide to use milk or chalk paint is a personal choice, but the two products have remarkably similar qualities. However, as we have shown, there are distinct differences. 

Both are excellent for creating a shabby-chic, distressed look, and both are safe to use, so they are ideal for nurseries and other indoor spaces. 

But if you really want to have some fun, why not play around with making your own paint. You can customize the color and consistency to create a truly unique look inside your home that will have your family and friends green with envy. 

How to Use Paint Thinner

Paint thinner is a useful product, but it’s not always used correctly.

The purpose of paint thinner is to thin paints and varnishes for easier application. It also cleans brushes and rollers after using them with oil-based products like enamels or shellacs. However, this solvent has many other uses that you may not be aware of.

Did you know that paint thinner can be used as a cleaner?

You can use it to remove adhesive from wood floors or cabinets, clean up wax drippings on tile floors, dissolve gum in carpeting and even get rid of stains on clothing.

Here are some more examples of how to use paint thinner.

What is Paint Thinner?

Paint thinner is a chemical solvent used to dissolve, blend or thin oil-based paints, stains and varnishes. It can also remove some kinds of adhesives.

Paint thinner does not have the same drying effects as mineral spirits because it contains more volatile compounds

Advantages of Using Paint Thinner

The advantages of using paint thinner are:

  • The paint thinner can clean brushes and rollers much better than water or soap and water could.
  • Cleaning out clogged spray nozzles requires only a few drops in the gun when you’re finished, which prevents rust from forming Mixing two different types of paint together will help when painting over dark colors.

Disadvantages of Using Paint Thinner

  • It is highly flammable, so it should be used with caution.
  • Using paint thinner on metal surfaces can corrode the surface.
  • Paint thinners are strong solvents, which means they can dissolve additional materials like plastic or even rubber hoses if not handled correctly (and therefore must never come in contact with them).

How To Use Paint Thinner to Remove Paint

There are several different ways that you can use paint thinner to remove paint.

You can either soak a rag into the fluid and then wipe off the paint on the surface of whatever needs to be de-coated, or you can dip your brush or roller into the liquid and work accordingly through the paint until you achieve an even coat overall of your intended surfaces.

When soaking a rag into the fluid, make sure that you use a cloth rag rather than a cotton one. Cotton fabrics soak up paint thinner, which can lead to your clothes disintegrating and leaving other materials vulnerable to the solvent’s effects.

Paint thinner is also useful as a cleaner because it can dissolve wax and glue on hard surfaces like tile and wood. You should then wipe away any debris with a clean cloth.

When dipping your brush into the liquid, make sure that you’re wearing gloves and eye protection.

How to Use Paint Thinner as Stripper

Paint thinner can also be used as a stripper for floors or cabinets.

You should:

  • Use paper rather than cloth towels with paint thinner because it will cause the rag to disintegrate and make a mess of your work area.
  • Dip the towel into the paint thinner solution, wring it out until it’s only slightly damp, and then use your finger to apply an even coat over whatever surface has been stained with glue, wax, or paint.
  • Not let any liquid get onto grout lines or natural stone surfaces without first testing whether they are suitable for direct paint thinner application If you accidentally let some of this solvent drip onto floor tile, then you should immediately wipe it up with paper towels and then use a wet cloth to remove any residue.
  • Rinse the rag in clean water and continue wiping until you achieve the desired level of clarity.
  • Clean your brush or roller after each application by dipping them into paint thinner, rather than water

How to Use Paint Thinner as Cleaner

You can use paint thinner to clean floors or cabinets.

You should:

  • Dip a cloth into the solution and wring it out until it’s only slightly damp before applying an even coat over whatever surface needs attention.
  • Make sure that your gloves and eye protection are on at all times when using this product.
  • Wipe away residues with paper towels.
  • Repeat steps 1-3 until you achieve the desired results.
  • Dip your brush or roller into the liquid and work it into the paint until you obtain an even coat over all intended surfaces.
  • Clean your brush or roller after each application by dipping them in the paint thinner, rather than water. You should not use soap and water with this method because it will cause corrosion in your tools.

How to Use Paint Thinner on Wood

Paint thinner can be used on wood surfaces in the same way that you would use it on metal or industrial surfaces.

You can apply a generous amount of paint thinner onto whatever surface is giving you trouble, whether that’s a floorboard with an adhesive residue or a ledge with stubborn paint caking its edges.

If you are too close to the area that needs to be treated, then the fumes will become overwhelming very quickly so this means you need to take precautions beforehand by wearing protective equipment like goggles and gloves.

Once your equipment is on, soak either a cotton ball or cloth into the fluid and lay it over the stain for about fifteen minutes prior to scrubbing it off with a scouring pad.

How to Use Paint Thinner to Clean Brushes

Paint thinner is one of the most efficient ways to clean out your brushes after using them in paint or varnish.

The best method for cleaning your brush in thinners is dipping it in and letting it soak for five minutes, then blindly pulling it through the bristles until you can’t feel anything obstructing or bunching up within them anymore.

Afterward, rinse the brush out thoroughly with water before hanging it by its handle over the wax paper until completely dry.  

How to Use Paint Thinner for Oil Paint and Primer

When you are painting over dark colors, sometimes what’s needed is simply not another coat of paint but rather the addition of paint thinner into the mixture.

Mix equal parts of your oil-based paint and paint thinner into a separate container and then work the two together with either a clean brush or roller until you achieve an even color.

You can also use almost any brand of primer as a base to thin out oil paints, whether that’s what you went to buy it for or not!

Though if necessary, feel free to add up to 50% more thinner than recommended on the back of the can in order to make it easier for application and clean up afterward.

Frequently Asked Questions

How long does paint thinner take to work?

The amount of time that it takes for paint thinner to work depends entirely upon how long the coating of paint has been in place, how thick it is, and whether or not there’s already a solvent within the mixture itself.

Do you need to mix paint with thinner?

No. You can use straight paint thinner when removing dried-on paints or varnish from wood surfaces or metal furniture.

Can you put paint thinner in plastic?

No, you should never use paint thinner on any kind of plastic surface.

Can I pour paint thinner down the drain?

No. You should never pour paint thinner down any part of your home’s interior plumbing system, but doing so will not lead to proper disposal of the substance either because it is both corrosive and flammable.

Wrapping Up

You can use paint thinner to clean and restore surfaces with stubborn residue, remove dried-on paints or varnish from wood surfaces and metal furniture, thin out oil paints for application purposes or primer base, and more. If you have any questions about how paint thinner works in the context of your own home renovation project, don’t hesitate to contact us!

How to Thin Latex Paint for a Spray Gun

Latex paint is a great choice for painting cabinets, furniture, and other surfaces in your home. The only problem with latex paint is that it can be difficult to thin for use in spray guns.

If you have ever tried to thin latex paint you know how hard it can be. It’s not just about adding water… there are certain ratios of water to paint that result in good coverage without clogging the gun nozzle or having the finish look too thick or streaky. 

This blog post will walk through the process of getting a consistent ratio of thinner and water so that you get an even coat every time when using a spray gun on latex paints.

Tools and Materials You’ll Need

How to Thin Latex Paint For a Spray Gun

1) Pour water into a bucket. The ratio of paint to water will be determined by the thickness you want the coat to be. If you want thin coats, use more water. If you want medium coats, use less water.

2) Add your paint to the bucket.

3) Stir with the stir sticks or the mixer that you have available until there are no streaks or clumps in the mixture.

4) Transfer the mixture into a funnel if necessary to help pour it into your spray gun’s cup.

5) Put on your drop cloths before painting with latex paint thinned for your paint sprayer to keep everything clean.

6) If you have good latex paint and a low-pressure sprayer, you can skip thinning the paint.

7) You could also add retarders to your paint if you need to extend the open time of the “raw” coats of paint before it starts to dry. Latex paints are water-based so they dry quickly when exposed to the air.

8) Thinning latex paint for a spray gun is easy to do, however, it can take some practice depending on the paint type and thickness you are trying to achieve.

When doing large projects with latex paints I always thin the paint first with water before adding it into the cup of my paint sprayer. You have more control over the consistency of your paint using this method.

Tips for Using Latex Paint

The Thickness of the Paint

The thinning of your paint will depend on what type you are painting and where it’s going. If it’s an interior job, then the thickness can be lessened a lot more than if this were exterior work or else vice versa for materials used – all factors which affect how much coverage with just one coat is possible before needing another go-round.

What Paint Spray Gun Are You Using?

Gun models and paint guns come in a variety of styles. You have to know the blend that works best for your gun, or else you will get an imperfect spray pattern with just about any other type of firearm-licensed or not.

Test As You Go

It’s easy to get confused about what proportion of thinner and water should be used in your paint mixture. To find the correct ratio, you will need a test area (either on siding or plywood) for each time that needs thinning down so figure out how much coverage each application requires before beginning – it can save some trouble later.

In order not to have runs while spraying through an airbrush gun because this would indicate our paints were too thick when mixed together properly then we must always start off light with just adding more as needed until achieving even application across all surfaces targeted; otherwise, there may appear splotchy patches where one part exceed another.

Humidity Affects Paint Thickness

The paint’s thickness will also depend upon the type of humidity where you live. When it is humid outside, the thicker your paints must be; however, if it is dry out with no humidity in the air, your latex paints can be thinned even more for using with your spray gun.

In fact, to get a heavy coverage from applying multiple coats one after another I would still recommend to keep mixing at least some water into each new coat right up until you get to a paint which does not need any more added because this technique ensures you get an even coverage every time when painting any surface taking away streaks and imperfections. Once that happens then let that batch of paint mix sit without stirring for 5 minutes to allow it settle before removing the paint from the bucket.

By using this method, I have also noticed that there is always a consistency in my spray patterns which eliminates any chance for drips or runs – no matter what humidity conditions are outside by using this small trick.

Frequently Asked Questions

Do you need thin latex paint for a sprayer?

If you are using a paint sprayer, usually, it is best to thin the latex paint first before adding into the paint cup of your gun. This will ensure that your paint is blended together nicely and ready to be sprayed through your gun.

Do I need professional-grade paints for my home?

When painting exterior surfaces at home then we can use cheap paints as long as they have good coverage. Low-priced interior latex paints are just fine for interior jobs at home since most people do not know how to spot differences in paints by looking at them or comparing their label claims. If you are an experienced painter then this is something that should already be clear to you anyways so you can afford to buy whatever brand without worrying about problems with it later on.

Do I need to thin the paint with water?

You may have heard of someone else adding water or paint thinner into their latex paints to make it go further but this is not something that has to be done every time you are preparing for a painting job unless otherwise specified on the can’s label. If your paint does not say anywhere that you should add any liquids into it then there is no need to add anything at all – just remember to stir well before using it in your sprayer gun.

If you are unsure about whether your paint needs thinning before applying, always test out a small area first by following these simple steps using clean sandpaper, steel wool, or even old grated cheese over or masonite board since you will need to know if your latex paint needs thinning before you begin painting any surfaces at home.

What is the best way to thin outdoor latex paint?

The best way to thin outdoor paints would be to shake it up well and then mix in some water into it based on how much coverage you want for your home’s exterior walls or siding. This should give you great results with whatever paint sprayer gun you are using whether it is a cheap one or if this is your very first time using one of these tools.

Wrapping Up

Blog Post Conclusion: In a nutshell, if you want to thin latex paint for a spray gun in order to use it with the most efficiency, make sure that your latex is mixed properly. A well-mixed batch of paint will have the right consistency and won’t clog up or drip from your gun when you’re spraying.

What is the Difference Between Eggshell and Satin Paint?

If you’re looking for a durable paint that is easy to clean, water-resistant and has a low sheen, then satin or eggshell paint might be the right choice.

Eggshell and satin paint both provide good durability but they differ in their appearance.

Satin paints have a higher sheen than eggshells so if you want your walls to look flat then this might not be the best option for you.

The main difference between these two options comes down to how they feel on your hand when painting them onto your walls.

Both of these types of paints are quite thick compared to latex ones which make it easier to apply them with rollers or brushes, however, some people find that rolling them can leave brush strokes behind while others prefer the finish from brushing over rolling because it gives an even coverage without any visible brush marks left behind. 

Table of Contents


What Is Satin Paint?

Satin paint has a higher sheen than eggshell paint, which means that it will provide your walls with more shine. This works well if you want to make the space seem larger, or for rooms where you don’t want to use any light fixtures.

Satin paint is not as durable as eggshell so this type may not be best used in high traffic areas of your home because it’s less likely to hold up to wear and tear on the surface.

Satin paint is also more reflective than eggshell so if you find yourself distracted by shiny surfaces, satin might be the perfect option for you.

What Is Eggshell Paint?

Eggshell paint is flat, which means that it won’t reflect light in any way. It’s a smooth matte finish that has the ability to create an illusion that the space is larger than it actually is.

Since eggshell paint doesn’t have much of a shine, this type works well for spaces where you may use lamps or overhead lighting because it won’t reflect any glare onto your walls.

This might not be the best choice if you have windows in your room because they can cause problems with how evenly it will coat over the surface without leaving brush lines behind.

Eggshell paint isn’t water-resistant so if there are high moisture areas in your home then this might not be the best option for you.

Eggshell and Satin Paint: Which One Should You Choose?

Both of these paints have good water resistance which makes them great options to use in high humidity areas such as bathrooms and kitchens.

They’re both thick enough that they can hold their own with heavy-duty cleaning and daily wear and tear on the surface. Likewise, they’re both quite durable and won’t chip or peel off easily. 

If you don’t want satin paint’s higher sheen, then eggshell may be a better choice for your needs. If you do want to shine, however, then this type of paint is the way to go.

Eggshell doesn’t have much of a shine but it can still create an optical illusion with how smooth the surface is when applied with brushes or rollers which makes it look more modern than flat paints.

Satin, on the other hand, creates a higher sheen finish which will make your space appear larger – perfect for fitting in smaller spaces where you want to make them seem bigger by reflecting light off its surfaces.

Both satin and eggshell are durable enough to withstand heavy-duty cleaning and daily wear and tear. The only difference is that satin paint has a higher sheen which can reflect light more evenly.

Frequently Asked Questions

What is the best paint finish for walls?

The best paint finish for walls depends on what you want from your paints. Satin and eggshell have a low sheen but satin gives a higher shine while eggshell has a matte surface that looks more modern than flat paints.

Should I use flat or eggshell paint?

Both of these paints are quite thick compared to latex ones which make it easier to apply them with rollers or brushes, however, some people find that rolling can leave brush strokes behind while others prefer the finish from brushing over rolling because it gives an even coverage without any visible brush marks left behind.

What Curtains Should You Use With A Traverse Rod?

If you’re planning to hang curtains on a traverse rod, there are some things you need to consider. 

The first thing is that the curtain needs to be designed for use with traverse rods. A regular curtain will not work well because it has pockets along the bottom of the panel. These pockets prevent the curtain from sitting flat against the wall and leave gaps where light can sneak through. 

There are two types of curtains that work well with traverse rods – tab top or pinch pleat drapes. 

Table of Contents

Curtain Basics: What Is A Traverse Rod?

If you’re confused about what makes traverse curtain rods so different than traditional ones, you’re not alone. We’ve all seen those metal pieces fixed into place at our local department store, but never once questioned what they were actually for.

Well, today is your lucky day because we’ve decided it’s time to clear up this common misconception and explain exactly what these amazing contraptions are used for.

Basically, they allow you to open and close curtains and drapes with ease. A traverse curtain rod is basically a rod that hangs like a chandelier, allowing you full access to open and close all the curtains or drapes attached to it simply by pulling on one cord.

Typically used for large windows with multiple panels or single windows that span across an entire wall, these rods don’t need to be permanently mounted into your walls like standard rods do. Instead, they hang from your ceiling (with overhead support) so you can open and close them with ease.

When To Use Traverse Curtains

There are several options when it comes to traverse curtain setups. 

Single

The single rod allows for 1 window treatment (either a pair or individual curtains). The single rod goes directly across the top of your window.

Double

A double traversing bar installs across the center of each window, allowing 2 treatments per window (either a pair or individual curtains).

Pocket Pair

This option is similar to traditional hanging with the difference being that there are 3 bars instead of just one running vertically down your wall. At either end of each bar, hooks slide overexposed rings which hold your panels in place. Once installed, this style offers more privacy than other options because all excess fabric is hidden behind solid front pleats at either end of the pocket.

Pocket Single

The pocket single configuration offers a vertical rod that spans across the center of your window and holds 1 curtain panel at either end. All excess fabric is hidden within pockets built into the back of each panel to provide maximum light blockage and privacy.

Tie Back Pair

This setup allows you to hang 2 curtains on a traversing bar that run directly above your window treatment but still offer full-width coverage for your windows. Tiebacks are attached to exposed rings which slide overexposed hooks at either end of the traverse rod creating an opening where you tie all panels together in a knot or bow to close off your windows.

What Curtains To Use With A Traverse Rod?

If you’re planning to hang curtains on a traverse rod, there are some things you need to consider. 

The first thing is that the curtain needs to be designed for use with traverse rods. A regular curtain will not work well because it has pockets along the bottom of the panel. These pockets prevent the curtain from sitting flat against the wall and leave gaps where light can sneak through.  

There are two types of curtains that work well with traverse rods – tab top or pinch pleat drapes.

Tab top curtains have tabs at each end of each panel which slides over hooks attached to your traverse rod.

Pinch pleat drapes have an extra layer of fabric sewn into them which folds over on itself and attaches to your traversing rod via clips or rings (depending on what type of hardware you choose).

Both styles offer more privacy than traditional panels, ensuring that light cannot creep in around your window treatments.

IYUEGO Solid Thermal Insulated 95% Blackout Curtains

Eyes get tired and home becomes a dream. IYUEGO’s solid thermal curtains work to block out noise and let your room become a sanctuary with the perfect level of light without compromising sound.

With 10 colors that match any decor, these blackout panels will make you love coming home more than ever—in all seasons.

ChadMade Custom Polyester Linen Curtain

It doesn’t get much more natural than this linen curtain. Made with sturdy, stain-resistant polyester and combined with the timeless pinch pleat design, there are few curtains that would be better for your rustic decor. Style it into an indoor or outdoor window using its thermal blackout lining to manage heat during the day and provide insulation at night.

TWOPAGES Solid Thermal Blackout Drape

This thermal blackout drape is made from a heavyweight material and triple-weave construction, meaning it’s one of the best choices for insulation and noise reduction. 

The thick, heavy fabric blocks out unnecessary sounds from outside or through your open window when you want to live in a tranquil space. And because this curtain does double duty in maintaining warmth at night and in curtains by day, it saves you time picking what to wear.

Prim Linen Pinch Pleat Curtain

This Prim Linen curtain is made from a linen/polyester blend to give your windows a smoother drape. That’s not all – it’s also heavy-duty, easy to clean, and available in 28 colors.

The Curtain Shop Braddock Jacobean Damask Drape

If you’ve ever wanted to make your windows feel like part of the décor, now is your chance to be one with these divine curtains. 

With a rich pattern that will turn heads, they are sure to set any room apart from the rest. Although perfect for any decorating style, it may seem weird that there’s nothing included in the packaging to keep them up. 

It doesn’t take long before everything falls back together though so don’t let this little flaw stop you from adding these bad boys to your personal jungle jubilee.

Cololeaf Pinch Pleated Lined Drapery Panel

The best way to brighten any home during the wintertime is with colorful, festive window coverings. This falls right in line with our thoughts. 

The Cololeaf Pinch Pleated Lined Drapery Panel is available in more than 30 eye-catching colors for almost any taste imaginable. We’re betting you’ll find one that’s perfect for your home, whether it’s mint green or burnt orange, or even neon pink.

Are Traverse Rods Still In Style?

Yes. Traverse rods are still a great option for curtains, especially in rooms that have windows with multiple panels. The traverse rod system allows you to hang just one rod across the window—not two or three separate rods on either side of the window.

How Do You Hang Curtains On A Traverse Rod? 

The process of hanging curtains on a traverse rod is similar to hanging curtains over any kind of window frame.

Most traverse rods have hooks at the top that hang from clips on individual curtain panels.

You’ll likely need to use ties or even rings looped through buttonholes in your drapes to keep them securely ringed onto the rod, so they don’t slide off of it when you open and close them.

Can You Put Regular Curtains On A Traverse Rod?

There is no rule that says you have to use a certain kind of curtain with a traverse rod, so as long as they fit the rod width and depth you’re good.

Note: When using any type of drape on a traverse rod system, keep in mind that the length will probably be longer than your window frame or wall space because one side of the drape needs to fall at least 7 inches onto the floor every time you open and close it. If you’re looking for a more custom look, custom curtains are always an option.

What Is The Difference Between A Traverse Rod And A Curtain Track?

Both systems can be used similarly (one piece across the top hanging down each), but curtain tracks are typically used in longer windows or wider windows whereas traverse rods can be used in anything, really.

Traverse rods are the most common and affordable way to hang curtains over a window and can accommodate small and large windows alike (one piece of track for one panel), making them an excellent choice if you’re looking to save money on your decorating efforts.