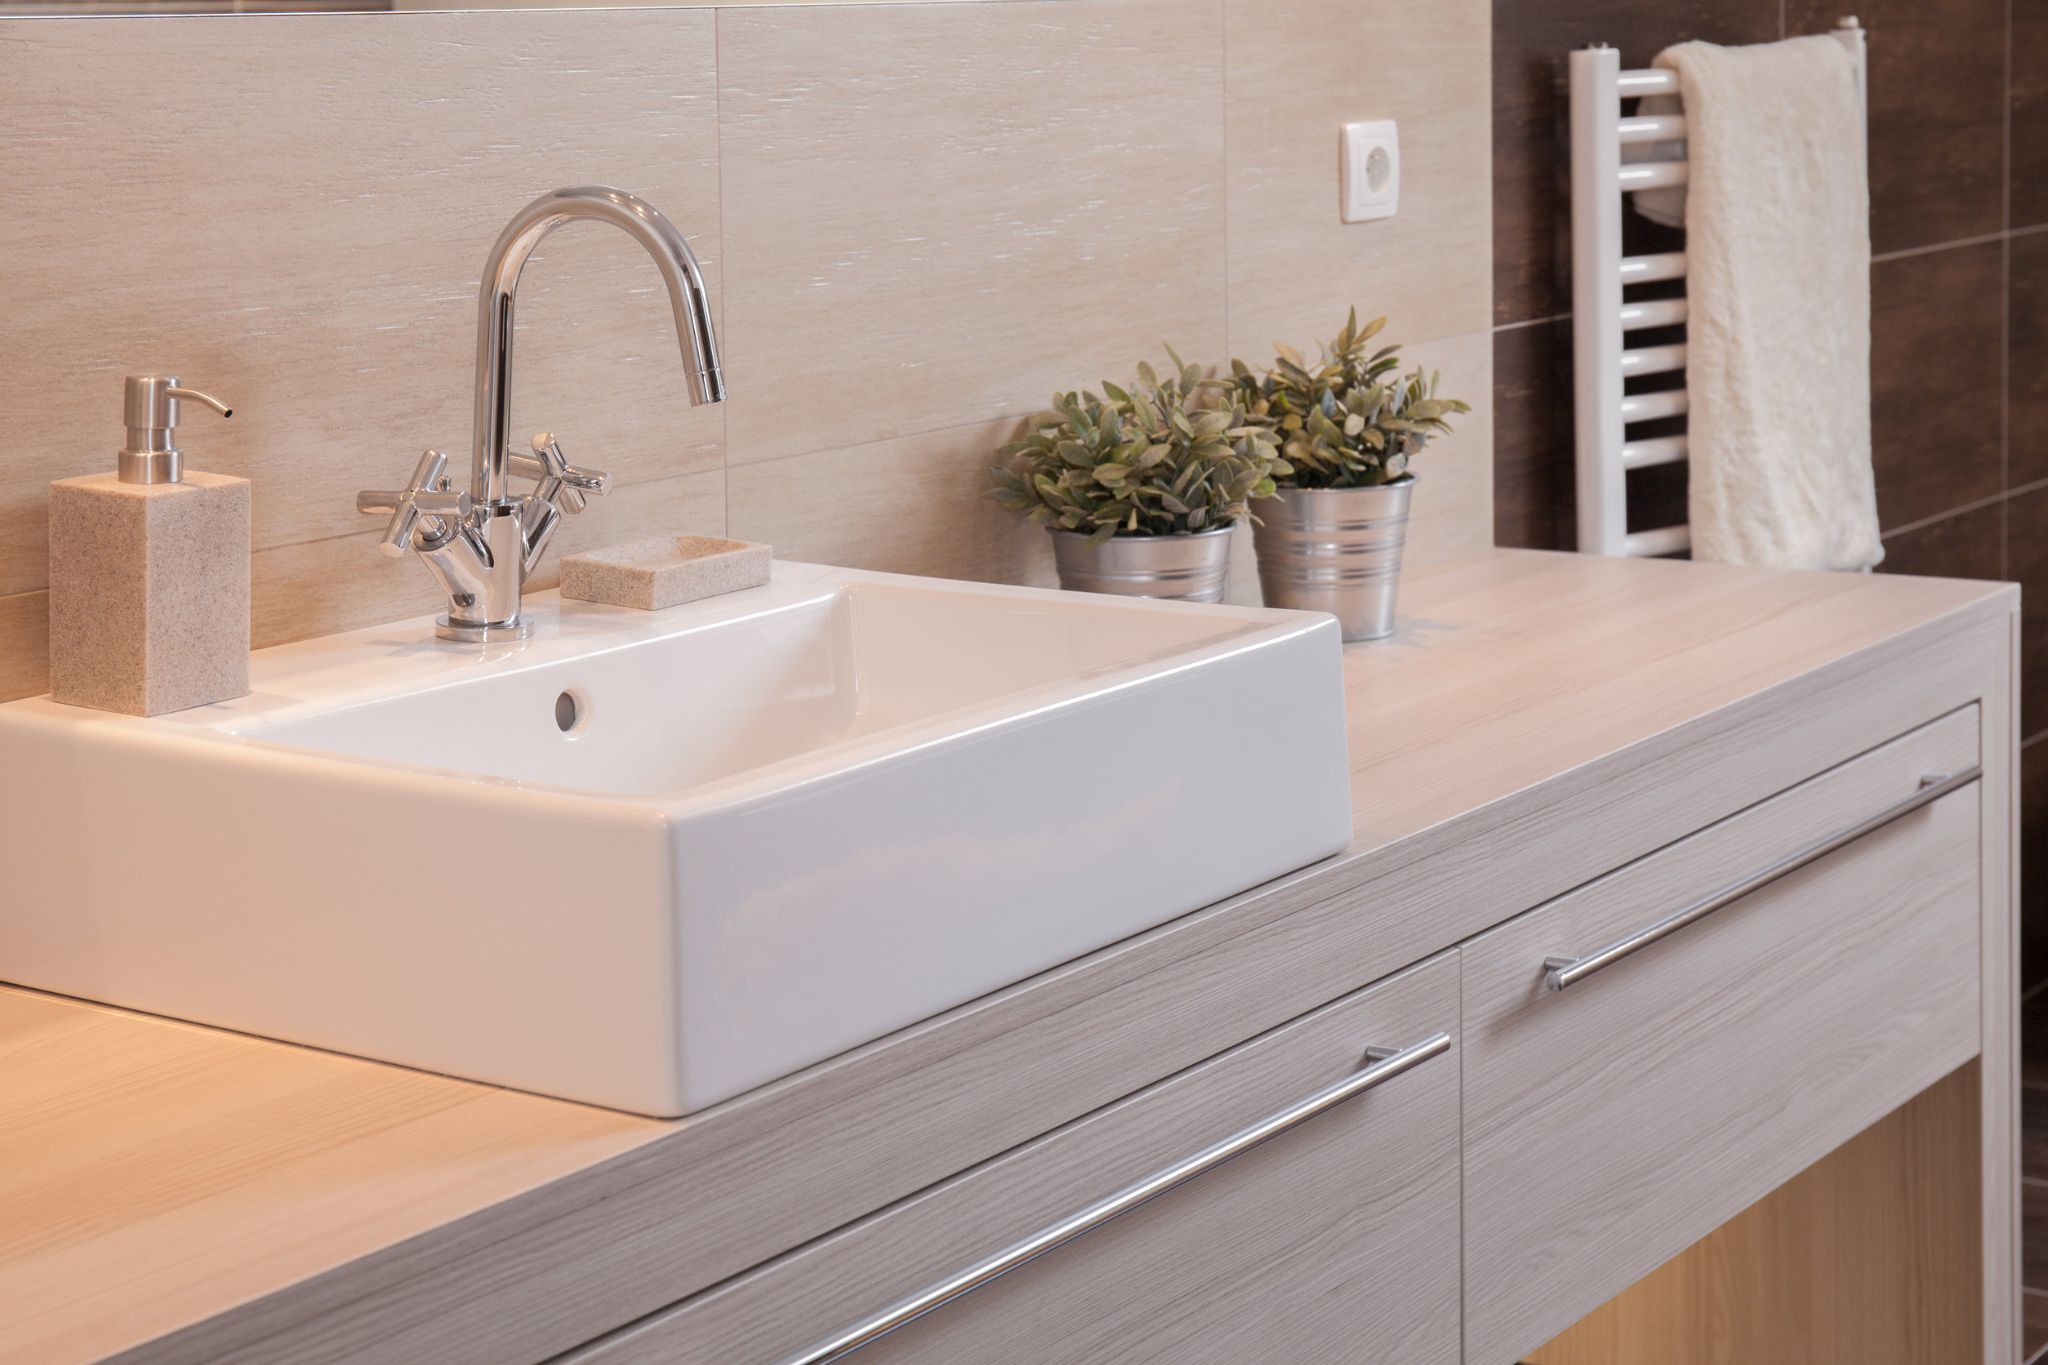
The first time you see a hairline crack in your sink it’s terrifying. You don’t know if the crack will get worse, or how much it will cost to fix.
Hairline cracks are annoying and scary, but luckily there are some easy steps that you can take to repair them yourself.
Here are the steps to repair a hairline crack in your porcelain sink:
- Clean the sink
- Sand the area
- Prepare the epoxy compound
- Apply the epoxy
- Apply the repair kit pain
- Re-gloss the sink
Step 1: Thoroughly Clean The Sink
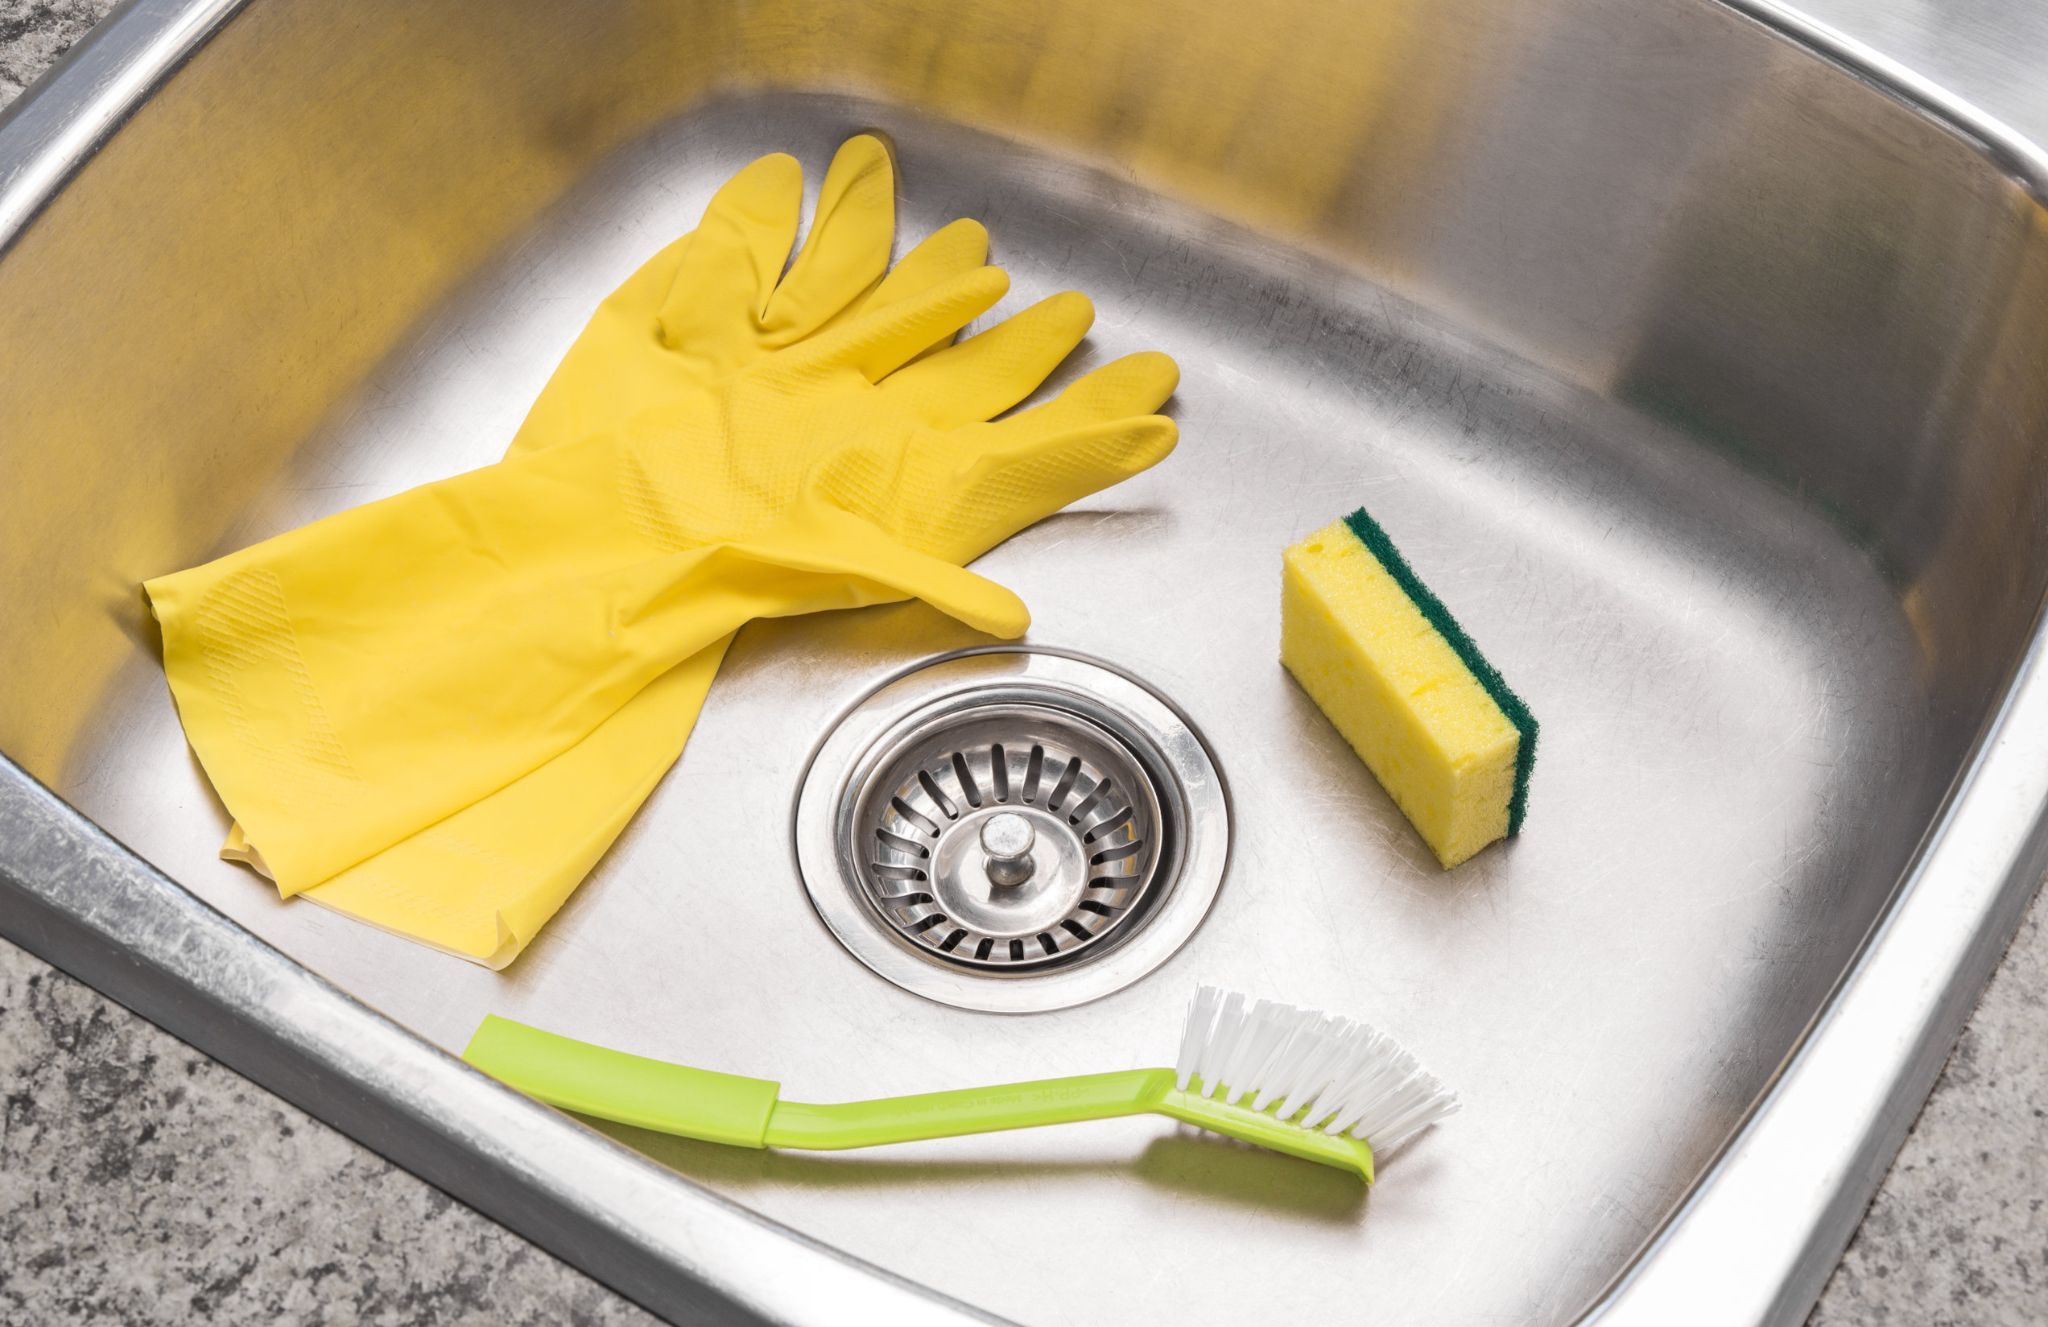
When you’re repairing any cracks or chips in your sink, be sure to clean it thoroughly. Use an all-purpose cleaner and a scrubber/sponge to remove dirt, grime & residue from the surface of the sink. Once finished cleaning rinse with warm water then wipe dry using either a towel or microfiber cloth.
Step 2: Sand The Sink
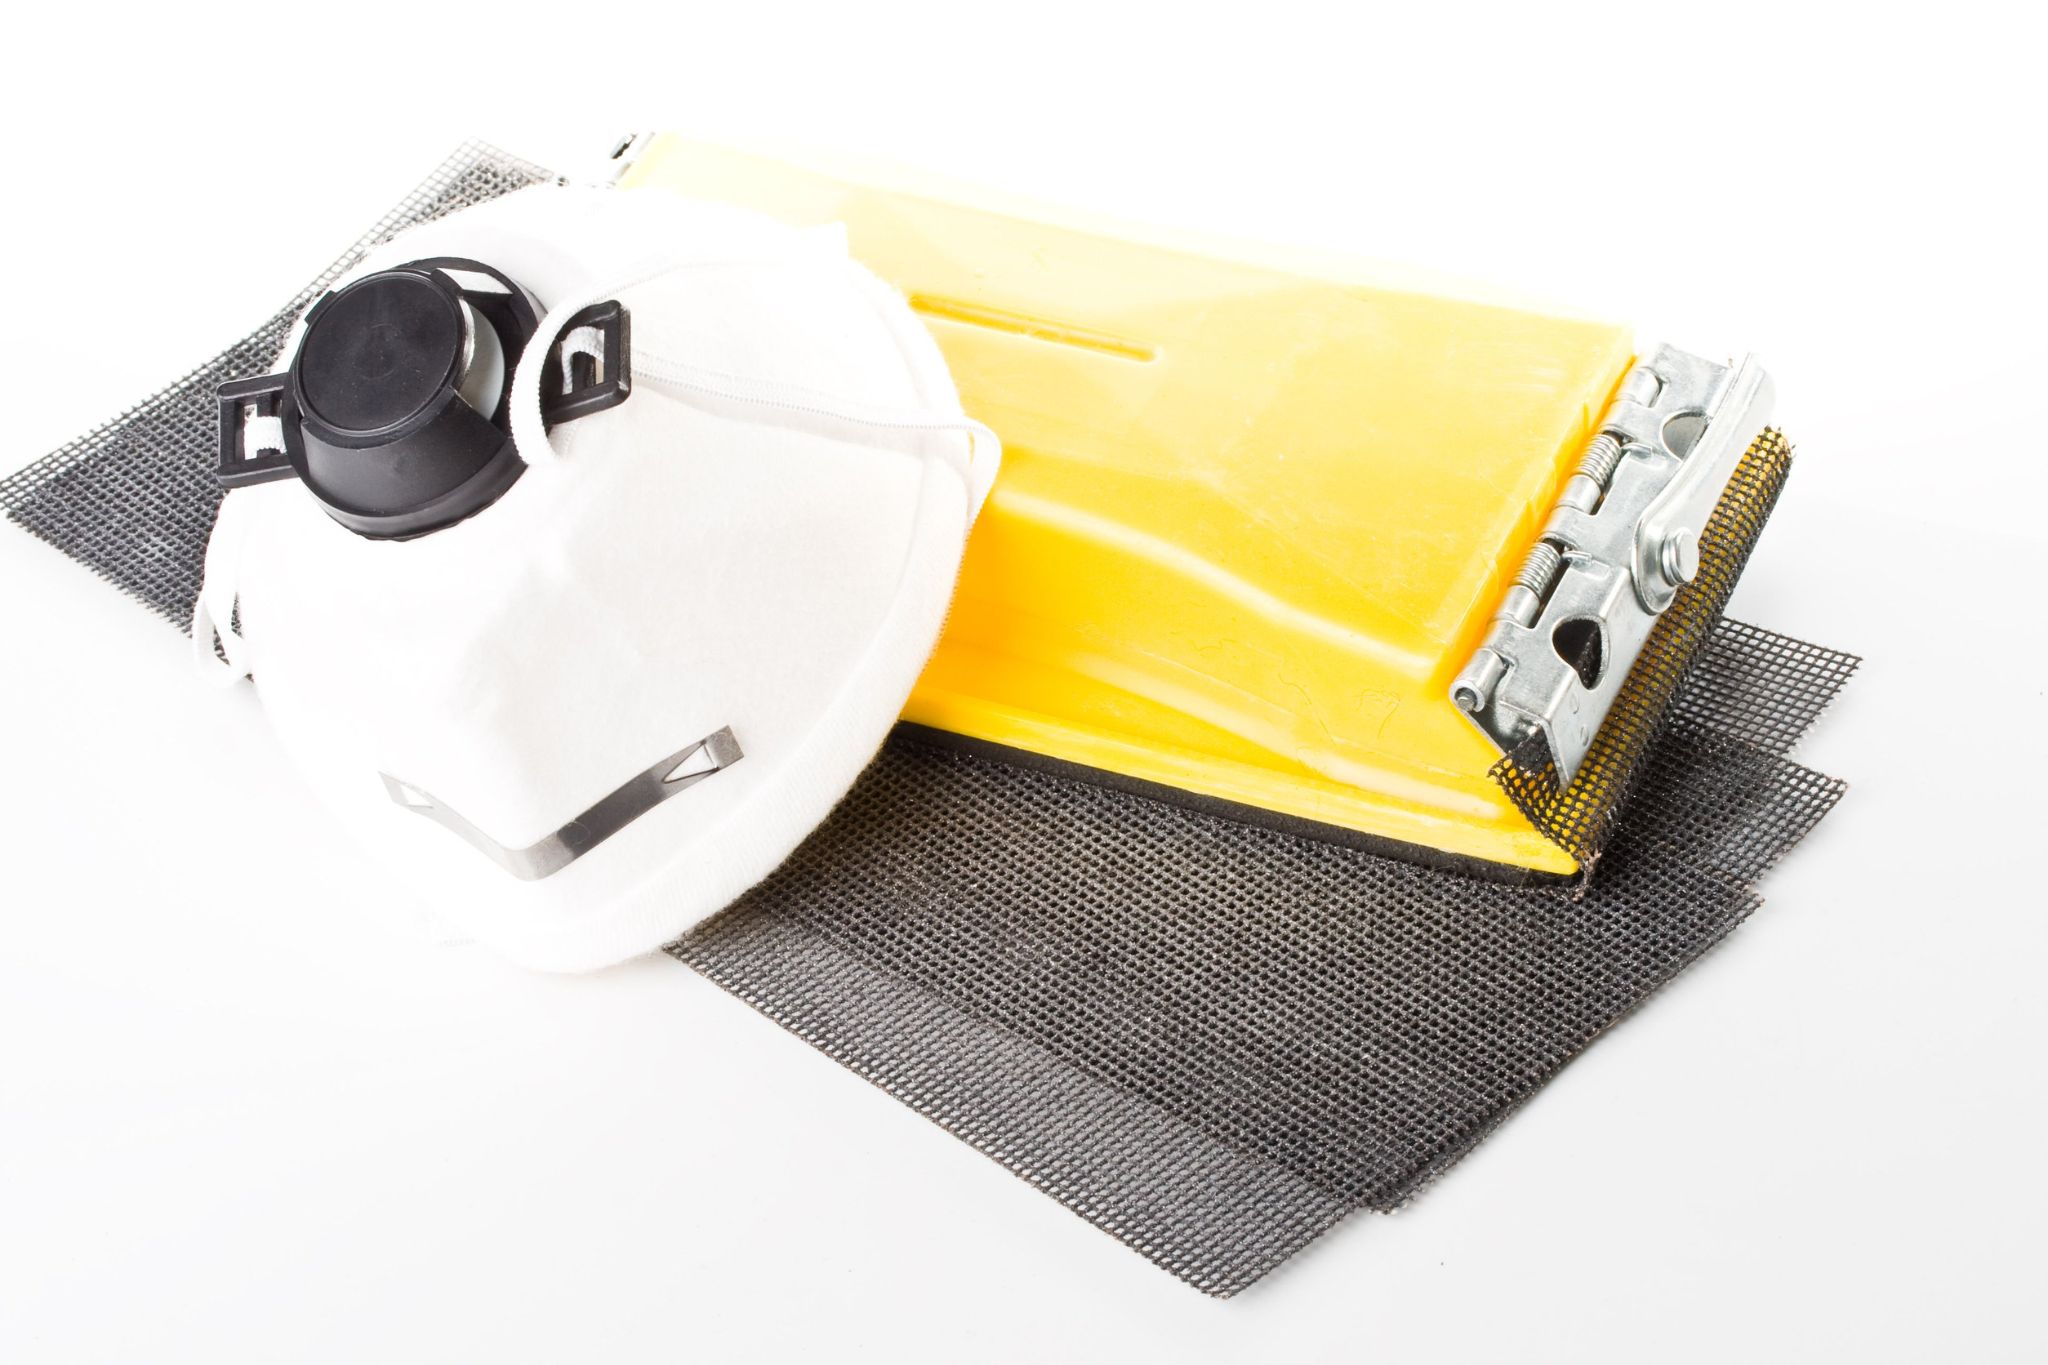
The next step is to sand out any loose pieces of porcelain around the crack. This will help ensure that the epoxy adheres properly to your sink and fills in the gaps effectively. Wet sanding (i.e. applying water to the sandpaper) is recommended here, as it prevents dust from rising when sanding
To wet sand your sink, you’ll need to use a handheld rotary sander and ensure that you keep the sander moving at all times (e.g., do not hold the sander in one place for more than 1 second). When doing so, make sure that you set your sander on a low-speed setting and only apply light pressure while sanding. This will help prevent scratches & ensure that you don’t damage or move around any of the surrounding sink surfaces while sanding
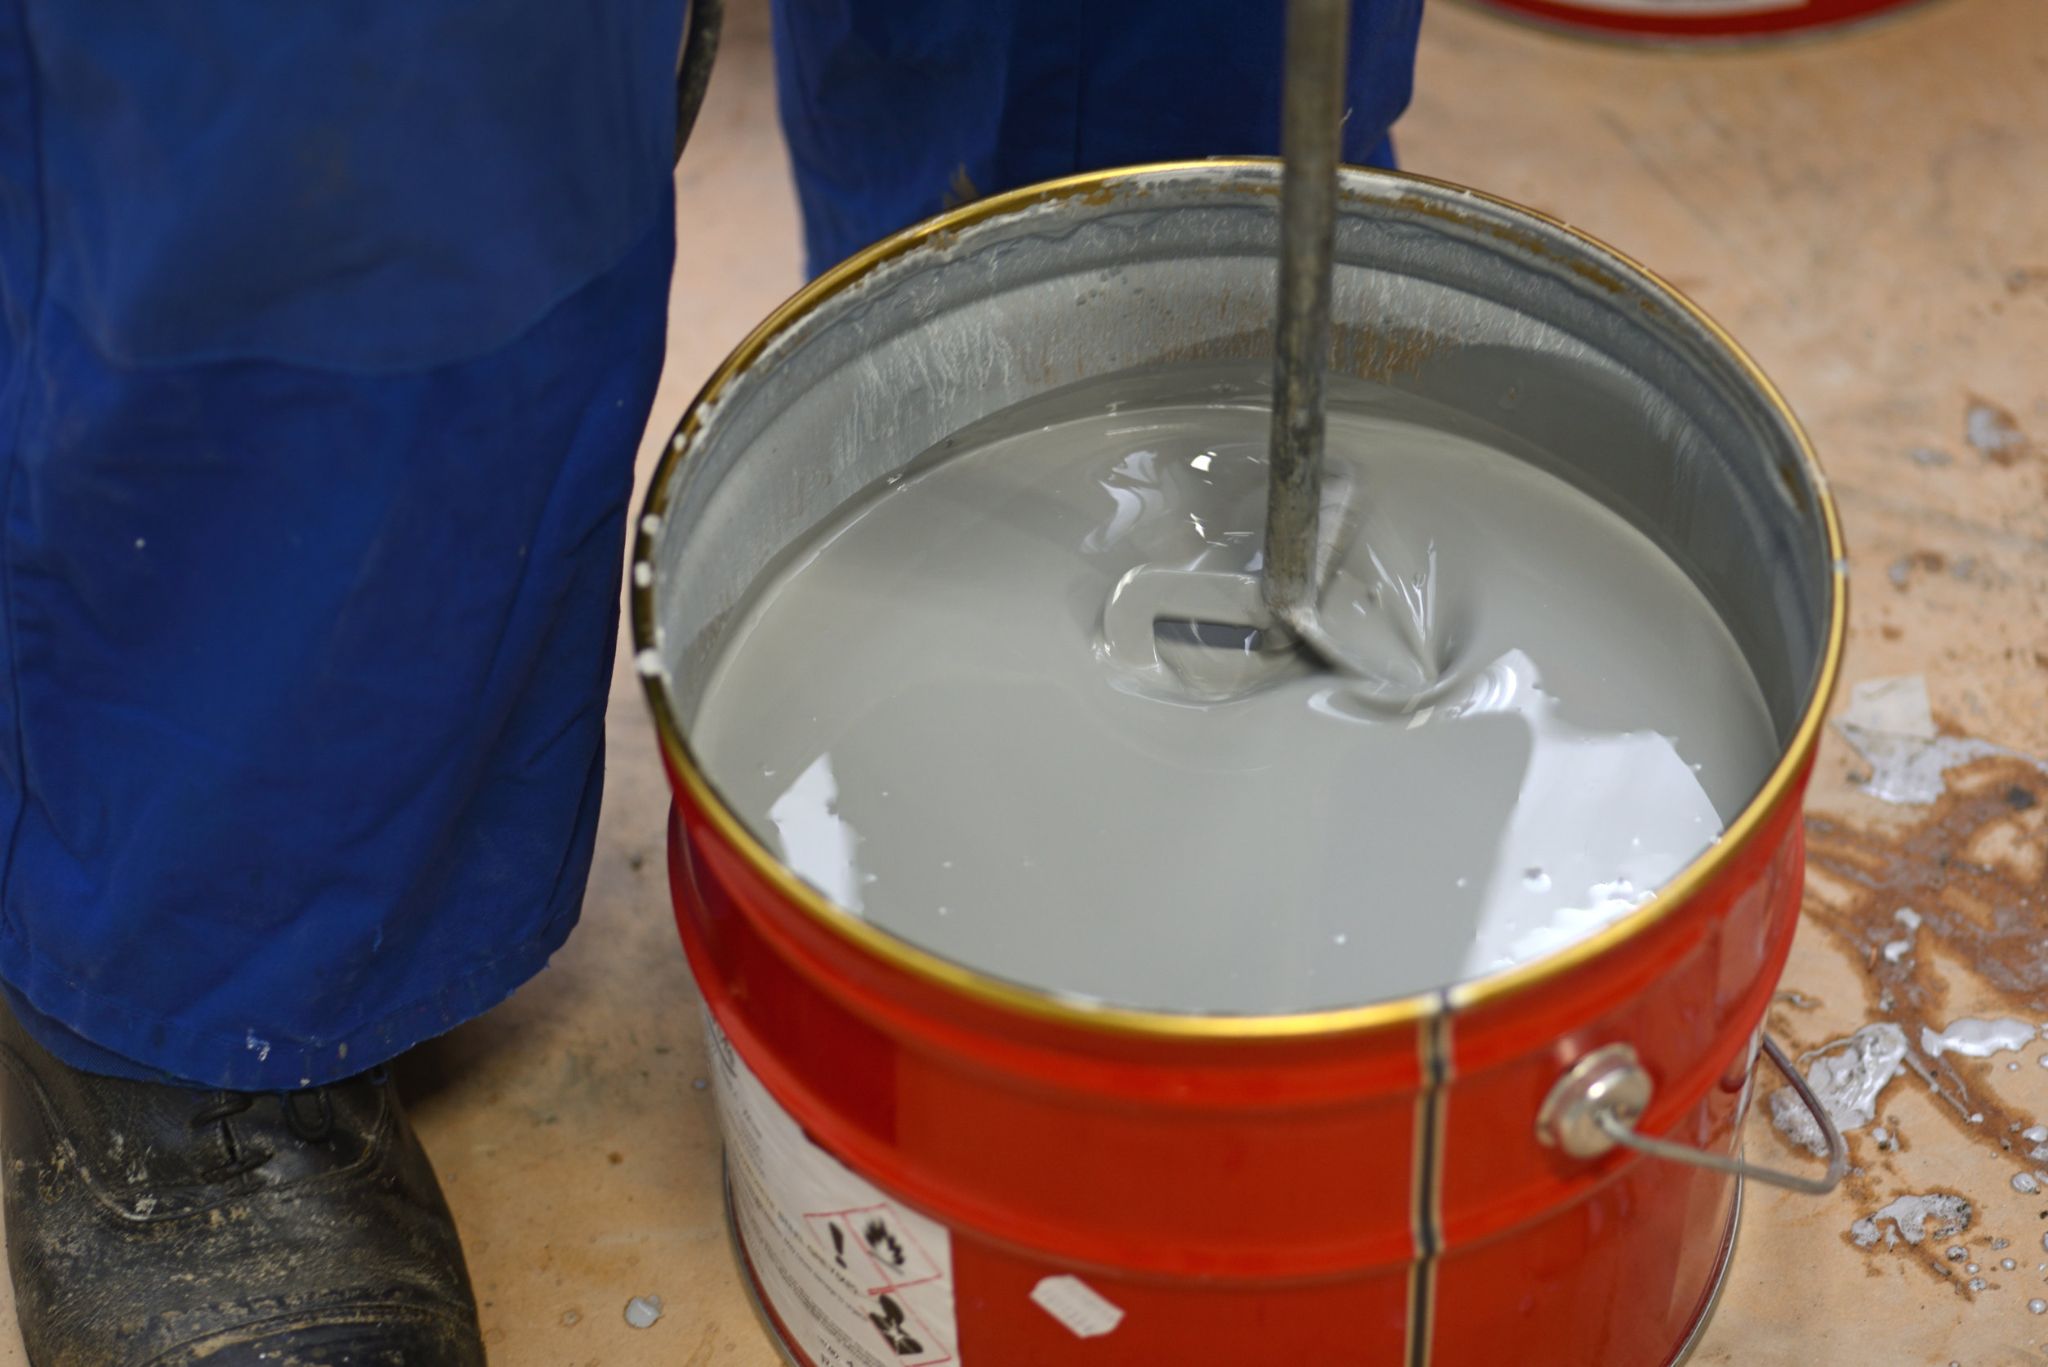
Step 3: Prepare The Epoxy Compound
This step requires some additional preparation before mixing your epoxy compound. To begin, remove the adhesive backing from the epoxy patch and ensure that there is no dirt or debris on the adhesive side
Once free of dirt, wipe down any areas of exposed metal on your sink. If you’re repairing a crack in porcelain, be sure to clean around the area as well as it may have some dirt or grime buildup around it
Wipe your finger with acetone and remove any dirt on the epoxy compound before applying the patch to it
When handling the metal adhesion card (that’s used to hold the epoxy during application), ensure that you wear heavy-duty gloves and avoid touching its surface with bare hands
To prepare for applying your epoxy compound to your sink, use an emery board (i.e. nail file) and your acetone to apply a thin layer of the solvent around the area where you’ll be applying the compound. Ensure that you use as little acetone as possible and avoid putting too much on so as not to damage your sink’s surface
Step 4: Apply The Epoxy
Once past these first four steps, it’s time to begin applying your epoxy. However, before doing so it’s important to let some of those ingredients settle for up to 10 minutes (i.e. follow some of its guidelines). That way it can firm up slightly and make application easier by preventing any leaking or dripping from occurring
Place adhesive backing over the hole and fold down
Lay adhesive backing with exposed metal side facing upwards
Apply epoxy compound to sink
Step 5: Apply The Repair Kit Paint
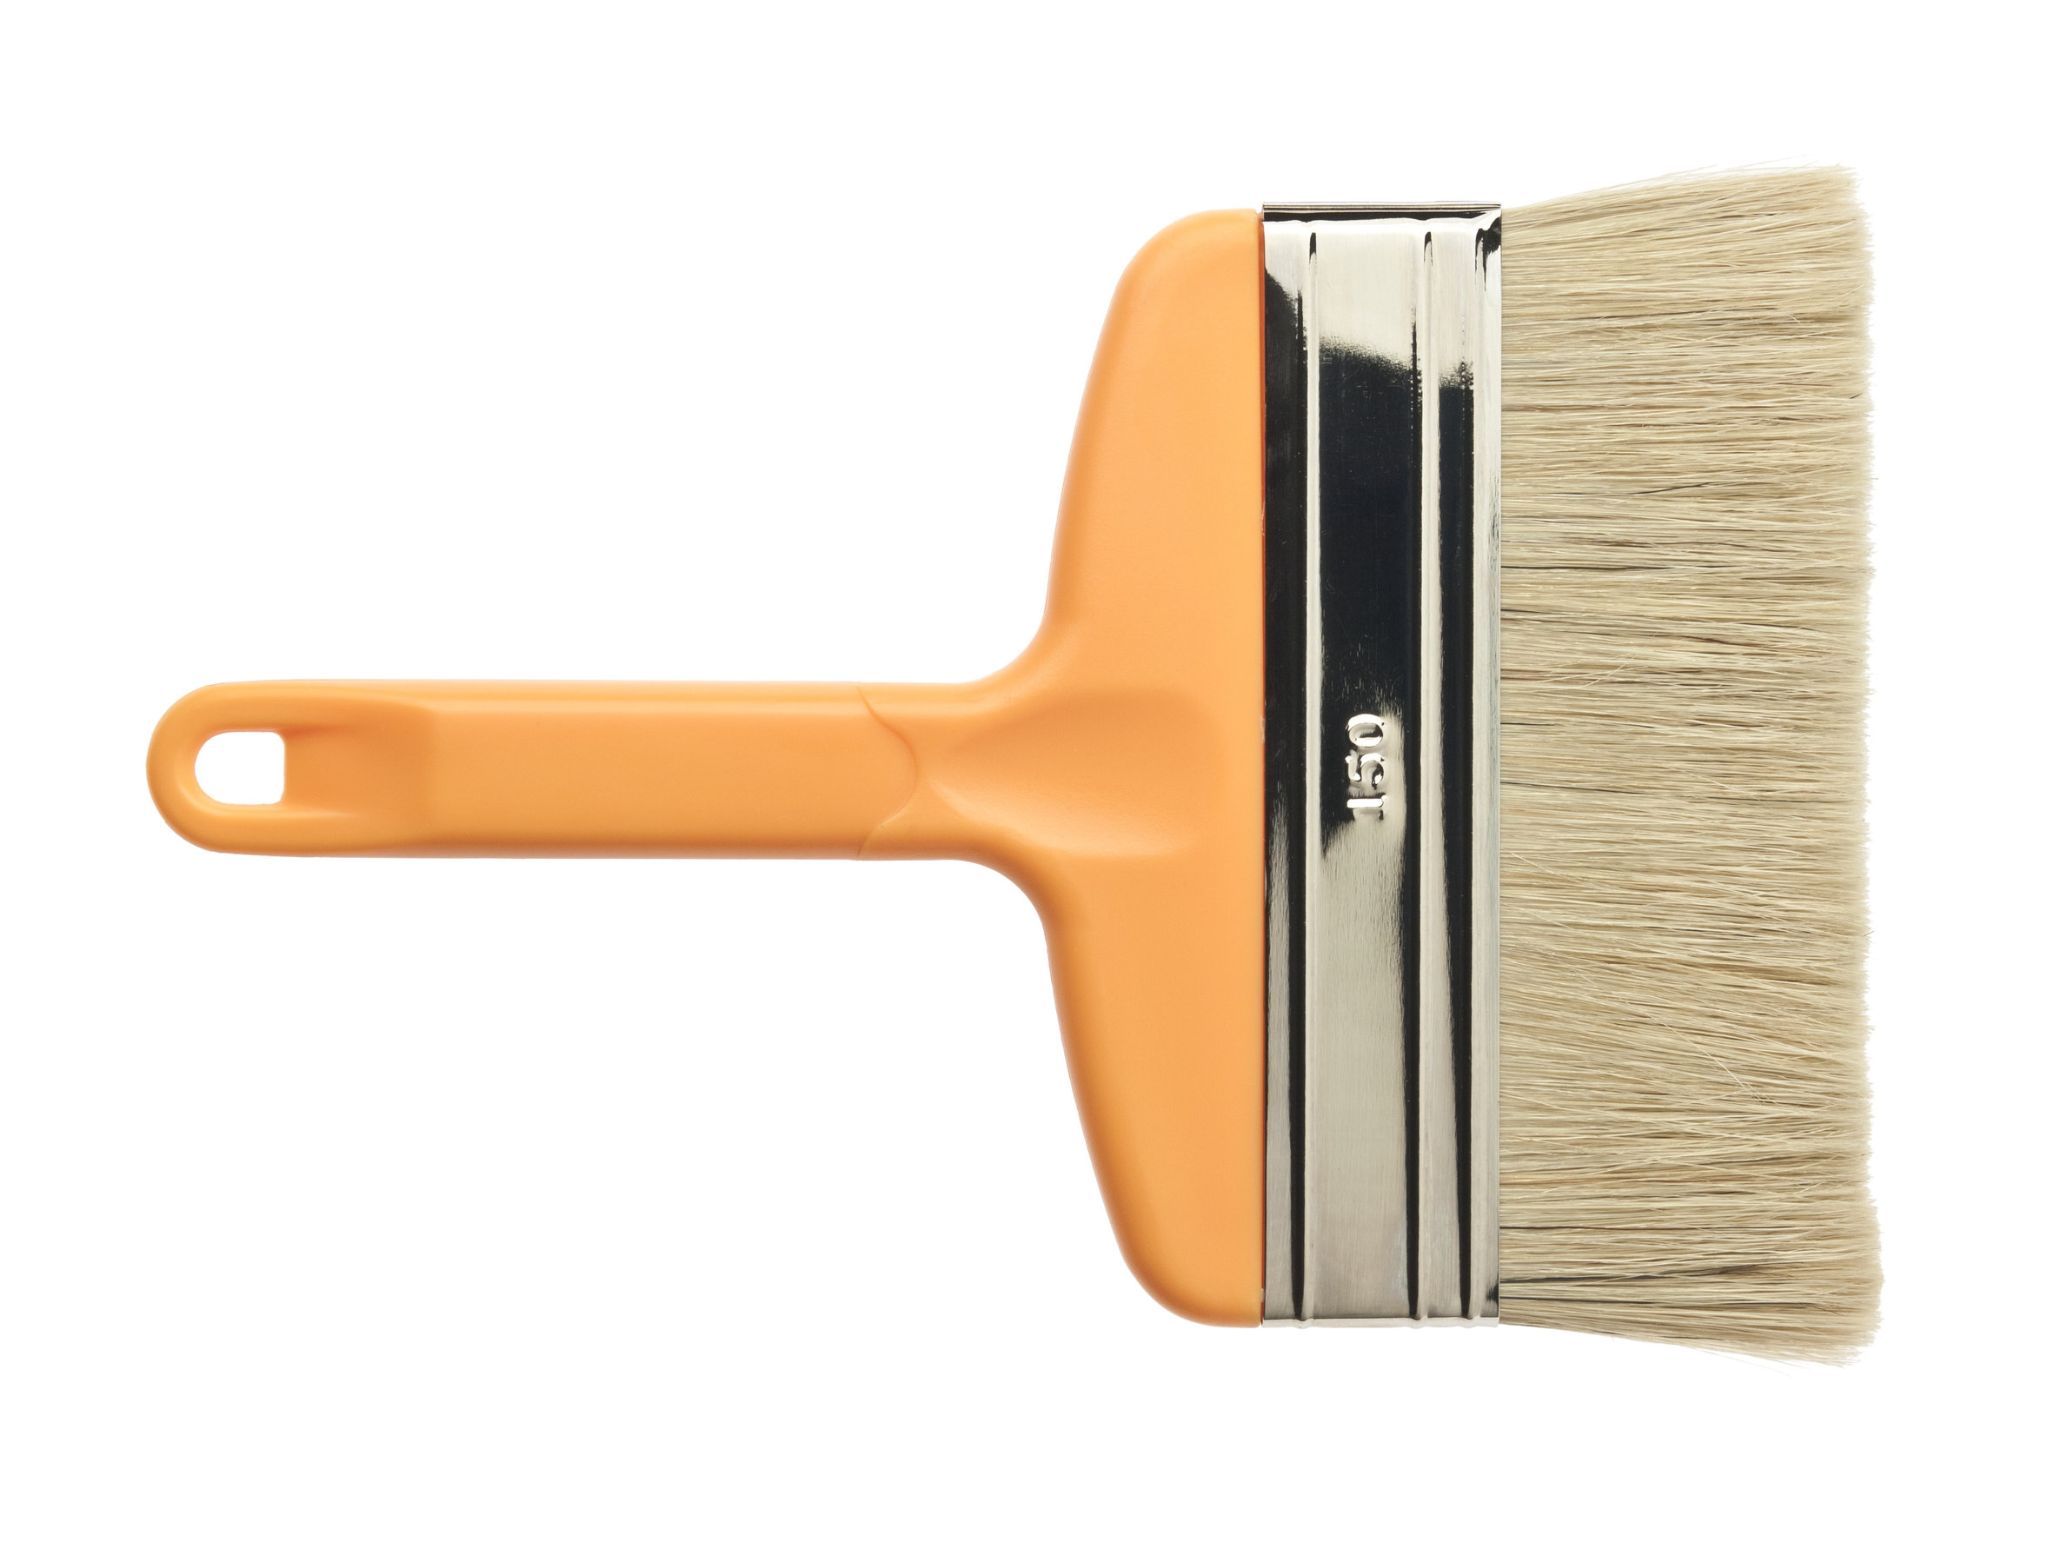
While your epoxy is drying, you’ll need to apply the repair kit paint. This step requires that you place a generous amount of the primer on your brush and then begin brushing it onto the epoxy in an up & down motion. Ensure that you continue doing this for at least 1 minute per sink side before switching sides. After each application wait no less than 10 minutes before reapplying another coat
Step 6: Re-gloss Your Sink
The final step in repairing your hairline crack is to once again use your microfiber cloth or towel to wipe down all watermarks/residue from the area. However, before doing so ensure that you don’t add too much pressure to the area. Doing so may cause the repair kit to come off and/or scratch up your sink’s surface
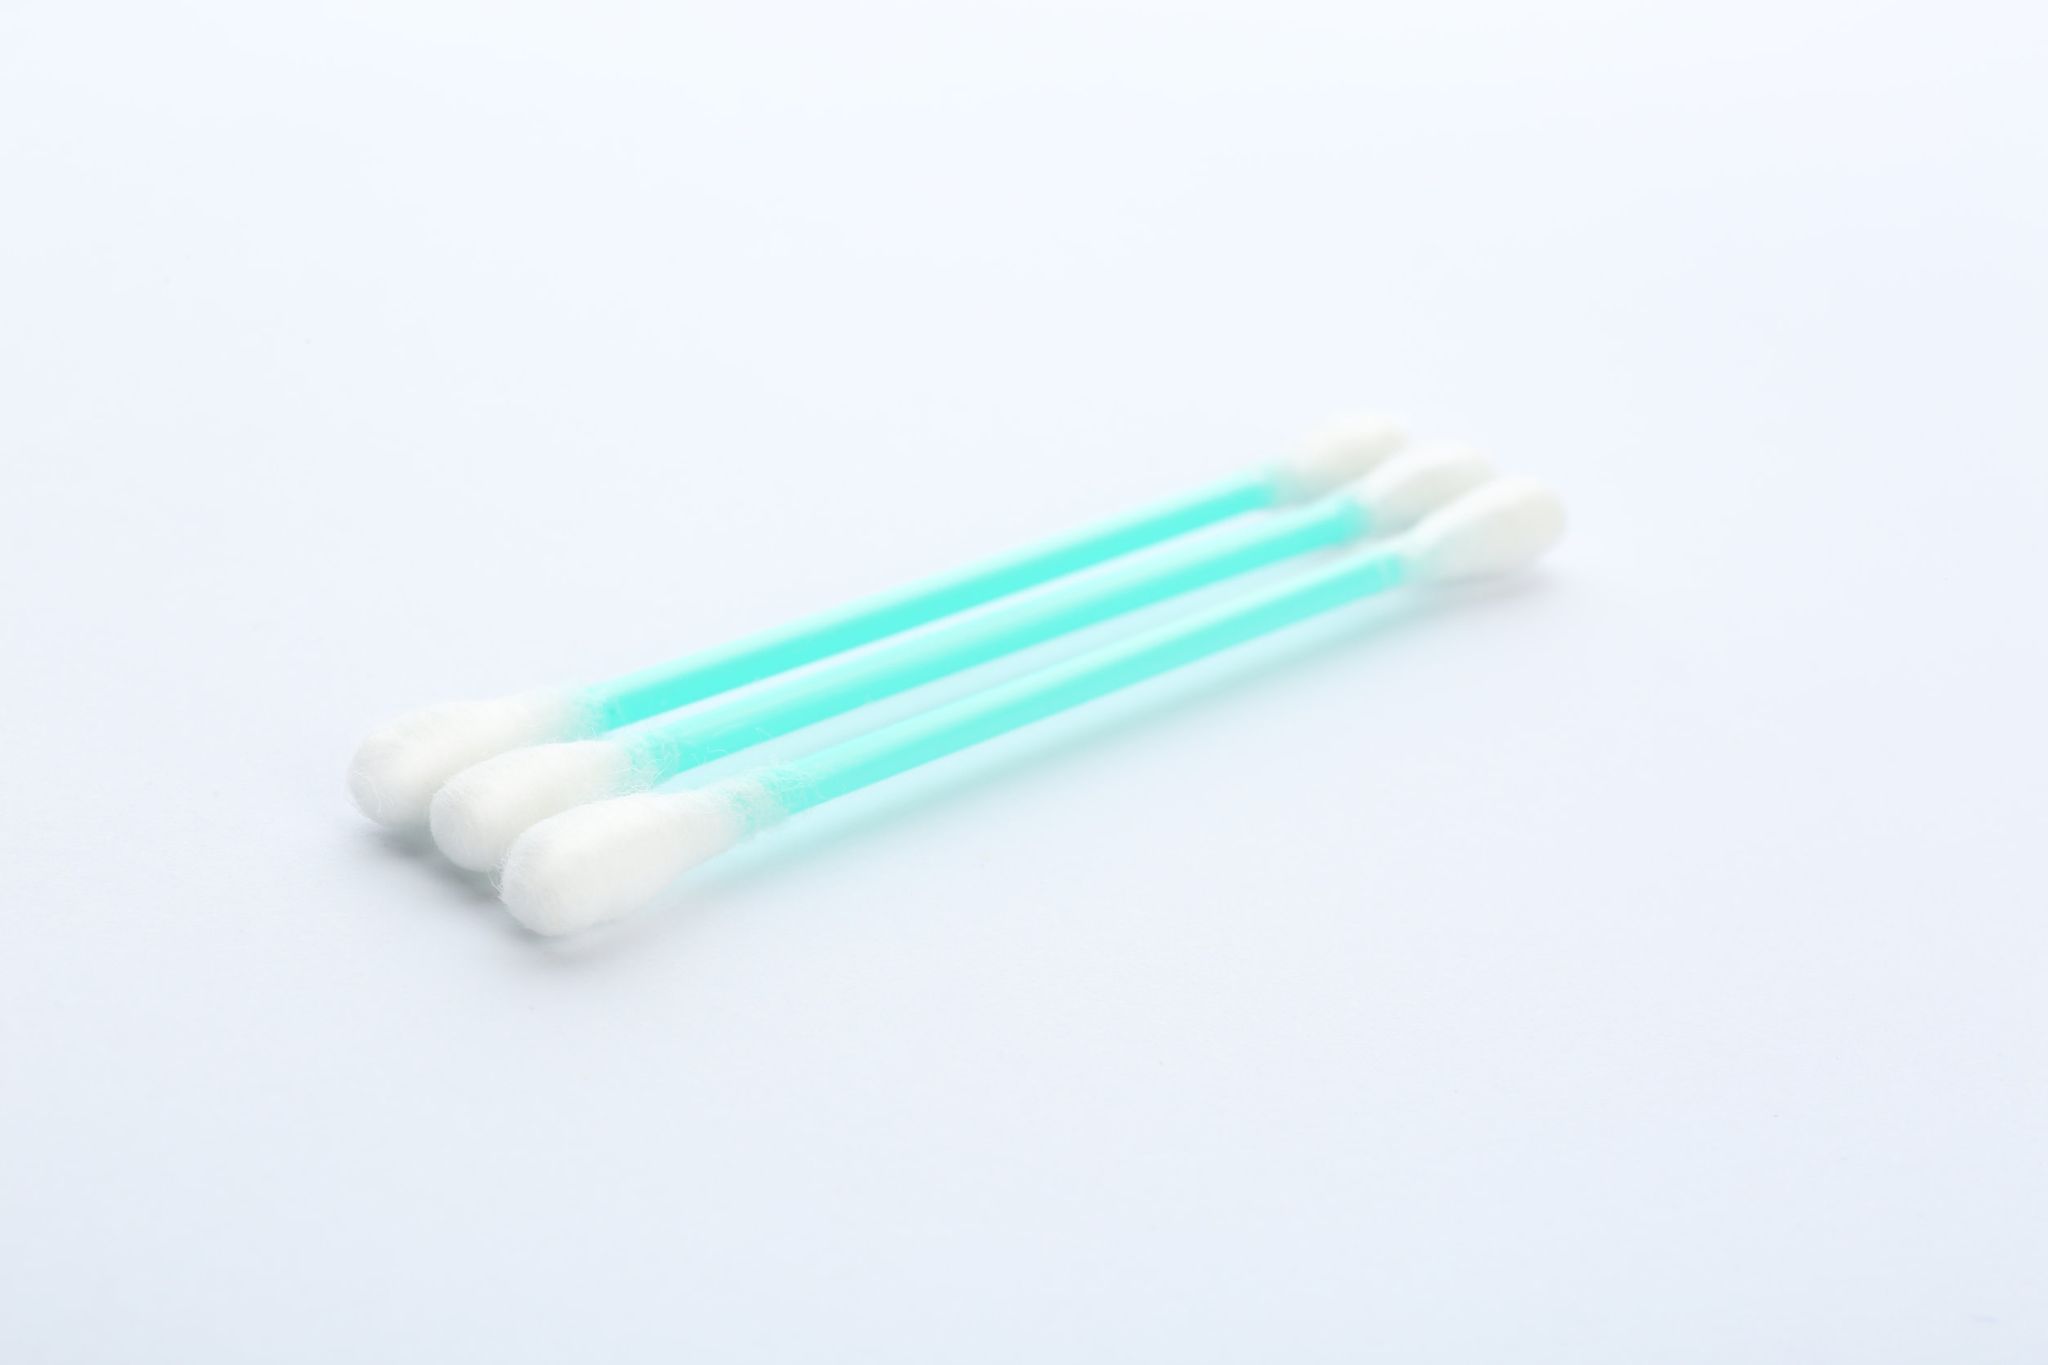
After doing so, use a cotton swab dipped in acetone and carefully clean out any excess epoxy from around the edges of your sink. Once finished be sure to wipe it down with a microfiber cloth or towel before splashing some water on it and seeing how well your repaired crack has held up.
Additional Tips
- Before applying epoxy compound ensure that there is no dirt or debris on its adhesive backing (if applicable). If such an item was not included with your kit, consider using sandpaper or your emery board to remove dirt & grime from exposed metal areas on your sink
- When applying the epoxy compound, make sure to set the tool on a low speed and apply light pressure. Doing so will prevent scratches and ensure you don’t move around or damage any surrounding surfaces of your sink while sanding/applying it
- To keep epoxy from dripping after application, follow its guidelines before setting it down. If you’re unable to do so (e.g., if it requires that it be cured in an oven), consider placing a heavy object over it or using some sort of adhesive compound to secure its position while drying
- If you wish to test for leaks after applying the patch, draw a circle around the area with a marker and carefully remove the patch and try checking for leakage by splashing soapy water on it. If it soaks in, you’ll know that you’ve made a successful repair.
- While repairing your sink’s hairline crack, avoid adding too much acetone (i.e. nail polish remover) to the surface of your sink. Doing so can damage its finish and lead to an extra repair down the line
- If using epoxy compound, make sure that any overflow doesn’t drip down into or onto other areas of your sink by covering them with paper towels before application (if required). Doing so will minimize mistakes and ensure only the desired area is repaired
- After applying the epoxy compound, wait 8 hours before allowing anyone to go near it (e.g., pets) and try to clean around it yourself. Before doing so, make sure to check for any leaks by using soap & water or another liquid that won’t soak into or damage.
What Causes Hairline Cracks In Porcelain Sinks?
Hairline cracks in porcelain sinks are often the result of a buildup of stresses over time, which causes them to slowly surface. This is more common for those who have older homes and may have noticed other signs such as warping or small holes appearing near their sink’s drain. However, these aren’t the only reasons people see hairline cracks in porcelain sinks; sometimes they can be caused by:
- Placing hot items (e.g., pans, dishes) directly on it
- Using harsh cleaners (e.g., oven cleaner) around it
- Dropping heavy objects onto it
- Since porcelain isn’t naturally flexible like some materials (e.g., rubber), once its cracked there’s often no repairing it. Fortunately, there are some things you can do to prevent these types of cracks like:
- Wiping your sink with a clean cloth or paper towel after use (or washing it by hand)
- Regularly replacing the rubber seal underneath your sink’s stopper
- Ensuring that you’ve removed anything caustic from around your sink
- Ensuring not to place any heavy objects on top of it
If you’re still seeing hairline cracks in your porcelain sink despite doing all this then it’s possible that you have an older sink that was made differently. However, even then there are still some things you can try out to fix yourself without having to hire a professional plumber. That said, you’ll want to avoid using chemicals and other harsh substances around your sink in the future, which will prevent any further damage from occurring.
What Is The Best Adhesive For Porcelain?
There are several different adhesives on the market that you can use to repair your porcelain surfaces, including Gorilla Super Glue, Pratley Quickset White Epoxy, and J-B Weld MinuteWeld Epoxy.
Gorilla Super Glue
Say goodbye to cracked and broken porcelain sinks, mismatched carpets, and unattractive furniture with Gorilla Glue. It extends the life span of everything from your favorite coffee mug to your grandfather’s treasured chessboard without compromising the integrity or texture.
Gorilla Glue offers a dependable adhesive that secures whatever you put it on against wear and tear much better than any other trying glue can. The best part? This high-quality adhesive is available in a variety of different-sized containers so you don’t have to overpay for a half-empty one or buy extras when you need just a little more.
Pratley Quickset White Epoxy
If you’re looking for a fast-drying adhesive that bonds porcelain surfaces, then Pratley Quickset is a good option. It also works on many other materials—including wood, metal, plastic, and vinyl—so if your kitchen sink chipped away from an accident or boiling water spilling incident, this is the right product. Plus it only takes seconds to dry so you can have your beautiful white sink back as soon as possible without causing any delay in cooking those waffles.
J-B Weld MinuteWeld Epoxy
The J-B Weld epoxy is another excellent solution for bonding broken or chipped ceramic. It will not break down in the water and can be used for both indoor and outdoor applications. The great thing about this particular epoxy is that it is water-activated, allowing it to expand its bond giving you a durable repair solution. If you’re looking for an adhesive that will stand up against water completely unscathed, look no further.
Should You Use A Porcelain Repair Kit?
If you have a small crack running vertically down your sink, it’s best to use something like this kit rather than any of the above glues. As they’re specifically designed for repairing ceramic surfaces, they’ll work better on hairline cracks that aren’t too wide.